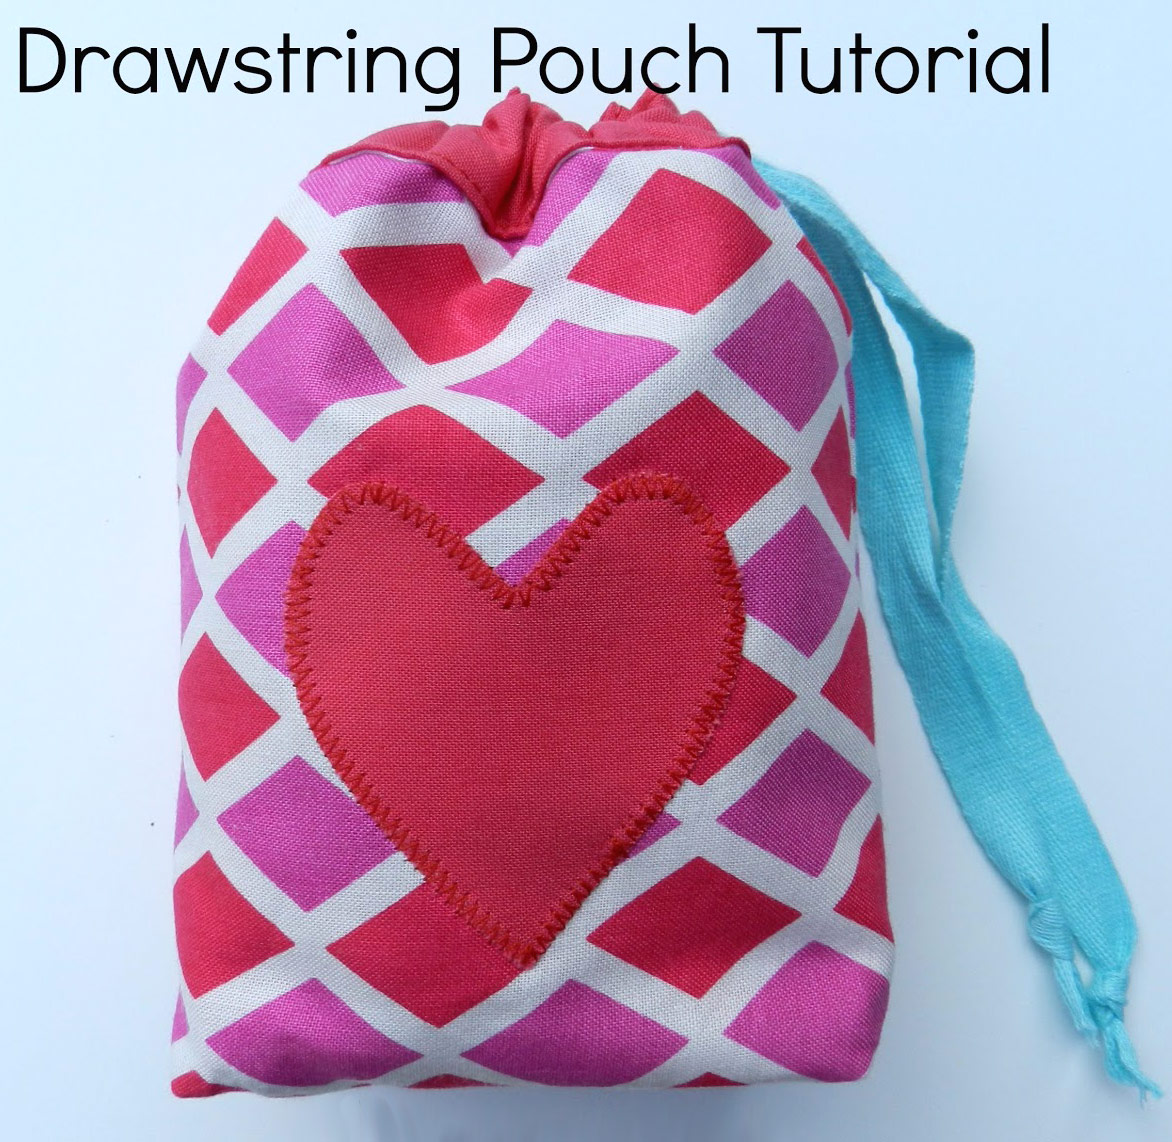
This little pouch makes me happy. The colors are fun and the heart adds a bit of whimsy without being overly cutesy. Fill it with goodies for your Valentine or make several and keep them on hand for gifts. The possibilities are endless!
Finished Size: 4″ x 6″
Supplies:
(2) pieces of outer fabric 6.5″ x 9″
(2) pieces of lining fabric 6.5″ x 9″
1 piece of lining fabric for the heart 3″ x 3″
1 piece of Heat-n-Bond Lite 3″ x 3″
24″ of ribbon
safety pin
iron
thread that coordinates with the lining
quilting ruler, rotary cutter and sewing machine

1. Fuse the Heat-n-Bond Lite to the wrong side of the 3″ x 3″ square.
2. Cut out a heart shape.

3. Remove the paper backing from the heart and press it onto one piece of the outer fabric about 4.5″ inches up from the bottom. Make sure it is centered. Sew around the edges of the heart with a tight zig zag, blanket or straight stitch.

4. Place the 2 pieces of outer fabric, right sides together and sew the three sides from the top right corner all the way to the top left corner. Sew with a 1/2″ seam allowance. The top remains open.

Repeat for the lining but leave a 2″ gap in the bottom of the lining for turning later. Backstitch at the beginning and end of the opening to secure.

5. Press your side seams flat.
6. To make the flat bottom (gussets) pinch and pull the sides apart to flatten the corner at the seam. Make sure your bottom seam is centered and your seams are flat.
Measure down 1″ from the corner point and draw a line that is 2″ wide. Sew on that line, backstitching at the beginning and end.
Trim off the corner, leaving a 1/4″ seam allowance to the right of the line you just sewed.

Repeat for the other corner of the outer fabric and both corners of the lining fabric.
7. Turn your outer fabric right side facing out. Slide and shimmy the outer fabric into the lining so that the right sides are touching. Line up the seams and pin.


8. Stitch around the top edge with a 1/4″ seam allowance. Backstitch at the beginning and end.

9. Pull the outer fabric through the gap in the lining. Poke out the corners with a blunt object (a large knitting needle, the eraser end of a pencil) and then stitch the opening closed in the lining (either by hand or by machine.)

10. Tuck your lining into the outer fabric. Fold the top edge of the bag over 1″ so the lining is facing out. Press and match seams. Starting at the seam, topstitch along the bottom and top edges of the band about 1/8th” seam allowance. Backstitch at the beginning and end.

11. Now, set your machine to a very tight zigzag stitch and sew several anchoring stitches in place over the top and bottom of the seam on the band. Make sure you are sewing over the topstitching you just did.

12. Using your seam ripper, gently remove the stitches along the seam in between the anchoring stitches you sewed in step 11.

13. Place your safety pin near the end of your ribbon and feed it through the casing / band along the top of the bag until you reach the opening. Pull your ribbon through until there are equal ties and make knots at the end of each ribbon.

Ta-da! You did it!

You now have a super cute, super easy drawstring pouch just waiting to be filled.


0 comment:
Post a Comment