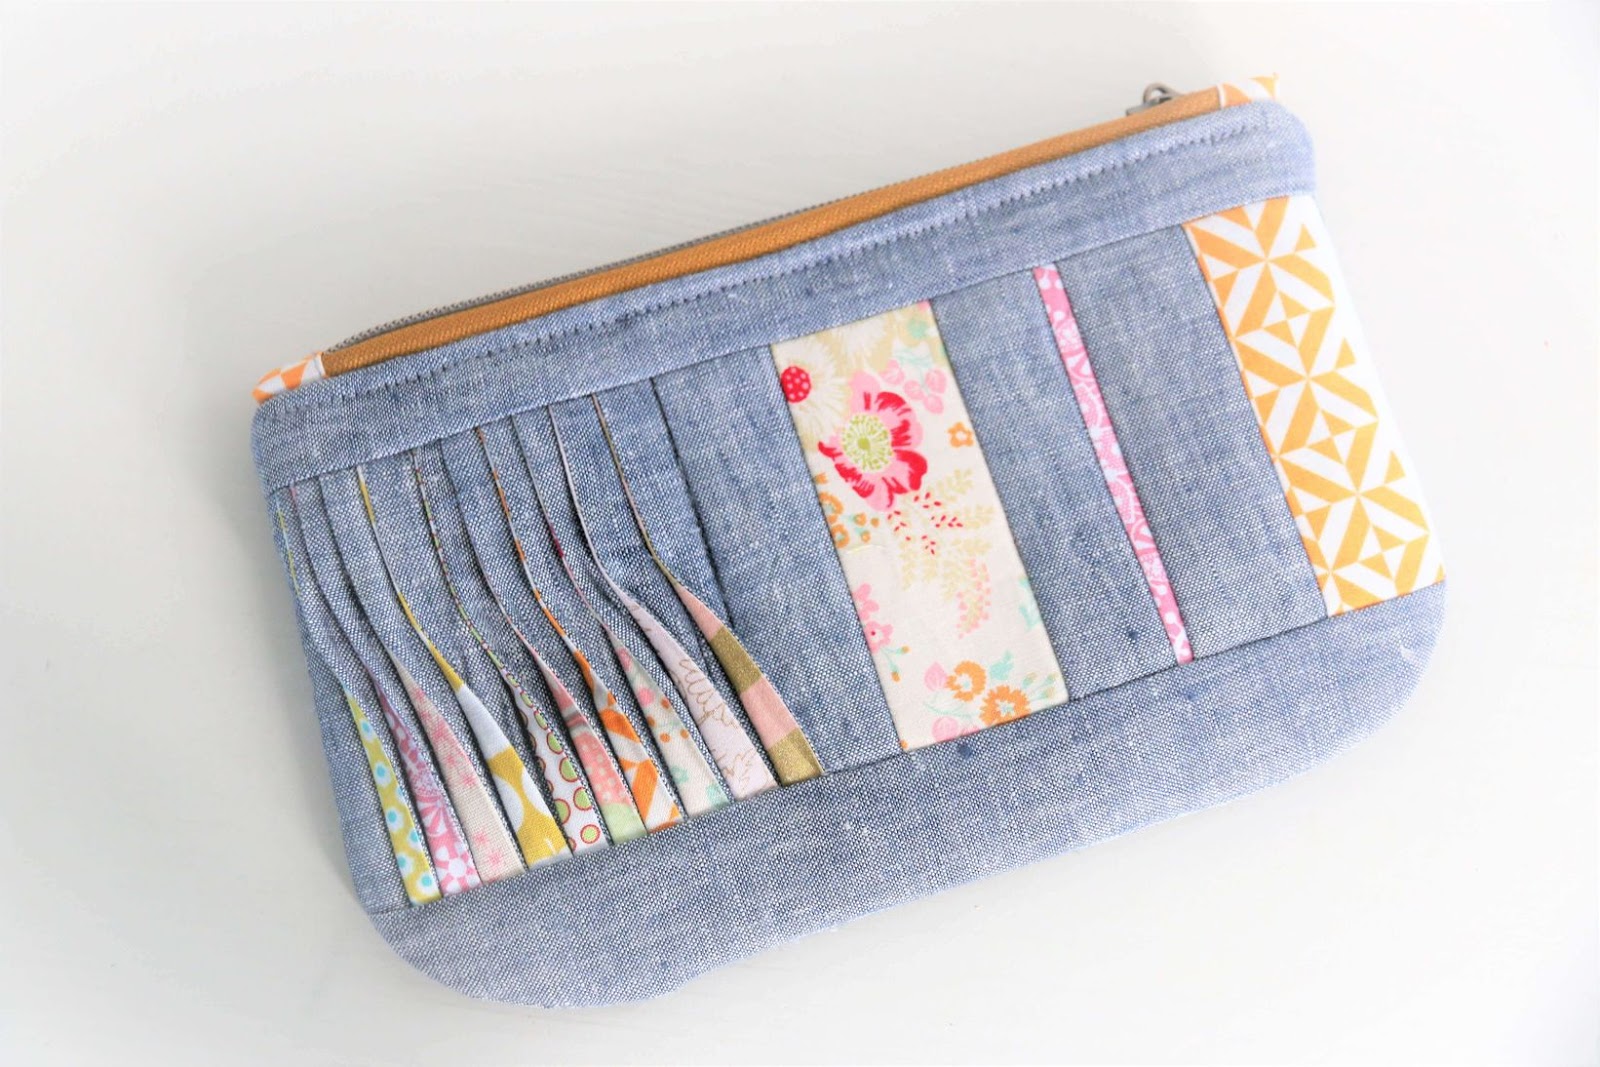
This sewing
technique can be used in many projects: The tucks look great on large
and small pouches, but also on pillow cases, as part of a patchwork
blanket or pot holders.
My tucks are 8.5 cm high.
Of course you can vary the height, as well as the length of the bite segment.
Sewing Idea: Sewing twisted tucks - how it works!
You need these materials at home:
Base fabric. It also consists of a mixture of cool linen (45%) and cotton (55%)
Cloth remnants - the best are leftovers made of 100% cotton
Thermolam
Vlieseline H250
Patchwork Ruler
Rotary cutter
Pins - I only use the practical pins with handle. They are really robust and medium in length. Besides, they stay sharp for a long time.
Pen
Iron
Sewing machine
Instructions: Sew twisted tucks
Pro Biese you need:
2 fabric cuts: 10 x 3 cm - 1x colorful, 1x monochrome
1 intermediate strip: 10 x 2 cm - one color - reinforced with Vlieseline H250
Cut a strip of fabric in basic material and in different colors for each pint.
Put the strips of fabric right to right together and pin them with pins.
Close off one of the long sides with a straight stitch. Seam allowance 1/2 cm.
Open the seam allowance.
Iron the NZG apart.
Fold the strip of fabric together so that the two right sides are on the outside.
That's the way it should look now.
Trim the tuck with a rotary cutter and ruler to 10 x 2 cm.
On a piece of Thermolam large enough for your planned project, mark the field on which the tucks are to be sewn. The lines are for orientation only.
Put a piece of basic fabric on the first strip.
With the colorful fabric side down on it comes the first tuck.
On the bottom comes with the right side down the intermediate strip of base fabric.
All 5 layers are now quilted with 1/2 inch NZG with a straight stitch.
Open and iron.
Flushing with the first intermediate strip next comes again a tuck with the colorful side down. On top of the second intermediate strip.
As you can see, I oriented myself very well on the markings ...
If you have enough tucks together, you end up with a strip of base fabric, which you also approach with 1/2 inch
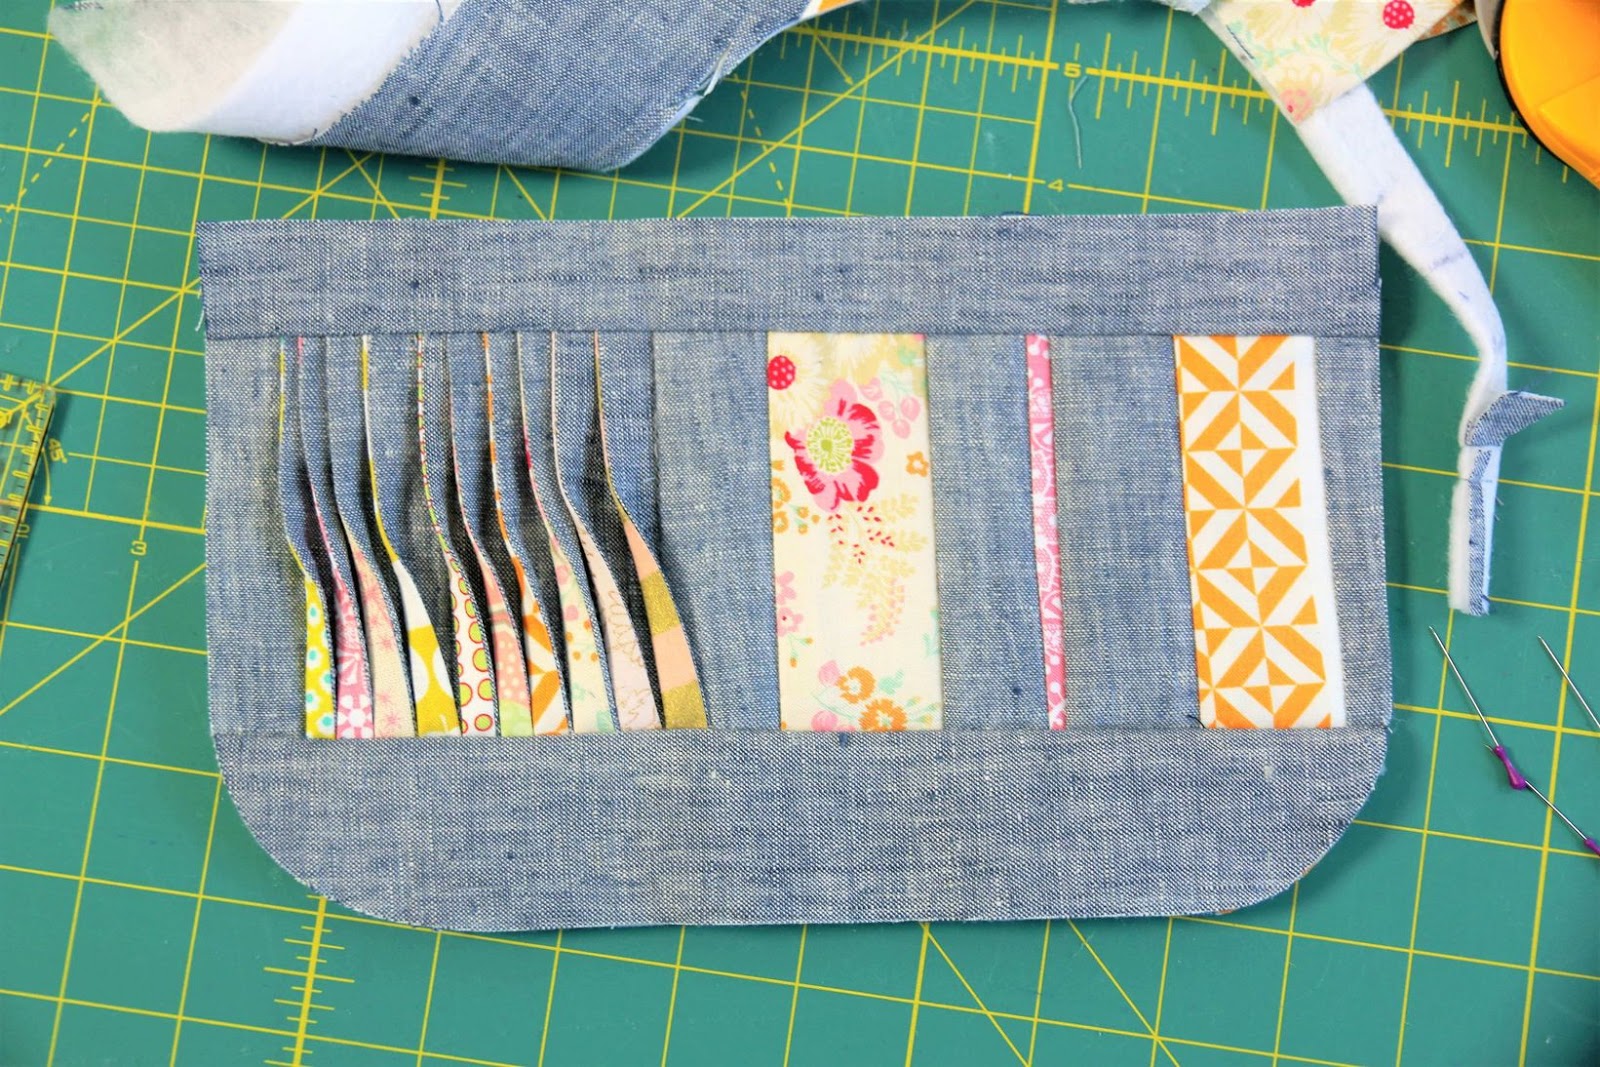
Now you sew the tucks at the ends in the opposite direction with a straight cut.
I've made a little further and sewn fabric scraps. Until I had reached the right size for my dream project.
For the last tuck you do not need an intermediate strip - here you can just continue with the desired fabric.
Looks wild, right?
Pattern: make-up bag Nanami


Your tutorials are always so amazing, I love to get your email to see what you have for us this time, thanks so much for sharing with everyone it is really appreciated.x
ReplyDelete