
I finally have another tutorial for the boys, it’s been too long. Every time I sew for my little guy I tell myself I need to do it more. He gets so excited, much more than his sister. He actually watched me sew this entire wallet start to finish and literally couldn’t wait to get it in his little hands.

He was especially excited about the six little pockets to hold the quarters, at this age they seem to be more excited about the coins than the paper. But don’t worry, there’s a little pocket for the green ones too, and anything else they can fit in it. They are quick and fun to make, and like the Bracelet Purse Tutorial this project is scrap fabric friendly. Catch me after the jump for all the details!
The Little Man Wallet Tutorial
You could make this with any fabric or with vinyl “leather” for the outer piece like I did. If you use fabric for the outer, make sure to use a heavy craft bond or fusible bond ironed onto the piece. In the tutorial I will refer to it as the leather piece but you will follow the directions the same.

Supplies:
leather, vinyl “leather”, or fabric with craft bond ironed on. I used vinyl leather with a webbing on the back for stability
fabric scraps
little buckle – I used a 1 inch size that was ¾ of an inch at the base, if you use bigger just adjust the strap width
quarter
fusible interfacing (optional)
fray check (optional)
hot iron
all your sewing stuff
Fabric Cuts:
- Leather: cut one 8 x 3 inch piece
- Inner lining: 8 x 4½ inch piece (you can cut a piece of fusible interfacing the same size and attach now if you want, I didn’t and was fine)
- Strap: cut one 2 x 7 inch piece and one 2 x 4 inch piece – this fits a buckle with a ¾ inch base where the strap goes. You can adjust the width for larger buckles.
- Pocket: cut one 2 x 8 inch piece and one 6 x 4 inch piece
- Quarter sleeve: cut one 7 x 6½ inch piece
Instructions:
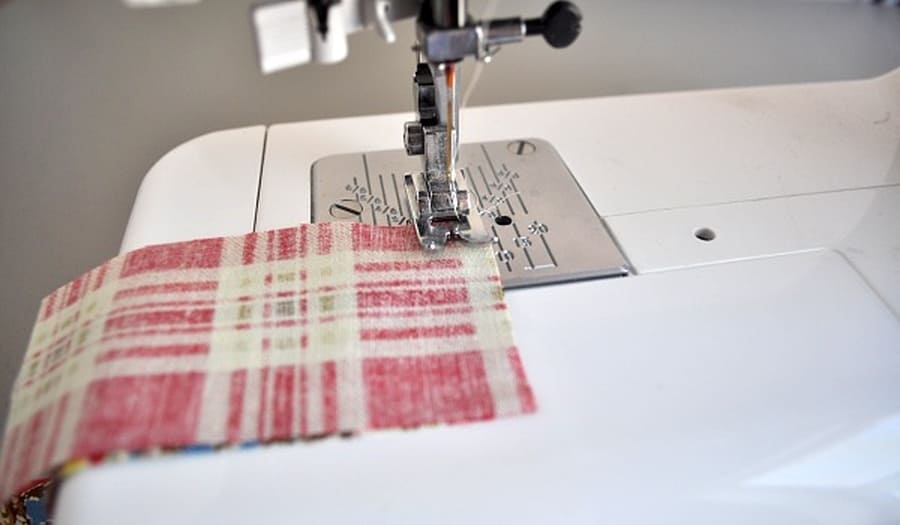
Read through the instructions before you sew. You will be using a ¼ inch seam allowance unless noted. A lot of the sewing will be done with a satin stitch which is normally the smallest and tightest zigzag stitch setting on your machine.
We’re going to start with the strap first. Take the two pieces and with the right sides together sew one 2 inch end of each together. This will make one strip measuring 2 x 10½ inches long. Press the seam open.

Now fold over the end of the smallest cut strip side a ¼ inch, press and sew right along the edge like shown.

Fold the sides of the strap over a ¼ inch and press. Then fold in half and press.

This picture demonstrates how the strap will go onto the outer piece. Note how the smallest strip is the one that hangs over. It is also the one with the finished end.

Take that end and sew up the side of it just along the edge stopping at the second strip.

Moving onto the longer side, fold over the end an inch, snip a little hole at the end like shown, then coat the edges with some fray check. Slide the buckle onto the end and fold over fabric.

Pin to the leather as shown about an inch from the end, with the folded side down.

Then sew just under the buckle making sure to catch the folded edge underneath. Stop just before you reach the opposite edge, make sure the needle is down

Raise the foot and rotate 90 degrees and sew down the side of the strap along the edge like show. Stop just before you reach the little strap part at the end and lift foot and rotate again, then sew back up to the buckle.

You can see how we just sewed the rectangle in the center to secure the strap to the leather. That little end piece is loose.

Now we’ll work on the pocket. For the flap, take the 2 x 8 inch piece and fold each edge over about a ¼ inch and press. Then fold in half and press like shown.

Now sew along three sides with a satin stitch right on the edge sealing up the ends and leaving one long side open.

Take the 6 x 4 inch piece, fold and press all the sides over a ¼ inch, the same as you did on the flap. Fold in half and press then sew the top edges together with a satin stitch. This will make the fold at the bottom.

Now pin the pocket somewhere on the end about a ½ an inch from the edge as shown in the picture. We will be cutting off the top and bottom after we sew, we just want to have a little fabric to work with for the satin stitch.

Now sew with a satin stitch along the side and bottom edge, securing the pocket to the fabric. You will leave that top finished edge open for the pocket.

Next sew the flap about a ¼ inch above the pocket along the top edge with the satin stitch. Before you sew on the flap make sure that the total height of the flap and pocket is just under 3 inches so you can trim in the next step.

This will allow enough room for little fingers to slip in their money, but keep it from falling out.

Okay, now that we have fished the pocket, we can trim the top and bottom down to size. You will just cut it to 3 inches making a piece that is 8 x 3 like the leather. Leave enough room on the top and bottom to stitch around the parameter.

Next up is the sleeve for the quarters. Take the 7 x 6½ inch piece and fold the 6½ inch sides over just under a ¼ inch. Then fold in half right sides together sewing the 7 inch sides just along the edge like shown.

Press open the seam, and then turn right side out. Press so the seam runs down the center as shown, with the ends still turned under.

Now you’re going to fold it accordion style to accommodate the quarters. You can see in the image that the first piece there was 1½ inches, and the fold up was a little more than ¾ of an inch. Then repeat. Just slide in the quarters to make sure you have the depth right and adjust where needed. Press to set.

Pin in place next to the pocket leaving about ¼ inch between the two.

Sew the satin stitch around all four sides making sure to get the folds in the stitch.

You’re almost there! Now mark on the sleeve where you will sew to make the pockets for the quarters. You will divide the sleeve into thirds evenly. I used a quarter as my guide.

You can see where I marked. You can also see where I made the pockets on the right were a touch too small. I figured that out after I sewed and had to unpick a bit.

I suggest you sew along the lines with a basting stitch first and check to make sure you have them right. Start at the bottom like shown in the picture. The quarters should fit in snug so that if you tip them upside down they don’t drop out.
I actually ended up doing two rows of stitches on the left to get the fit I needed. Just do what works. Then sew in with a tighter stitch than normal over the basting stitches.

Now take the outer piece and lay face down.

Lay the inside on top facing up so that the wrong sides are together.

Now all you’re going to do is sew all the way around with a zigzag- sewing the inner and outer pieces together right along the edge. I used the largest and tightest zigzag setting for this, rather than the smallest. When you get to the corners, make sure the needle is down, turn the fabric 90 degrees and carry on.
Take it slow, I got a little carried away with a little boy anxiously waiting for a finished product.

Now just figure out where you need to make the slit on the strap to buckle it up. You could bust out the button foot, or I just cut the little slit and use fray check around the edges.

You’re finished! They really are fun to make, and there are a bunch of ways you could switch it up. I think it would be fun to use bias tape around the outside with rounded corners for a little girls wallet.

We promptly had to go to the store to use his wallet – right after I made him earn some money to put in it. That’s a little perk :) . He folded just enough laundry to fill up all the quarter pockets. I’m going to have to keep more on hand!

He couldn’t even walk with it in his pocket without his hand on it. I told him it wouldn’t fall out and he replied “I just love it so much.” I really need to sew for this little guy more.
They would make great little gifts filled with quarters and such stuffed in them, and I like the idea people had on the Bracelet Purse and give them as party favors.


0 comment:
Post a Comment