
I don’t know about you, but I’m not ready to leave summer in my rear view mirror just yet. Luckily, now that I have this bag with its pop of color ruffle, blue and white stripe and classic brown leather – I’ve got the perfect accessory to transition into Fall without leaving the color of summer behind.
This is the perfect tote for a teacher gift – as it is a great size to hold notebooks, folders, or papers to grade in style. Or, if you aren’t celebrating back to school, it’s the perfect style upgrade for your fall wardrobe.
Supplies
½ yd. outer fabric (I used home décor weight)
10” x WOF (width of fabric) piece of leather
½ yd. lining fabric
1 20” x 20” piece of Pellon SF101 Interfacing*
½ yd Pellon 987F Fusible Fleece Interfacing
1 magnetic closure
*Note: If using quilting cotton weight for outside of bag, you will not need SF101 and should instead use Fusible Fleece. So, you should have 1 yd on fusible fleece on hand.
Cutting Instructions
From the Home Décor Weight Fabric:
Cut 2, 10.5” h x 13” w for outside of bag top
Cut 1, 12” h x 13” w for outside pocket
From the Leather:
Cut 2, 5.5” h x 13” w for outside of bag bottom
Cut 2, 3” w x 28” l for bag handles
From the lining fabric:
Cut 2, 15.5” h x 13” w for bag lining
Cut 1, 8” w x WOF for outside ruffle
Cut 1, 11.5” h x 11” w for lining pocket
From SF101:
Cut 2, 10.5” h x 13” w
From Fusible Fleece:
Cut 2, 15.5” h x 13” w
Sewing Instructions
Make the Outside Pocket

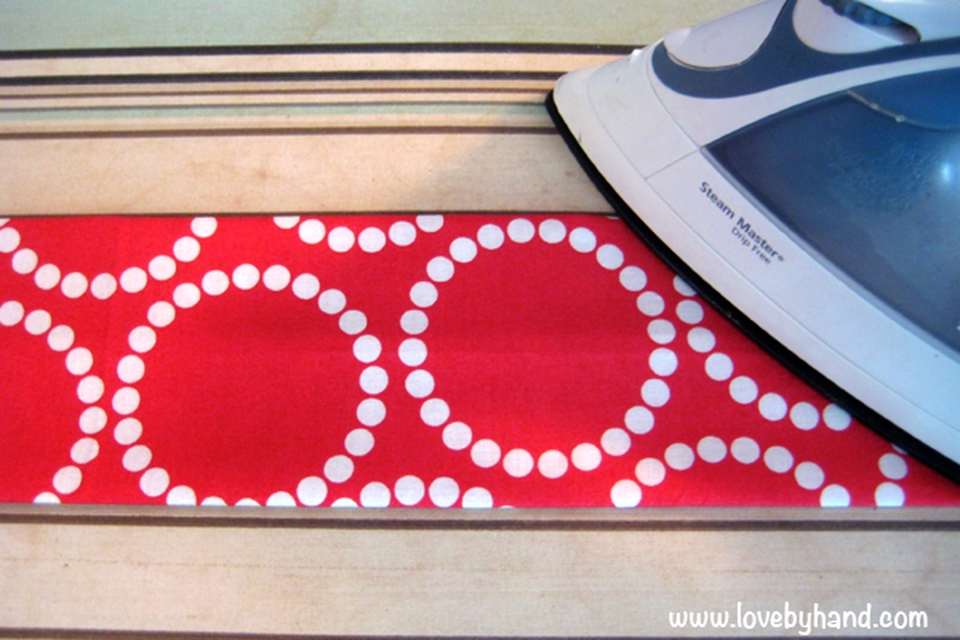
Take your outside pocket piece and place the right side down on your ironing board. Fold the top down to meet the bottom of the pocket piece, with the right side of the fabric facing up. Your pocket piece will now measure 6” h x 13” wide. Using your iron, press flat. Then, top stitch across the top (the folded edge) of the pocket piece using a long straight stitch with ¼” seam allowance.
Make the Outside of the Bag
Take your 2, 10.5” x 13” outside of bag top pieces and fuse the SF101 to the wrong side (back) of the fabric. Since I used home décor weight, I only wanted to add a bit of stability. However, if you decide to use quilting cotton weight, I would recommend using fusible fleece instead.

Place the outside pocket on top of one of the outside top pieces by lining up the bottom of the pocket with the bottom of the top piece, pin in place. Find the center of the pocket piece (approx.. 6.5”) and use a pin to mark.

Sew down the center of the pocket piece at the marked pin, creating two pockets.

With the pocket piece in place, its time to sew on the leather bottom piece. Place the leather piece right side face down on top of the outside top piece, lining up the leather piece along the bottom edge of the top piece. Since we’re using leather, be sure to use clips to hold in place, as to not create holes in the leather. Sew the leather piece to the top piece along the bottom edge.

Once the top and bottom pieces are sewn together for both the front and back of the outside pieces, fold back the leather and press down with your fingers. Next, top stitch on the leather using a long straight stitch along the edge of the seam as shown.

Once you are finished top stitching, your outside bag pieces will look like this. Set them aside for the time being to complete the lining.
Make the Bag Lining

First, make the lining pocket. Take your lining pocket piece (11.5”x11”) and place right side up on your ironing board. Fold the bottom up to the top right sides together, creating your pocket piece 5.75” h x 11” w. Leave a 5” opening along the bottom for turning, and sew from the pin to the folded top edge on both sides.
Clip the corners and turn right side out. Press flat, making sure to fold in the unfinished edge along the bottom that will be closed when attaching to the lining. Top stitch along the top of the pocket piece (folded edge) using a long straight stitch.

Fuse the fusible fleece to the backs (wrong side) of both lining pieces. Take one of the lining pieces, and place the pocket in the center approximately 4” from the top. Pin in place. Sew around all three sides, making sure to catch the seam allowance along the bottom of the pocket to close.

Divide your inside pocket as desired for the “stuff” you want to place in it. For me, I like to hold my cell phone, business cards and pens, so I kept the pockets fairly small at 4” and 3” wide. Then, sew a straight line at each pin mark to create the smaller pockets.

Next, add the magnetic closure. Measure down 1.5” from the top at the center approx. 6.5” from the side. Using the backing of the magnetic closure, use a pen to mark the lines where the metal prongs will go through. Use small scissors to cut openings at those lines. Poke the metal prongs through the created holes and place the backing over the prongs, then fold them down to hold the magnetic closure in place. Repeat for both the front and back.

Place both lining pieces right sides together, placing the magnetic closure together to ensure you get the right alignment when sewing together. Pin in place. Also, be sure to use pins to mark a 6” opening at the bottom for turning.

Sew around all three sides, leaving the 6” opening at the bottom and the top open. Set the lining aside for now.
Making the Ruffle
To make the ruffle, find your 8” x WOF piece. Fold in half lengthwise right sides together, so your piece is now 4” x WOF. Sew along your WOF to create a tube. Once sewn, turn right side out and press flat with the seam in the center of the back of the strip.

Create a finished edge for the top of the ruffle by folding in ½” at the top, press and top stitch closed. Now, its time to gather the ruffle. Place the foot of your sewing machine at the center of the top of your strip at the finished edge approx. 2” in from the side and place your needle down.

Once your needle is in place, push up the fabric as shown and sew down the center the entire length of the fabric strip.

Your finished ruffle strip will look something like this.
Finish The Outside of the Bag

Once your ruffle strip is finished, place it onto the top of the outside bag piece with the pocket. Luckily, the pocket piece is already sewn at the center, so you already have a guide for placing your strip. Your finished ruffle strip should be too long, as it should stop where the top and bottom pieces meet.

So, place the top of your ruffle strip 1” down from the top and cut your ruffle strip at the bottom, adding 1” to the length. Fold the unfinished edge under and pin the ruffle strip in place.

Sew down the center of the ruffle strip to attach it to the outside of the bag.

When complete, your outside front of your bag will look like this.

Place both bag outside pieces right sides together, taking care to line up the seams on the side using clips to hold in place. Sew around all three sides. Leave as is.
Create Bag Gussets

Place your sewn outside bag on a flat surface. Using your ruler, draw a 2” square on each bottom corner on both sides as shown. Repeat for bag lining.

Then, create triangles in each corner, making sure to line up the bottom and side seams, and hold in place with a pin as shown for the lining and clips for the outside.

Sew along the line as shown for both the outside of the bag and the bag lining.

Once sewn, cut the triangle off leaving ¼” seam allowance.
Sew the Bag Together

Turn the outside bag right side out, leaving the bag lining inside out. Place the outside of the bag inside the bag lining. Line up the sides of the outside bag and lining and pin in place. Sew along the top of the bag, making sure to NOT catch the ruffle in the top seam. Once sewn, turn through the opening in the bottom of the lining. Use your iron to press the seam along the top flat, ensuring that that lining fabric is on the inside of the bag.

Next, top stitch along the top of the bag using a long straight stitch with a ¼” seam allowance. Once you’ve top stitched along the top, pull out the lining and sew the bottom shut using your machine or a slip stitch by hand.
Making and Attaching Bag Handles

Find your 3” x 28” leather strips. Fold in half lengthwise wrong sides together to create a 1.5” x 28” strip. Top stitch using a long straight stitch on both sides of the handle using ¼” seam allowance. Then, repeat another ¼” on the inside of each previous stitch line. You’ll have 4 stitch lines on each handle.

Take one of the straps and fold 1” under from one end and place in the center between the edge of the ruffle and the side of the bag, clip in place.

Sew a square and an “X” within the square to reinforce the handles. Repeat for each end of the handles on both sides, making sure to line up the handles on the front and the back of the bag.
Once the handles are sewn on, you’re finished! Enjoy!


0 comment:
Post a Comment