
This super easy block tutorial shows exactly how I made the lovely mini. I made four of these blocks, and you'll see when you stitch these blocks together, they create a gorgeous, interlocked look.

This particular block has a rich history and dates back as far as the 1930's. It was first published as a Cheyenne block, by the Kansas City Star in September of 1933, but later in the 1960's was referred to as a Rock Garden block by Quilts magazine.
When I look at this block, full of a rainbow of focal colors rather than two focal colors (dark and medium) as in the original, I see a patchwork wheel and that's how I came up with the name for this block.

12.5" unfinished block
You'll need:
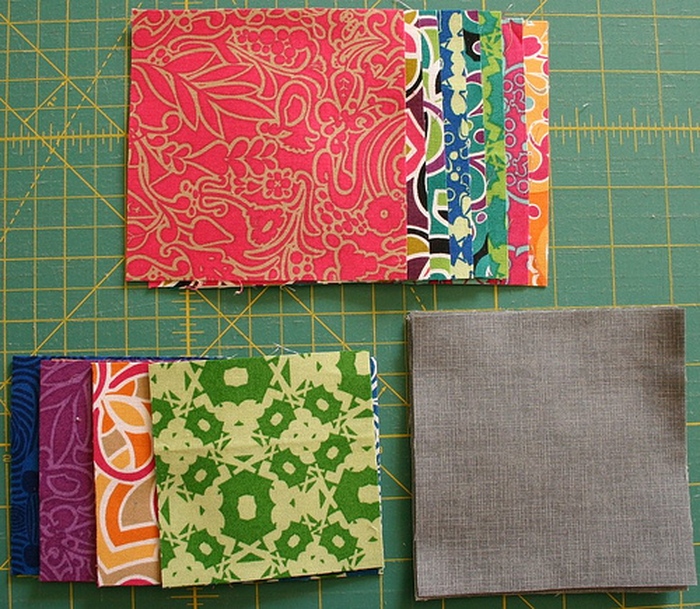
(8) 3.5" squares in various colors/prints
(8) 4.25" squares in various colors/prints
(8) 4.25" squares in a solid/neutral print
1. Draw a diagonal line on the back of your neutral squares. We will be using these to create half-square triangles. Then, match up each neutral square with a colored/printed square, right sides together, with the line you've drawn facing you.

2. Stitch a scant 1/4" seam on either side of the line you drew, then cut along the line to create two half-square triangles (HSTs).

Press your HSTs and trim down to 3.5".

3. Lay out your squares and HSTs as shown below, then stitch sub-blocks together in pairs to create the four rows for this block.

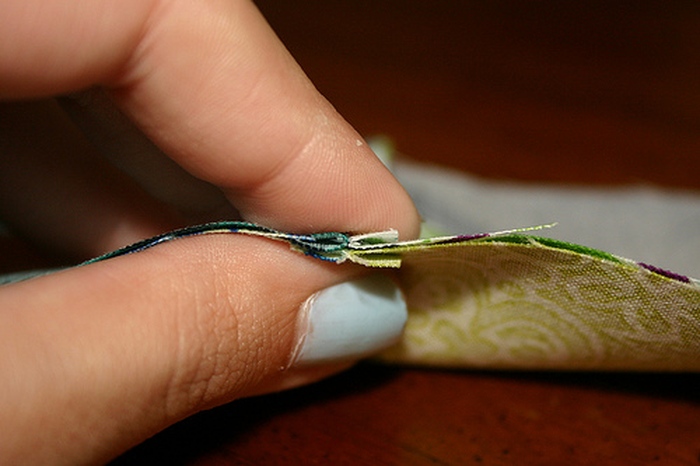
4. Stitch rows together, taking care to line up the seams as you go.
5. Enjoy your finished block!


0 comment:
Post a Comment