
It was one of those simple projects that I thought turned out looking like a million bucks and the panel is what makes it. You could also cut a center square from any fabric that you want to feature!

Supplies for Pieced Front:
Panel Fabric - you could probably get by with a half yard, you just want to make sure you have one complete repeat to cut out
Contrast fabric (same as back exterior) again a half yard should do
2 Exterior pieces (16.5" tall x 17" wide)
2 Lining pieces (each 16.5" x 17")
2 pieces fusible fleece (each 16.5" x 17")
Strap: cut 1 WOF x 4"
note: I chose not to interface the strap but if you'd like to you can cut another piece same size and fuse to fabric before the other steps
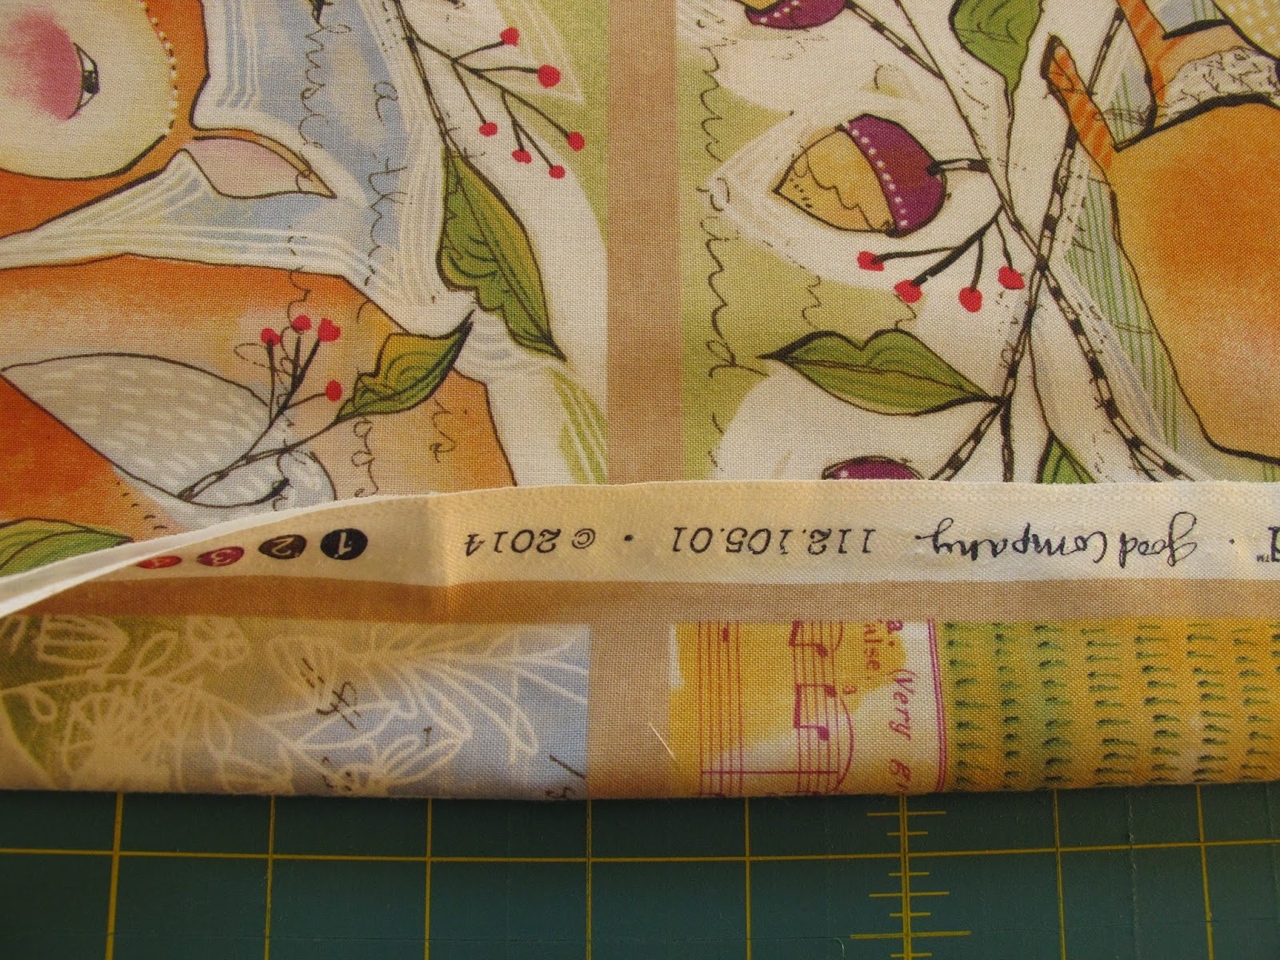
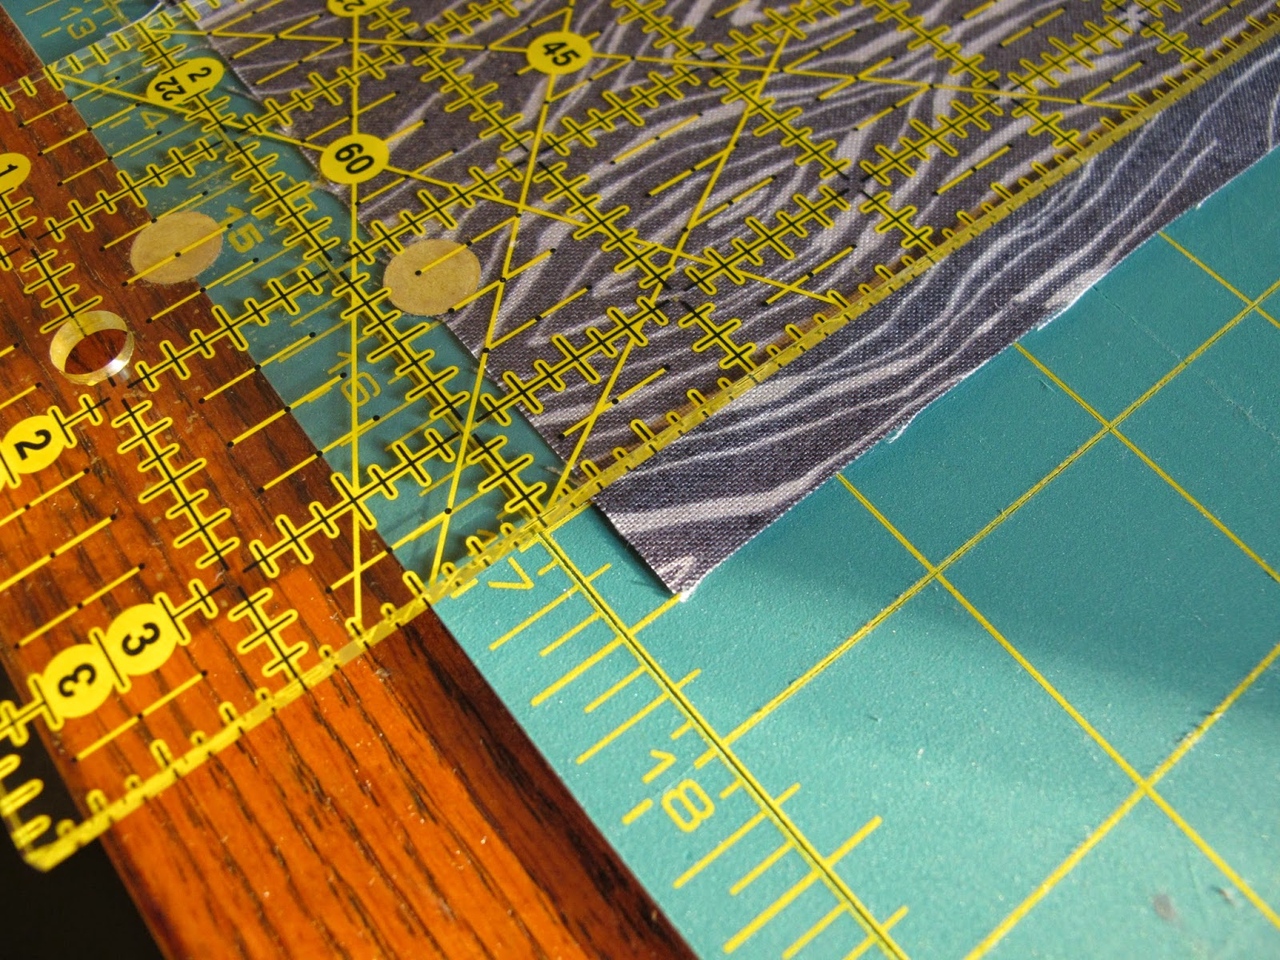
I always like to line up the middle lines before I cut to try and get cuts as straight as possible.

This particular panel has a border around it which you can include or remove. I had already cut the border off the top so I trimmed it off the bottom and sides as well.
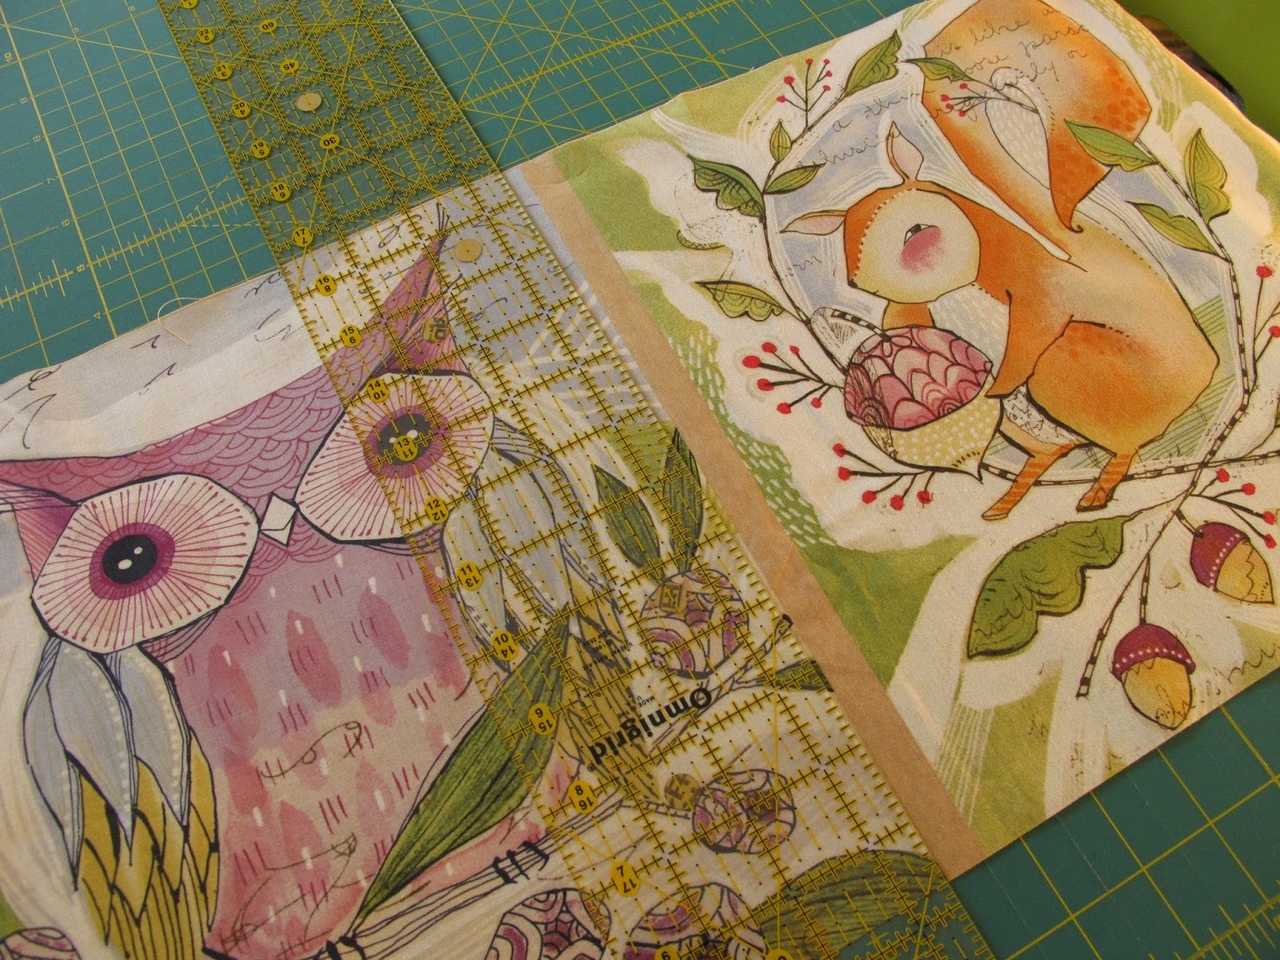
Just FYI: panels are always wonky. No biggie.

So your goal is to get a piece cut with straight edges. My owl measured 11.375" tall x 10" wide. Your piece might be slightly larger or smaller than mine. If it is SMALLER you need to increase the size of the border pieces slightly. If your piece is larger than mine you can just trim a bit more off when you trim.

Make strap: Fold in half and iron, then fold sides into middle and iron again.

Topstitch along the sides of strap and then fold in half and finger press at the middle. Cut in half to make two equal size strap pieces.
NOTE: This makes a 1" wide strap, if you'd like a bigger strap just cut your initial strap piece wider.
WOF x 6" = 1.5" wide finished strap
WOF x 8" = 2" wide finished strap

Assemble front panels: Sew borders on top and then add side pieces.
Top borders: 4" x 10"
Side borders: 4.5" x 17"
SEAM ALLOWANCE for piecing is 1/4"

Trim front panel: I take any extra off the top to get the height to be 16.5" (this gives the impression of symmetry once the bottom of the bag is boxed).

Fold the panel in half and finger press at the middle. Line the middle up at 8.5" (center of 17").
Trim any excess off the edges to get 17" total width.

Fuse fleece to the exterior panels.
After you've fused the fleece to the panels you can do some quilting on your exterior panels if you'd like to - I did a little stitching in the ditch around the owl and added a "frame" around it and that was it, I wanted to focus on the fabric so I didn't do much quilting.

Cut 2" square from each panel (will be used to create the gussets or "box" the bag).

Sew around all three side of exterior pieces with 1/2" SEAM ALLOWANCE (all remaining seams sewn with 1/2" allowance).

Sew two sides of lining panels together. Leave an opening in the bottom of the lining (sew about 2" on each side) to turn bag through at the end.

Pinch bag sides and bottom together - I like to nest seams to make sure they line up.

Sew along the edge, making sure to backstitch at front and end.

Turn bag exterior right side out.
Center straps on front and back and pin. I pinned 6" apart.

Slide bag exterior into lining, right sides together and pin around the top. Sew all the way around the top and then turn out through opening in the bottom of the lining. Hand-stitch or machine sew lining closed. Press bag around the top and then topstitch to finish.

Voila! The world's cutest tote bag!
I already said I was biased right?!
Thanks for stopping by!


0 comment:
Post a Comment