
I came across a very, very simple drawstring bento bag pattern; thinking it would be a delightful project to share as a tutorial. However, when the bag was complete, it seemed a bit small, barely fitting my 4.5" square bento box. So I worked on a 'formula' (did I tell you I'm a numbers geek?) to customize a pattern to fit your bento lunch box.
The bento lunch bag is a basic drawstring bag but what I like about it is how the bottom is done; a different method from the commonly used boxed corner.
Ready?
To determine HEIGHT for your pattern
1) Measure height for your bento lunch box = h"
2) Add drawstring tunnel allowance = +2.0"
3) Add top and bottom seam allowance = +1.0"
4) Add bottom fold allowance:
a) Measure the shorter width at the bottom of your box
b) Divide that measurement by 2 : add to height = +x"
5) Add allowance for extra room at top of bag = +2.25"
TOTAL HEIGHT FOR YOUR PATTERN = CUT (H")
To determine WIDTH for your pattern
1) Measure width for your bento lunch box = w"
2) Add allowance for room needed when bag is 'closed' with the drawstring = +5.0"
3) Add allowance for side seams = +1.0"
TOTAL WIDTH FOR YOUR PATTERN = CUT (W")
You see...a numbers geek am I ! :-B With this formula, making a bag to fit a square or rectangle container shape should be a help. If you are unsure about the fit, making a test piece is a good thing.
Now for the fun part. After calculating your measurements; here is how you put the bag together.
STEP 1 :Cut 2 pieces using your pattern measurements (there is no lining or interfacing for this style)

STEP 2 : Finish all edges with an overcast stitch or zigzag or stitch of your choice

STEP 3: Place fabric pieces right sides together and sew along bottom edges with pressure foot (align pressure foot along edge of fabric and sew OR sew with a 1/4" seam).
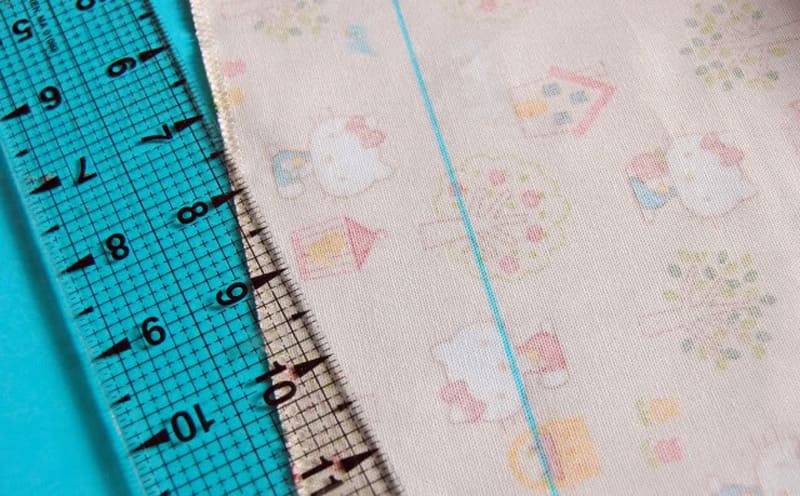
STEP 4: Mark the line for the bottom fold : Use the bottom fold allowance you used in calculating the HEIGHT. IMPORTANT : Measure from the sewing line on the bottom. Do this on both sides. Repeat for second fabric piece.

STEP 5 :Fold along bottom fold line; with right sides together, press. Repeat for second fabric piece. In this step you are forming the base of the bag; similar to doing a boxed corner but with a different method.

STEP 6: Bring the two folds together; creating a valley fold in between the 2 fabric pieces; lightly press fold in place. (see above pic)
STEP 7: Mark 2" from the top for the drawstring tunnel.
STEP 8: Pin sides. Sew along each side up to the drawstring mark.

STEP 9: To finish drawstring tunnel; fold over 1/4"; press. Then fold edge to drawstring line to form tunnel; press. Sew along edge.


STEP 10: Cut 2 cords; 23" in length each. Pull a cord through each drawstring tunnel. Tie ends.
A couple of notes :
In the 'formula', One Inch is added for the seam allowance although it may be less. Hey, this is a bag so an exact measurement is not needed. But with the extra allowance you can finish the edges by turning over the raw edges and sewing in place instead of using a cast over stitch or zigzag.
Feel free to adjust the height of the bag so that you can fit a couple of lunch containers in your bag.
Your bag may fit a couple different containers, close in size. If you don't want to do any calculations here are a couple of sizes for you to have fun with :
To fit a 3.5" (h) x 7.25" (w) bento lunch box :
Pattern Measurement : 10.5" (h) x 13.25"(w), Bottom Fold : 1.75"
To fit either a 2.75" (h) x 5.5" (w) lunch box or 4.5" (h) x 4.5" (w) lunch box
Pattern Measurement : 10.75" (h) x 11.50"(w), Bottom Fold: 2.75"
This pattern is so simple and quick that these bags will make great Christmas gifts! You can use the bag to hold a 'ziploc' container filled with cookies or candies, a scented candle, jars filled with cookie mixes, etc. The bag can be a lunch bag or a bag to carry electronic devices, jewelry, scrabble pieces, etc.
I added a couple of "hello kitty" bows to add a bit of cuteness...

P.S.
Sarah asks: Thank you so much for sharing this bento tutorial with us. I think it is so adorable. I am new to sewing and i understand up to number 5 and after that i dont know what to do. I was wondering if you could show more pictures of how you get the sides folded up to a point where you put the bow. I dont know about how far in to sew the edges and i dont know how you got the point for the bow. Thank you so much for your time and for sharing. Beautiful work!!!!
Answer: Hi Sarah! I found this tutorial that might be better at showing the steps. It uses a different method but the result is the same: TUTORIAL: DIY Bento Lunch Bag
As for the bow, if I remember correctly, it begins with a circle shape. Thanks for visiting!!

Pink Hello Kitty Bento Lunch Bag

Robot bento lunch bag


0 comment:
Post a Comment