
DIY Fabric Bucket. Free Sewing step by step Tutorial. In summer, our kitchen windowsill is the best place for most of our house plants. They drink in the sunshine and soak up vast amounts of water, but when the winter comes they need much less, but more often. I’ve always struggled with getting this balance right.
Now that I’m schooled up on where my plants need to be and how to take care of them, I am ready to fill my space with greenery again. I’m so confident I can successfully take care of my collection, so I’ve been making these DIY Fabric Buckets in preparation for my thriving indoor jungle.


Materials
Patterned outer fabric
Stiff calico fabric (alternatively stiffen fabric with iron-on interfacing)
Scissors
Measuring tape
Thread
Sewing machine (you can hand stitch using a needle if you don’t have access to a machine)
Iron
Directions
1. Cut your outer patterned fabric and inner lining into equal rectangles. If you have a particular pot in mind, measure the diameter across the top of the pot and add to it 1″. Multiply this by four and this will give you the length of the fabric. To calculate the height, measure the height of the pot and add it to half the diameter. Add 3″ to this number and you’ll have your fabric width.
Lay the pieces of fabric together with their right sides (the side you want showing) facing each other. Pin around the edge to hold in place and sew almost all the way around, leaving one corner open.
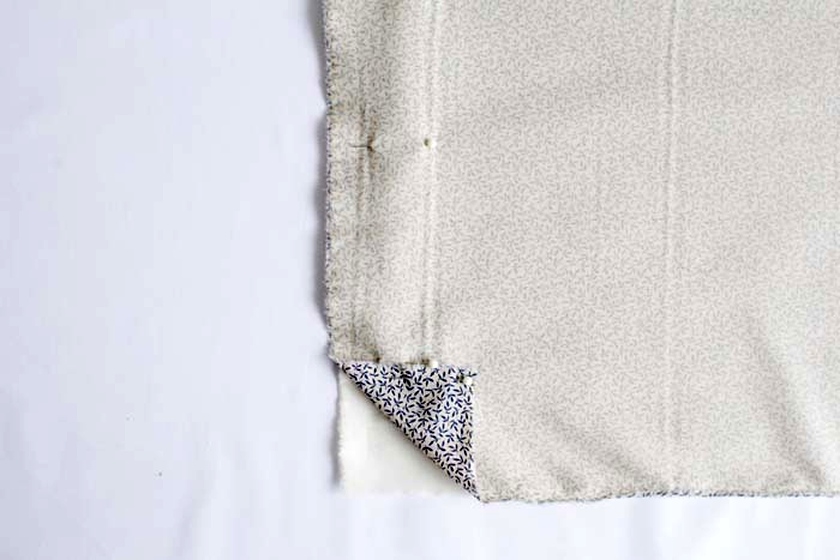
2. Turn the fabric inside out so that the patterned side of the fabric can be seen. Use your iron to press down along all the edges.

3. Pin up the open corner, folding the raw edges under and in between the two fabrics. Sew along the edge. This edge will be hidden inside the bucket so you don’t have to worry about getting it perfect.


4. Fold the fabric in half lengthwise, keeping the patterned fabric on the inside of the fold. Pin along the two sides on the corner we’ve just sewn up. Sew along these two edges and trim off the excess fabric across the same corner.


5. Measure the length of your fabric from the side seam to the fold. Now divide this number in half and note it down.

6. You should now have what looks like an inside out, handleless tote bag. Pinch both sides of the bag along the top, about halfway along, and pull apart. Your seams should all be lining up together now.

7. Take a tape measure or ruler and run it down the seam from the corner point until the length reaches the number we took note of earlier. Draw a line all the way across making a triangle. Turn the fabric around and do the same at the opposite corner.

8. Sew along the lines we just made and turn the bag inside out. You will now have a square bucket shape! Turn over the top of the fabric to help hold in place and fill to the brim with pots, plants and knitting needles, more fabrics, yarn (and the list goes on).


0 comment:
Post a Comment