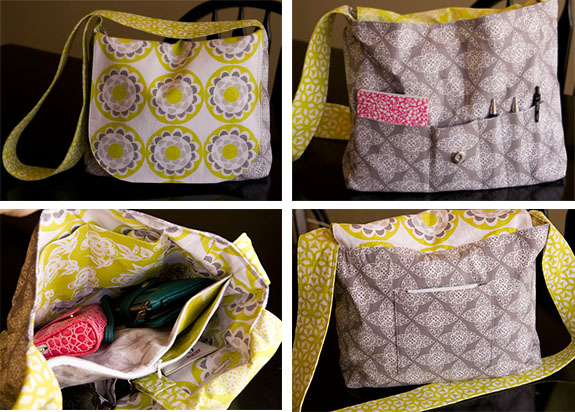
It was a great bag for a while. I made up the design myself, which is good and bad. I made mistakes on this one. One of my worst mistakes was using light-colored quilting weight fabric rather than home dec. The bag wore out quickly. After just one washing it lost a lot of its body and just slumped after that. It lasted about a year and then went on the top shelf of the closet. I held onto to it for that day when I wanted to duplicate it, since overall I really liked the design
I finally decided to remake the old messenger bag. I love having a cross-body bag when I'm out with the kids. I don't have to worry about hanging onto it while chasing watching them.
Back:
There are pockets all the way around the bag body. I love these back pockets for individually wrapped hand sanitizing wipes. It's easy access when I need them for the kiddos.
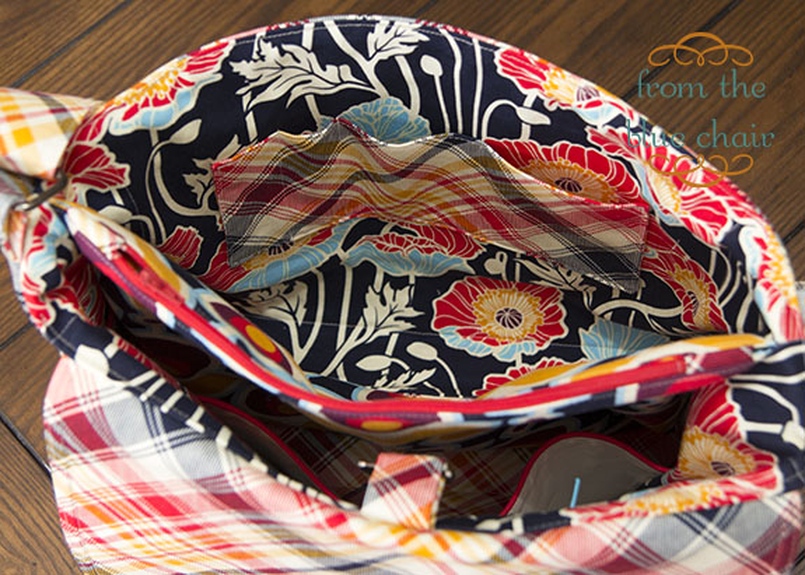
Front, under the flap:
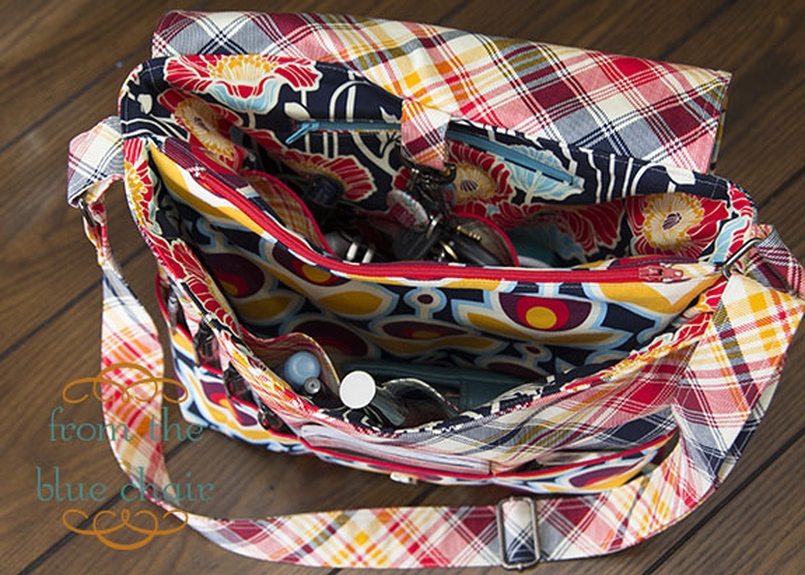
I kept the zipper pouch divider, but did it a little different this time. I like that part a lot.
All loaded up. I found four pens in my other purse while transferring my stuff. Last time I needed one I couldn't even find one in there. I should probably clean out my purse more often.
There is still plenty of room for a couple water bottles and snacks when we head to the zoo if the darn weather ever warms up around here.
Finished dimension: 12 1/2" wide, 4 1/2" deep, 10 1/2" tall
I'd guess this to be about a 6-8 hour project. It's not a starter bag, but it's not the Weekender either. This is a very sturdy bag. I wouldn't recommend doing this bag unless you have a walking foot. Some of the seams are just too thick for a standard sewing foot.
Messenger Bag Tutorial: Supply List
Pretty fabric:
Notions:
Supply List:
- 1/2 yard cotton duck (54-60" width) for interlining (1 yard for a super sturdy bag)
- 1 yard Home Dec (54" width) for bag body, flap, inside pockets (Tartan print in my finished bag)
- 1 yard Home Dec (54" width) for outer pockets, flap, zipper divider pouch (Primrose print)
- 1/2 yard Home Dec (54" width) for lining, small zipper pocket lining (Poppy print)
- 1 yard mid-weight fusible interfacing (20" width) for lining (This gives a bit more stability. If using very heavy fabric, you could skip this.)
- 1/2 yard quilting cotton for pocket linings (won't be visible)
- 1 pkg piping (I couldn't find the color I wanted so I plan to recover some white from my stash.)
- 1 12" zipper for inside pouch
- 1 7" zipper for inside pocket
- 1 slider and 2 loops for handle hardware. Purchase hardware for 1.5" straps. The printed measurement of my hardware is 1.75", but that is the outside measurement. These are the perfect size for 1.5" straps. (I couldn't find loops I liked so I bought an extra package of sliders and will pry the slider bar off with pliers--which I also did on my first bag.)
- 1 magnetic snap
- 1 key fob if desired
- Fray Check
- Denim needle
- Hera marker
Edit: Cotton duck fabric is a very heavy, canvas-type fabric. I found mine at Jo-Ann. Use anything heavy and sturdy such as denim or twill if you don't have cotton duck available.
This bag finishes at 12 1/2" x 4 1/2" (base) by 10 1/2" (height).
Messenger Bag Tutorial. Read more:
Part 2. Messenger Bag Tutorial: Cutting Instructions
Part 3. Messenger Bag Tutorial: Straps, Piping, Zipper Pouch
Part 4. Messenger Bag Tutorial: Installing Snap, Making Flap, Constructing Bag Body


0 comment:
Post a Comment