
I don’t know about you, but I’ve got a lot of little things filling my purse. I love these little zipper pouches to keep those things a little more organized. In fact, wanting a pouch like this was the reason I started sewing in the first place. I’ve been making these little pouches for almost three years and I’m happy to share exactly how I make now, with perfect end tabs on the zipper.

Here’s what you need:
Cut (2) 6″ x 9″ pieces from your outside fabric
Cut (2) 6″ x 9″ pieces from your lining fabric
Cut (2) 6″ x 9″ pieces of medium weight interfacing
Cut (1) 3″ x 11″ piece for strap
Cut (1) 3″ x 3″ piece for zipper tabs
Zipper – at least 8″ in length, though you can cut a longer zipper down to size

Iron your interfacing to your outside fabric. (I didn’t use any on this, since my fabric is a heavier linen/cotton blend.) Fold your tab in half and press. Open, and fold each side to the fold and press again. Fold ends together along your first fold and press. Cut it in half so you have a tab for each end.

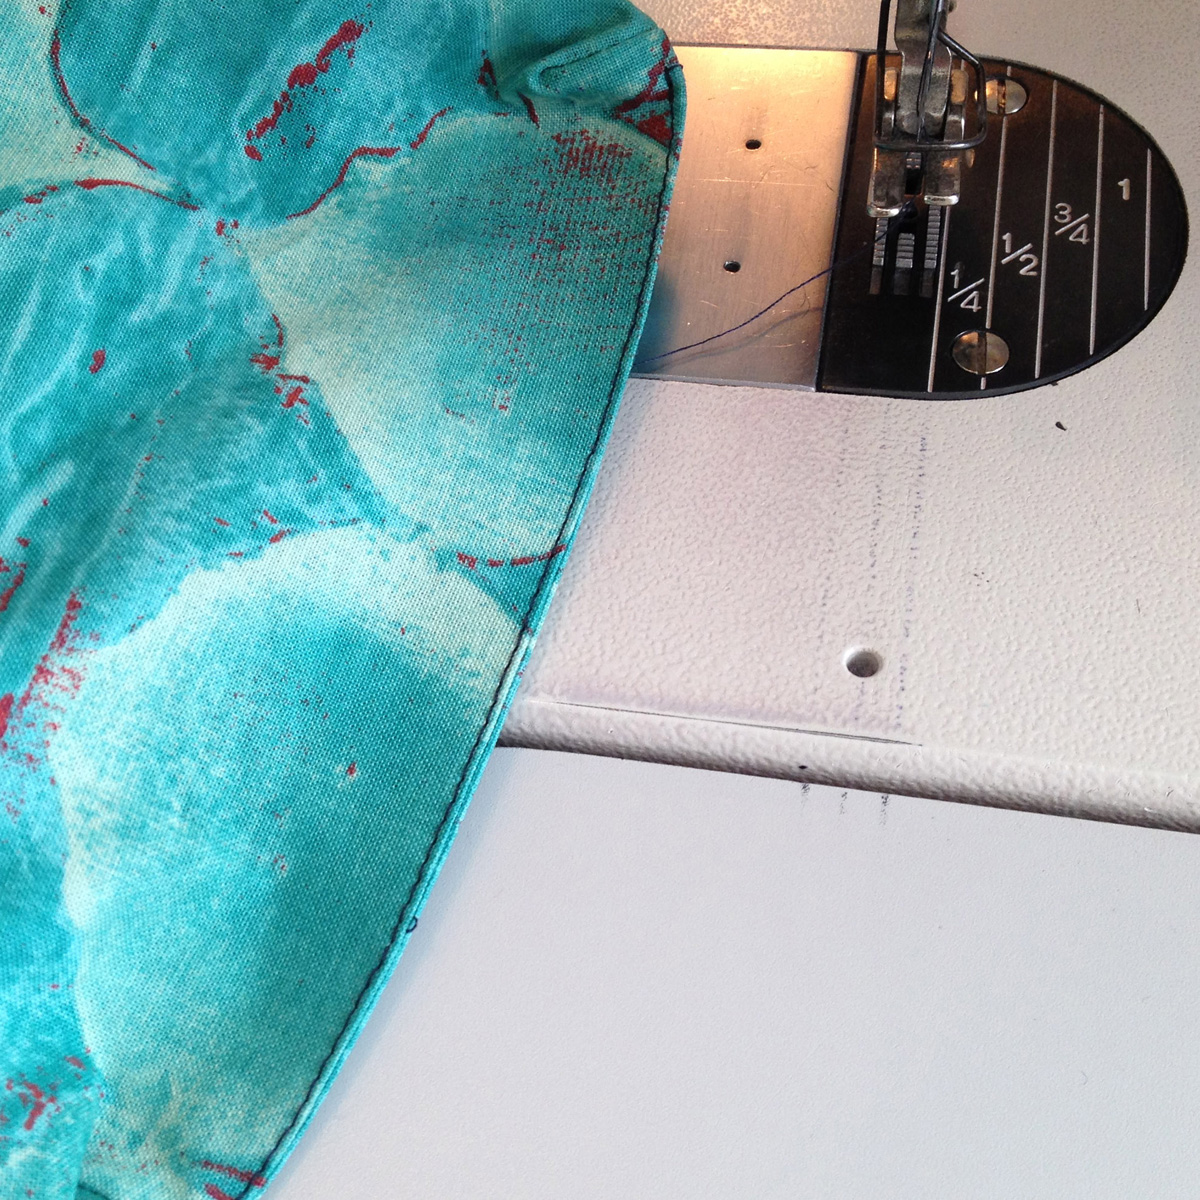
Place one tab on top end of your zipper. Sew 1/8″ from edge to attach it to the zipper. You will have to unzip it a little bit and hold the two sides of the zipper tape together as you sew.

Now take one side of your outside fabric pieces and mark 1/2″ in from each side along the top end. Line up the tab you just sewed with one of the marks. Trim your zipper at the other end exactly on the other mark. Now place the other tab on the bottom end and sew it like the first one.

Trim the sides of the zipper tabs even with the edges of the zipper tape. Now you’re going to make your zipper sandwich. Put your outside fabric right side up, lay your zipper, lining the end of the tabs with your 1/2″ marks, right side down. Then add your lining fabric wrong side up on top. You can pin if you like, I find it’s such a short length that it’s easier to just hold them all together without pinning. Sew 1/4″ from the edge, starting and stopping at the 1/2″ marks you’ve made and backstitching at each end.

Press these pieces away from the zipper and topstitch 1/8″ from the edge. Repeat with the other side of the zipper so you end up with this.

Set that aside and sew your handle. Fold the tube in half and sew a 1/4″ seam along the long edge. Turn the tube right side out and topstitch 1/8″ from edge on both sides.

Fold the handle in half to form a loop. Baste it onto one side of your outside fabric about 1/2″ from the top edge. I like my handle on the side with the zipper pull when the zipper is closed. That makes it easy to upzip your pouch while it’s hanging from your wrist.

Now match your outside fabrics together and your lining fabrics. Pin them together and sew around the outside, leaving an opening of about 4″ at the bottom of the lining. Use a 1/2″ seam allowance.

When you get to the zipper, fold the seam so that the outside fabrics match up together on the inside and the lining fabrics are on the outside. Pinch it together this way and make sure that you don’t catch the zipper tabs in your seam so your sides by the zipper are nice and smooth when you’re finished.

Now we’re going to box the corners. Grab the fabric in the corners and pull it apart so you can match up the side seam with the bottom seam. Draw a line 1.25″ long, this will be 1″ in from the corner along the seam. Sew along the line, then trim the corner to a 1/4″ seam allowance. Repeat for the other three corners.

Pull the whole thing right side out through the opening you left in the lining. Sew the opening closed either by hand or using a very narrow seam on your machine.
Push the lining back into the bag and you’re finished!
If you want to make a different size, just remember to cut your fabric 1.5″ longer than you want your zipper opening. You’ve got 1/2″ seam allowances on each side and your zipper tabs take up about 1/2″ together.


0 comment:
Post a Comment