
If you live in a cold climate, I'm sure it feels like spring and summer are very distant. Fortunately, they're right around the corner and since it's never too early to start dreaming about blooming flowers and sunny days, here's a mid-winter project that is sure to fill you with warm thoughts.
You may not be able to put this bag to use on the beach right away, but in the mean time, you can use it to store your cold weather knitting and crochet projects...I'm already using mine for just that purpose. :)
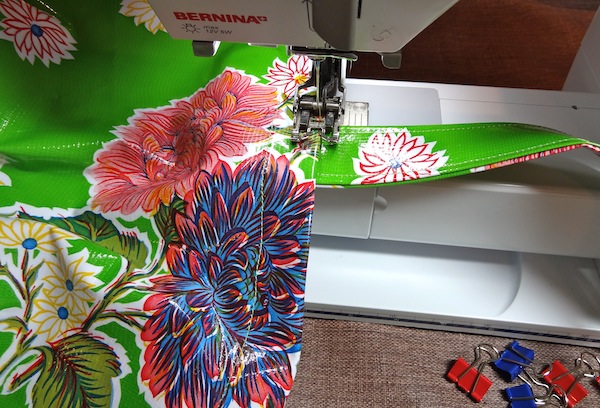
Here's what you'll need for your bag:

- oilcloth
- rotary cutter and mat
- plexiglass ruler
- thread
- binder clips
- sewing machine with walking foot (not pictured)
*I used my walking foot for all sewing steps in this project and I found that it worked great for feeding the oilcloth through my machine.
Step 1: Cut out two 20.5" squares and two 23.5" x 6" rectangles from the oilcloth. The squares will become the body of the bag and the rectangles will become the handles.
Step 2: Fold the rectangles in half down the center lengthwise, then open them up and fold the outer edges in so that they meet at the center crease. Fold the rectangles in half along the center crease again, enclosing the raw edges inside the fold. Use binder clips to secure the fold as pictured below.


Step 3: Sew down both long edges of each handle piece .25" from the outer edges as pictured below.


Step 4: Lay the two large squares with wrong sides together and cut a .5" square out of the bottom two corners of both pieces. The upper edge with no squares cut out of the corners will be the top edge of the finished bag.

Step 5: Keeping the two square pieces wrong sides together sew along the two side edges and the bottom edge with a seam allowance just under .25" (I used the .25" guide on my machine, but set my needle in one of the right positions to make the seam allowance slightly narrower).

Step 6: Trim the seam allowances down so that they are very narrow, but don't cut too close to the stitches. The technique that we are using for the edge seams is a french seam. This type of seam is very neat on the inside of the bag and does not show any raw edges.

Step 7: Turn the bag wrong side out. Flatten the bag so that the edges are creased right at the seam and secure them like that with binder clips.

Step 8: Sew along the side edges and the bottom edge with a .25" seam allowance.

Step 9: Match up the seam on one side of the bag with the seam on the bottom of the bag and flatten the corner into a triangle as pictured below. Use your plexiglass ruler to find the point where the width of the triangular section is 7". Make sure that you are keeping the lines of the ruler parallel to the center seam. Draw the 7" line onto the fabric with a temporary fabric marker.

Step 10: Sew along the line that you drew in step 7.
Repeat steps 9 & 10 with the other corner of the bag.
Step 11: This part can be a little challenging to maneuver, so refer to the photos below for some additional clarification. Turn the very bottom of the bag right side out, but keep the sides scrunched down so that you can maneuver under the sewing machine foot.
Flatten the two triangles in the bottom of the bag so that they lay flat and stitch the point of each down to the bottom of the bag. This step helps to reinforce the bag bottom and adds a little stability. If it's too difficult to maneuver this step, you can cut the triangles off right above the seam line and either leave that little bit of raw edge exposed or cover it up by stitching some bias tape over it.


Step 12: Turn the bag completely right side out...almost done!
Step 13: Fold down the top edge of the bag one inch and then fold it over one inch again, enclosing the raw edge inside. Use binder clips to hold it in place. Figure out where you want to attach your handles and slip the ends of the handles under the folded top edge of the bag and hold them in place with binder clips.

Step 14: Sew around the top edge of the bag, .25" from the bottom of the folded edge, securing it in place.
Step 15: Fold the handles up and tack them in place by sewing the handle to the top of the folded edge of the bag as pictured below.
Step 16: Start planning a trip to the beach!


0 comment:
Post a Comment