
Fun with oilcoth! Have you ever sewn with it? I love it because you can just wipe it clean – essential when you have kids around. They are really easy.
You need
– 2 rectangular pieces of oilcloth. Cut them to any size you require. Mine were approximately 30cm x 25cm. My prequisite was that I needed them to be able to fit an adult size toothbrush, and I went ahead from there.
– A 40cm zip (or larger or smaller depending on what size you want yours to be)
– Piece of ribbon for wrislet.
– Scissors, coordinating thread, sewing machine, paper clips.
Some oilcloth sewing tips – do not press it, the iron will melt it. Use your fingers to push seams out. If there are a lot of creases in it from being folded in a postage parcel, or folded at the store, just unfold it and leave it in the sun or a warm place for a couple of hours. Use a sturdy needle like a denim needle. Use paper clips instead of pins so you don’t puncture the oilcloth. You can buy oilcloth in the Home Decorating section of your craft / fabric store (often on a roll with table cloth plastics) or you can buy it from loads of great stores on etsy. You can also go for a laminated cotton which is available in a great range of designer patterns.

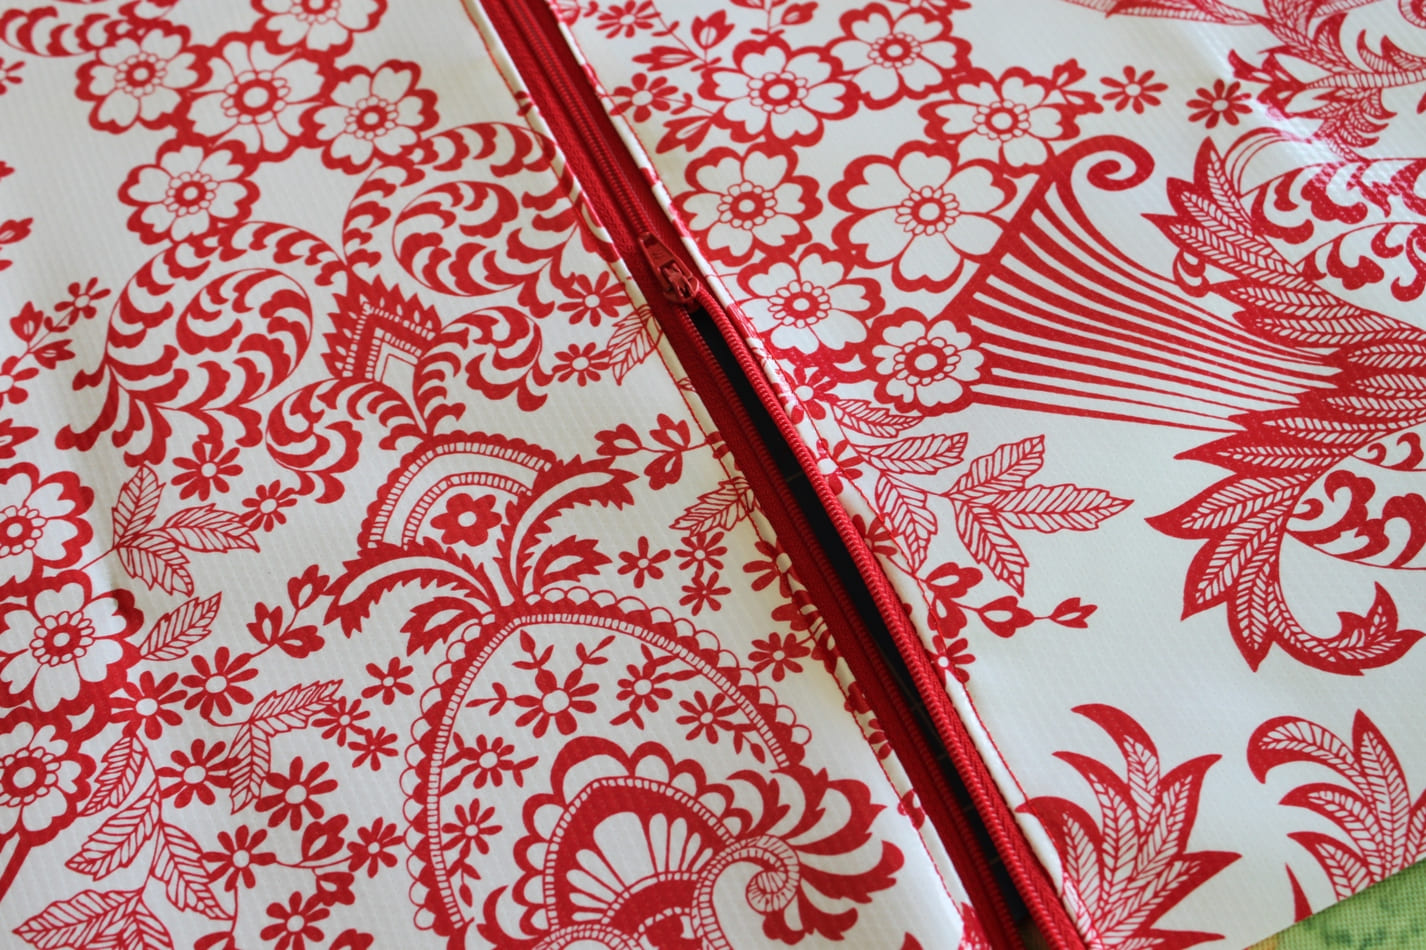
Attach the zipper foot to your sewing machine. Place your first piece of oilcloth right sides down and line up with the upper part of the zip. Pins puncture holes in oilcloth, so use you paper clips to hold it in place.

Sew together.

Flip your oilcloth right side out and topstitch close to the zip for a nice finish. The right side of your oilcloth may stick to your sewing machine foot a little bit so you may have to help feed it through.

Complete the above steps for your second piece of oilcloth. You will end up with this:

Open your zip half way. This is important or once you have sewn it up you won’t be able to turn it out!
If you want to add a little wristlet, fold a piece of ribbon in half and place it where you want it.

Then fold the bag so the right sides are together, and hold in place with paper clips. Sew around all three sides.


To get the box pouch look, box each corner. To do this, pinch the corners to form a triangle, having the seam come up the middle.

Sew across the triangle and trim.


Repeat for all other corners, making sure the length between the tip of the triangle and the seam are the same.
You will now have this:

Which you will turn inside out to have this:

Lovely! These pouches are quite soft and not overly sturdy in holding that boxed shape, which is fine for me because I just wanted something simple and waterproof that would fit in the girls’ suitcases. If you want of sturdier finish you may want to consider lining it.


0 comment:
Post a Comment