
It’s basically two oven mitts that are connected in the middle, kinda like mittens on a string but cooler and with a greater function. That middle section plays a key part in protecting your forearms and clothing from larger and sometimes heavier hot pans (yeah, I’m talking to you Lasagna pan!)
Do you have a cook, baker, or chef in your life who might like one too? Well, then let me show you how to whip one up for them…easy peasy lemon squeezy!
The Double Oven Mitt
2 – 7 1/2 x 31 inch rectangles of your main outer fabric
1 – 7 1/2 x 31 inch pieces of insul-bright
4 – 7 1/2 x 8 pieces of the mitt fabric
1 package of extra wide double fold bias tape
pins
coordinating thread
rotatary cutter, etc, etc.

First, cut mitt shapes out of the ends of both long pieces of fabric and insul-bright. Cut a mitt shape out of one 8 inch side for the 4 pieces of mitt fabric as well. I just free-handed this by tracing the outline of an oven mitt and adding a 1/2 inch for a seam allowance!!
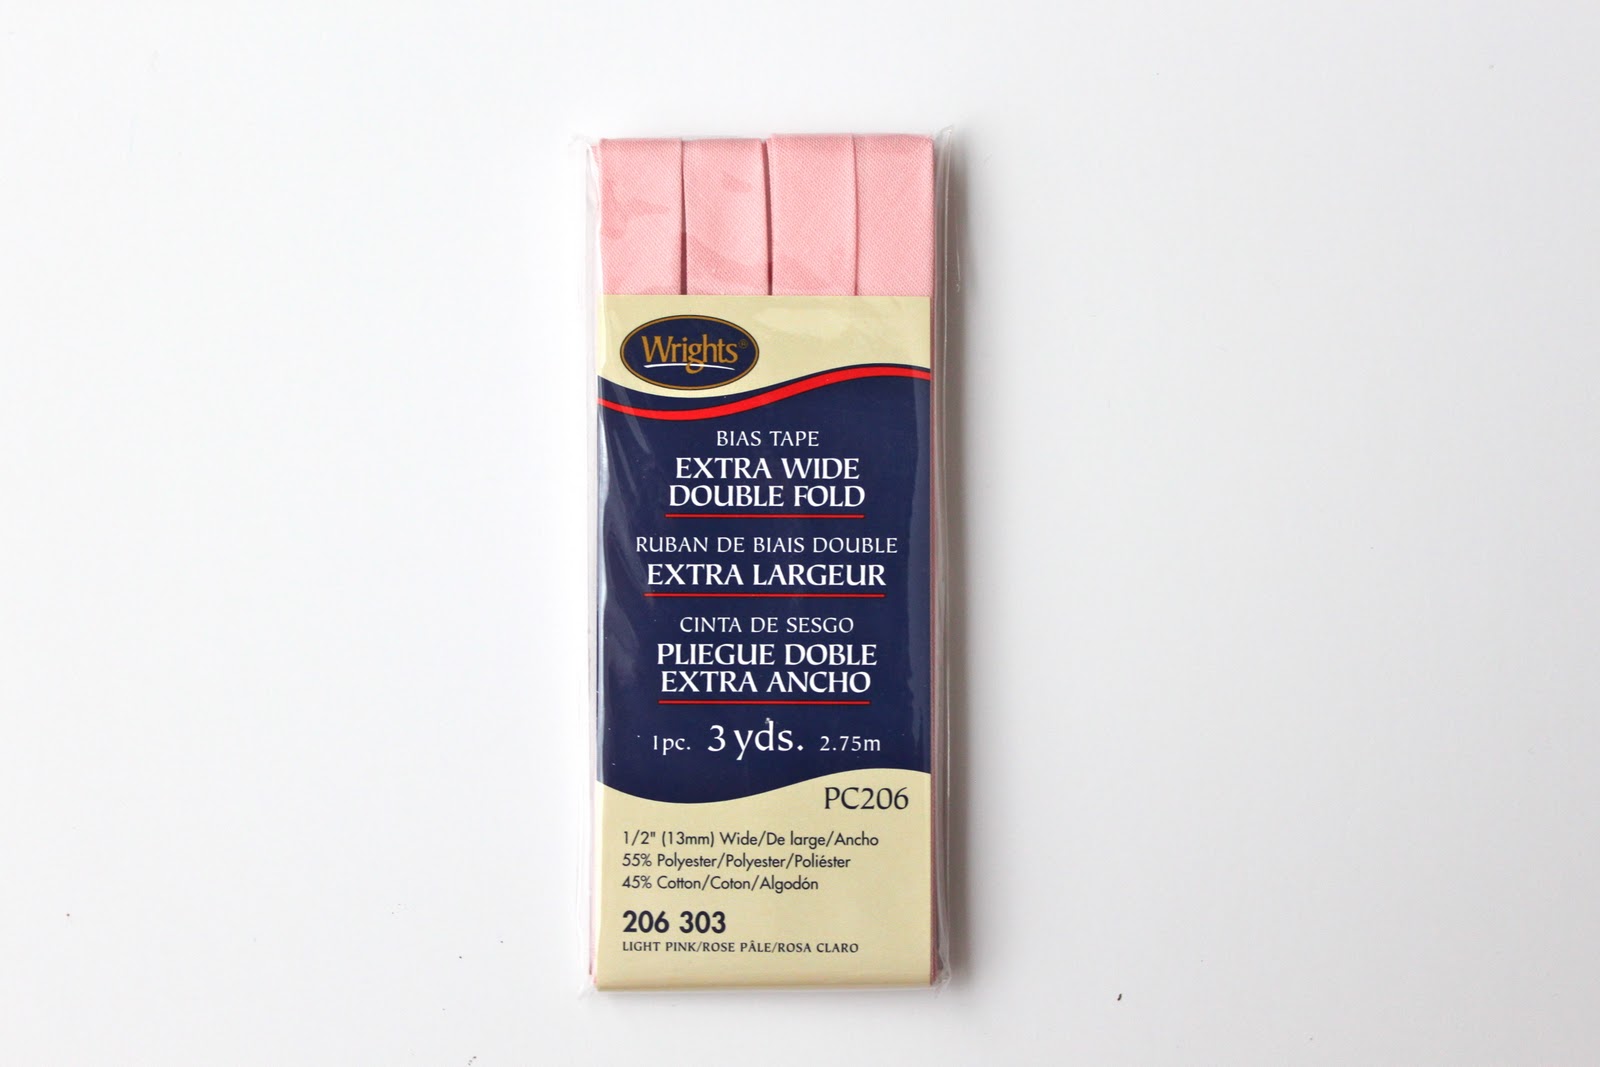
Next, grab your bias tape. It looks like this picture above and is usually found near the zippers in most fabric stores.

Cut 2 pieces of bias tape measuring 8 1/2 inches long. You want them to be just slightly longer than the width of your oven mitt fabric.
With two of your oven mitt fabrics wrong sides together, fold the ends of your bias tape under and sew it on to the uncut edge of your mitt. Do this to the other two pieces of mitt fabric as well. Set aside.

Now, layer your fabrics together like so…outer fabric wrong side up, insul-bright shiny side down, outer fabric right side up, oven mitt right side up at both ends.
**If you look closely at the insul-bright you will notice one side has a shine to it, kind of like a shiny foil look. You need to have this side facing down when you are assembling your mitt as this side will be the one closest to the heat source when you are using your double oven mitt. The shiny side will reflect the heat source and therefore help to protect your hands from getting burned!

Here’s a view of what one end should be looking like…

And here’s a shot of the double oven mitt before bias tape-ing the edges!

Okay, so now grab your bias tape again and start pinning it around your mitt. I started mine in the center of the mitt, but really you can start yours wherever you would like. (Here How to Sew Bias Tape Tutorial)

At the other end of your bias tape go ahead and cut about 5-6 inches off. Go ahead, you should have some left to use if you are following these dimensions!
Did you do it? Go ahead, doooo it!

Now, sew the open length of bias tape together like so. We are making a little hook to hang our double oven mitt from, neat-o eh?

So, place your hook in the center of one side of your double oven mitt, whichever side you would like to see more if you were to hang it. I chose the non-mitt side for my hook.

Pin the hook underneath your pinned bias tape before you start to sew it down. Then, go ahead and start sewing that bias tape down. All the way around, being sure to go slow around the curves!!

And there you have it!
How cool is this…a Double Oven Mitt to keep you nice and safe and free of burns!
Get it? How COOL is this!?!


0 comment:
Post a Comment