
How to Make a Drawstring Bag ( Easy Sewing Project). Learn how to make a drawstring bag easily with this DIY sewing tutorial. Very easy and quick to whip up, you can make one in 10 minutes.

Cut two pieces of outer fabric measuring 13×17 1/2″. Cut two pieces lining fabric measuring 13×15 1/2″.

Sew lining together, leaving it open at on of the 13″ ends and leaving a hole for turning at the bottom. Clip bottom corners.

Take outer pieces and on one short edge fold over 1/4″ and then fold over another 1 1/2″. Press well. This will be the casing for your drawstring.

You’ll need to sew a hole for the drawstring. I sewed a buttonhole but if you know how to put grommets in, knock yourself out. Sew your buttonhole (or place grommet) 1″ from raw edge and 1/4 from top folded edge, parallel to the top folded edge, as shown.

Here is your completed buttonhole.
Here are the corrections:
1. The lining does not need to have an opening at the bottom. You can stitch that up right now.
2. The buttonholes need to be placed 1 1/2″ from the top raw edge of fabric, do not fold your casing over and make the buttonhole. You’ll fold your casing over after the buttonholes have been made. I had to rip out my buttonholes and make new ones.
Alrighty, now that we have that out of the way, we can complete this project! I was really happy with how it turned out, despite the mistakes I made along the way.

You have the bag pieces ready so now the only pieces you need to make are the straps. Cut two pieces of fabric measuring 3×30″. Fold raw edges in lengthwise, press, then fold in half lengthwise and press. Your straps should be about 3/4″ thick.
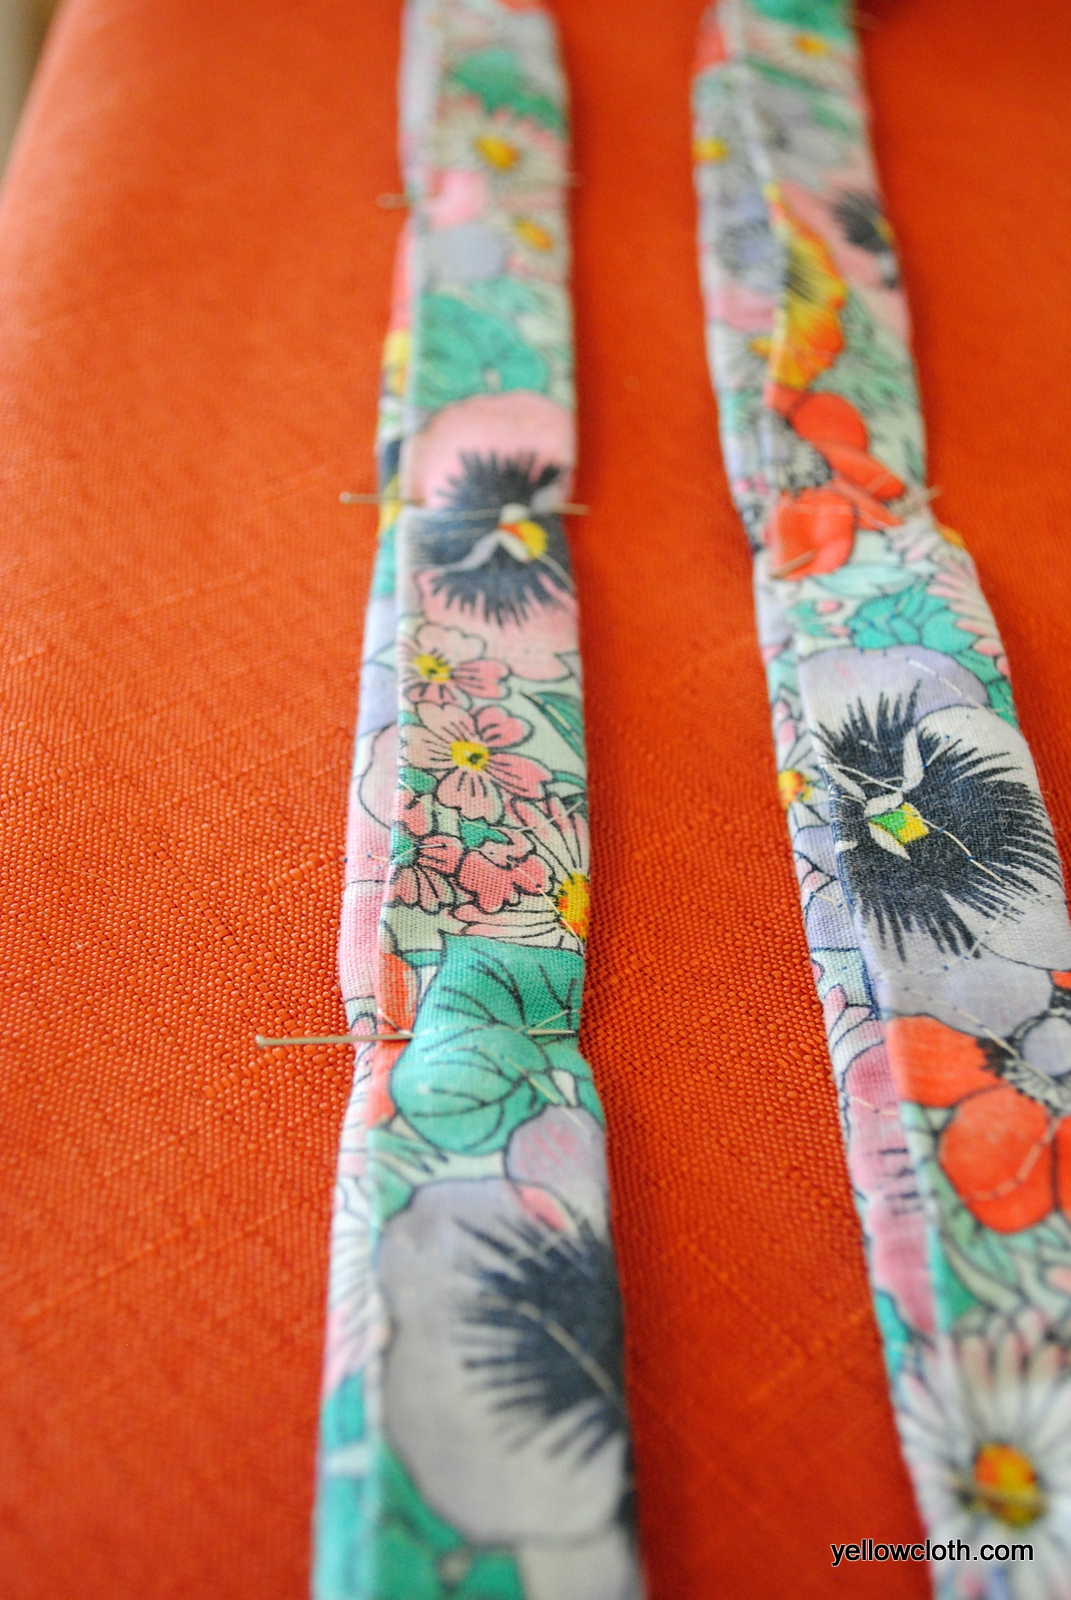
Pin along length of straps.

Stitch along length of straps.

Now you can stitch up your outer bag. Leaving top raw edge open, stitch around sides and bottom, sewing straps into the lower corners of the bag, about 1/2″ up from bottom. Backstitch a couple times to secure the straps.

After you’ve sewn the three sides, clip bottom corners.

With now turn your lining pieces right side out and slide the outer bag into the lining, wrong sides together. Straighten as best you can and line up side seams.

Now we’ll sew the other end of the straps to the top of the bag. Orient bag like so, so your buttonholes are face up. Take the right strap, straightening it from the bottom corner so it’s not all twisted up and push it through the right buttonhole so it is now on the wrong side of the outer fabric. Taking care not to twist strap, bring it underneath the bag and to the upper left hand seam. Sew the strap along the existing outer bag seam where arrow is pointing.

Then take the left strap and, without twisting it, bring it up through the left buttonhole and bring the strap over the top of the fabric and sew it onto the left outer bag seam, like shown.

Pull the straps bag into the main bag so they are lying flat. Fold casing over the straps.

Sew all the way around the casing to secure, taking care not to catch the straps in your stitching. You should easily be able to feel the straps within the casing.

Turn right side out, and you’re done!
Quick sidenote: if you’d rather not hassle with making straps, you can simply use rope, webbing or some other material and attach it like I did above or like the one I already have:

Now you have a great little drawstring backpack!


0 comment:
Post a Comment