
So we covered Fabric Wrapping Paper previously, but what about when you just need a gift bag? I know most people already save and reuse gift bags, but how much cuter is one made out of fabric - that's also reversible?!?

These are fabrics from the lovely Barij. I've been saving this sweet stack of fat quarters for something just right and this little bag is just darling! No really. Even the hubs (who doesn't really care for my fabric and is very manly) said and I quote, "wow! That's a cute bag! Did you just make it?"

Yes I did make it and it fits 1 lb. of coffee beautifully! Did I mention it took only 2 fat quarters?

The great thing about this project is that you can easily increase or decrease the size of the bag depending on your need! You could also make a second handle and place the handles on the sides instead of over the top. So much versatility and so much sweetness!

Materials
You will need 2 Fat Quarters, one will be the interior and one will be the exterior.
From both the interior and exterior you will need the following:
2, 8-1/2" x 6-1/2" rectangles.
2, 8-1/2" x 3" rectangles.
1, 6-1/2" x 3" of both
1, 2-1/2" x 15"
From a lightweight fusible interfacing (no heavier than say Pellon 911F) cut the following:
4, 8-1/2" x 6-1/2" rectangles.
4, 8-1/2" x 3" rectangles.
2, 6-1/2" x 3" of both
Directions
1. Fuse interfacing to the wrong side of each piece of fabric.


2. Start with only one of the fabric colors.
With right sides together, sew the 8-1/2" x 3" rectangles to the sides of the 8-1/2" x 6 1/2" rectangles with a 1/4" seam allowance.


3. Press open the seams.
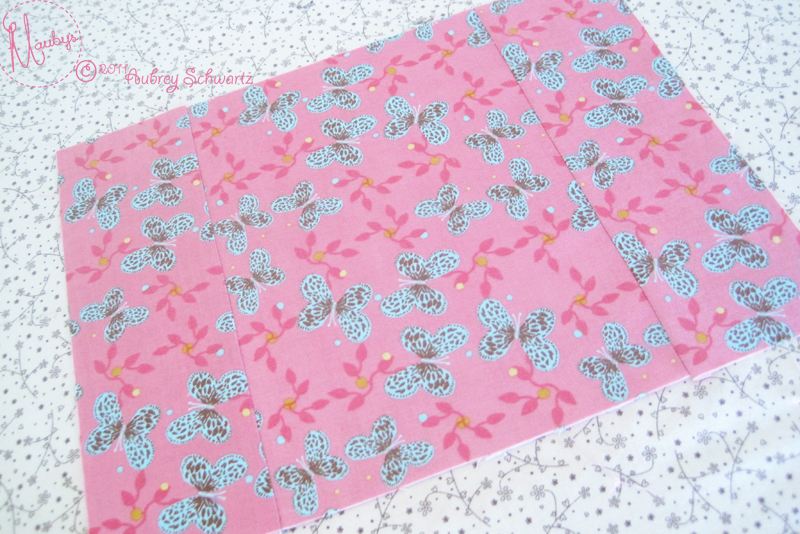
4. Using a 1/4" seam allowance, with right sides together, take the other 8-1/2" x 6-1/2" rectangle and sew it to the other side of one of the 8-1/2" x 3" rectangles.


5. With right sides together, line up the remaining open seams and sew with a 1/4" seam allowance creating an open ended "box".


5. Take the 6-1/2" x 3" rectangle (bottom) and pin the 6-1/2" edge to the 6-1/2" edge of the "box" right sides together. Center the box edge under the rectangle edge, there should be about a 1/4" overage on each end of the rectangle.


6. Sew with a 1/4" seam allowance.

7. Kind of fold in the bottom rectangle and line up the other 6-1/2" edges repeating steps 5 & 6 with this side.


8. Take the excess 1/4" on each edge and smoosh (yes I said smoosh) it into the bottom, lining up the 3" edge of the bottom with the 3" edge of the sides you sewed on in the first 4 steps. Pin.


9. Sew with a 1/4" seam allowance. Repeat with the opposite side.


10. Now you have a bag!


11. Edge stitch (about a 1/8" seam allowance) around all sides and the bottom. This will create a more formed bag. It's a little rough on the corners but so worth it in the end! I recommend sewing down the sides first and then the bottom edges.


12. Repeat steps 1 -11 with the other fabric.
13. Fold the 2-1/2" x 15" in half lengthwise wrong sides together. Press.
14. Unfold and fold in the sides to meet at the fold line. Press.


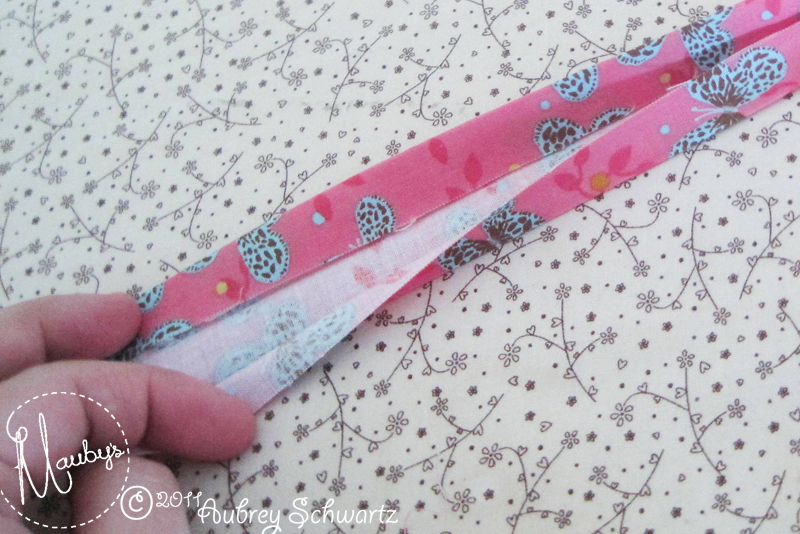

15. Repeat with the 2-1/2" x 15" strip of the other fabric.

16. Place each strap on top of the other strap with the folded edges in between.


17. Pin together.


18. Edge stitch along both lengthwise sides.

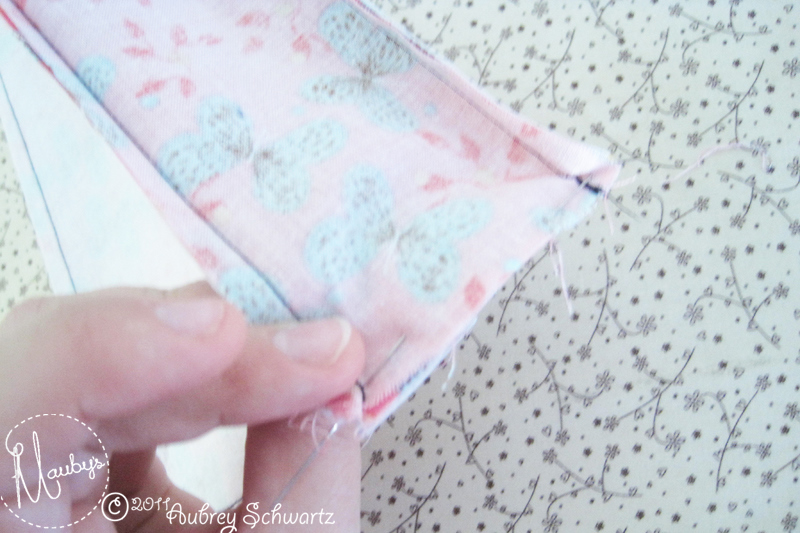
19. Choose which fabric you want to be the main handle fabric. Only one will show.
Then fold in half with the main fabric on the outside. Stop the fold at about 1-1/2" from each shorter edge.
Then edgestitch the lengthwise edge leaving that 1-1/2" on each end open.


20. Opening the un-sewn edge of the handle pin to top of one of the sides of the bag. Sew with a 1/4" seam allowance.


21. Repeat with the other side being sure not to twist the handle.


22. Turn the bag that does not have the handle attached inside out. Place the bag with the handles inside the inside out bag. This places the right sides of the bags together.
Line up the inside and outside corners and pin.


23. Sew along the top with a 3/8" seam allowance, leaving a 2"- 3" turning gap.


24. Using the turning gap pull bags through and right side out.

25. Tuck one of the bags into the other, straightening edges and corners.

26. Edge stitch along the top of the bag closing off the turning gap.

27. And voila! Super cute bag! ;)

I mean seriously, can you get enough?

Maybe you can...but I can't! Just so cute and convenient.

Reversible & washable.

CUTE!!!!


0 comment:
Post a Comment