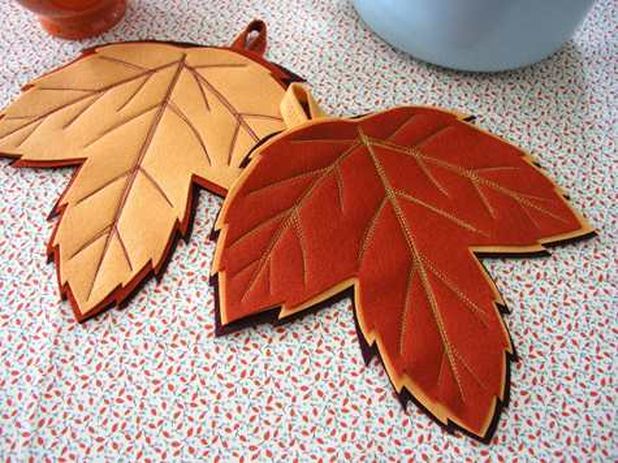
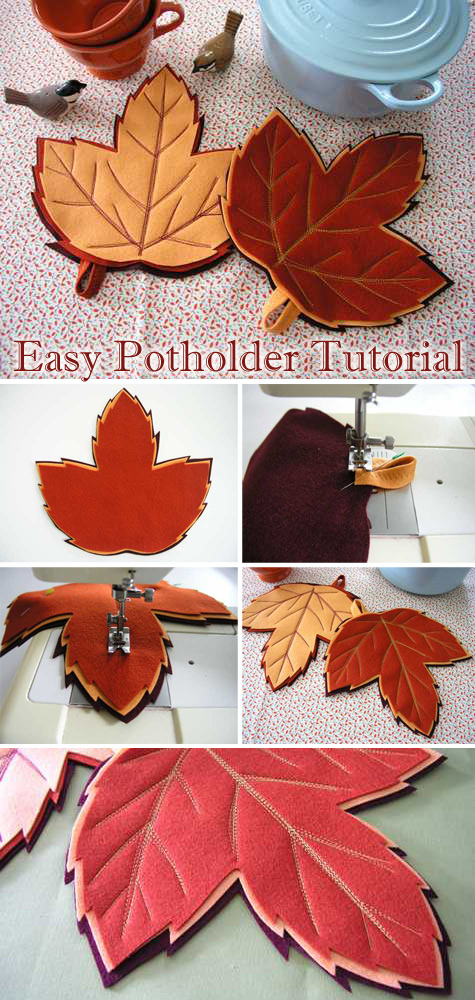
Add a little fall flair to your kitchen with these quick and easy wool potholders. They’re super simple to make — just cut out the leaf shapes, add the decorative stitching and you’re done!
You can finish one in an hour or less, and they’re a great beginner project for those of you still afraid of your sewing machines. (You know who you are!) Keep these cuties for yourself or pass them along with a homemade pie or a jar of apple butter as a sweet hostess gift.
Materials
about 1/2 yard each of three colors wool felt (Note: be aware that felt made of synthetic fibers can melt when it comes in contact with high heat, so wool felt is recommended here. )
sketch paper to draw a leaf template, or a picture of a leaf to use as a guide
sharp scissors
pencil
contrasting thread
sewing machine
Instructions
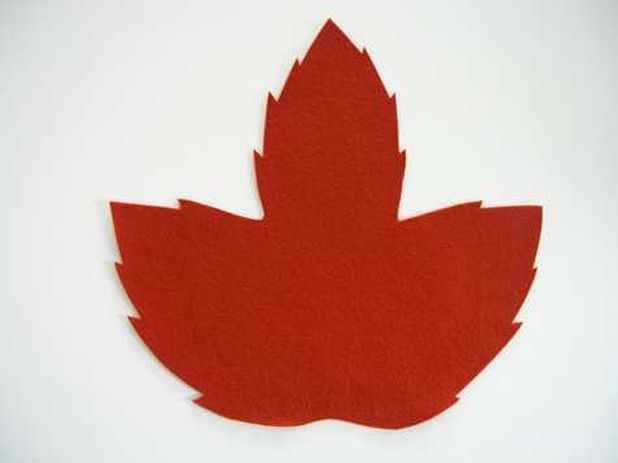
1. Create a leaf shape.
To begin, draw or trace a simple leaf shape about 8″ wide and 8″ tall. Don’t worry about making it perfect — an imperfect shape adds to the charm! You can use a real leaf as a guide, or look for a leaf shape in a free clipart collection. You can also print out my photo above and trace it (enlarge it on a copy machine, if necessary).
2. Cut all three layers from felt.
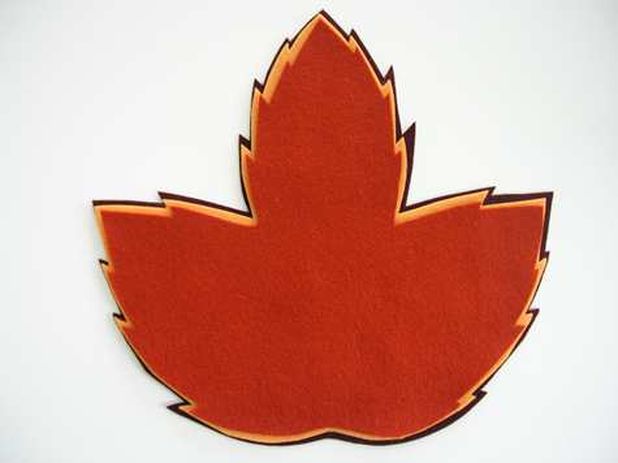
Cut one piece of felt from your leaf shape, then lay it on top of another color of felt. Cut out the second piece just slightly larger than the first, then repeat with a third color of felt. You’ll have three layers of leaves, each slightly larger than the previous layer. Again, don’t worry about making them perfect!
3. Make the hanging tabs.
Cut a strip of felt about 1″ wide and 4″ long.
Fold it in half lengthwise, then stitch down its center using a zig-zag stitch.
Fold the strip in half and pin it to the bottom edge of the largest leaf piece.
Stitch it in place about 1/2″ from the raw edge of the leaf, using a straight stitch.
4. Add the veins.
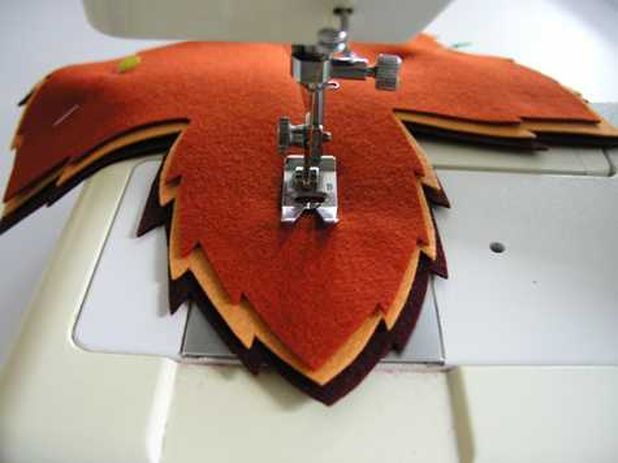
Layer all three leaf pieces and pin them together. (Be sure that the raw edges of the hanging loop are sandwiched inside the layers so that they’re not visible on the finished pot holder.) Set your machine to a slightly longer than average stitch length. Beginning at the base of the leaf, sew a line all the way to the tip of the leaf.
When you reach the tip, raise the presser foot, pivot and sew back to the base. Repeat this to make several lines of stitching along the same path.
Repeat to sew another vein up each section of the leaf, always returning to the same beginning point at the leaf base. You can add all of this stitching in one continuous line, constantly sewing back and forth and always returning to the same beginning point.
Continuing in the same manner, add smaller branches off of each main line.
And you’re done! That’s all there is to these simple pot holders. Now go cook up a big batch of something warm, and put them to use! (I highly recommend apple pie.)








0 comment:
Post a Comment