
I wanted to make a fabric basket which is great for storage of all kinds: books, sewing supplies, fabric, blankets, etc. Easy DIY: Sew your own fabric basket.

Follow the tutorial below and sew your own!
Supplies:
1 yard Justina Blakeney Fabric
1 yard Pellon fusible fleece
1 yard interior fabric
General sewing supplies
Cutting:
2 exterior pieces: 18" x 18.5"
2 interior pieces: 18" x 18.5"
2 fusible interfacing pieces: 18" x 18.5"
2 straps: 4" x 8"
Instructions:
Cut out your pattern pieces.

Iron your fusible interfacing on the liner according to the product instructions. I usually do this on the exterior fabric but the heavy weight fabric I'm using makes it hard to bind the adhesive side so the liner works for this.

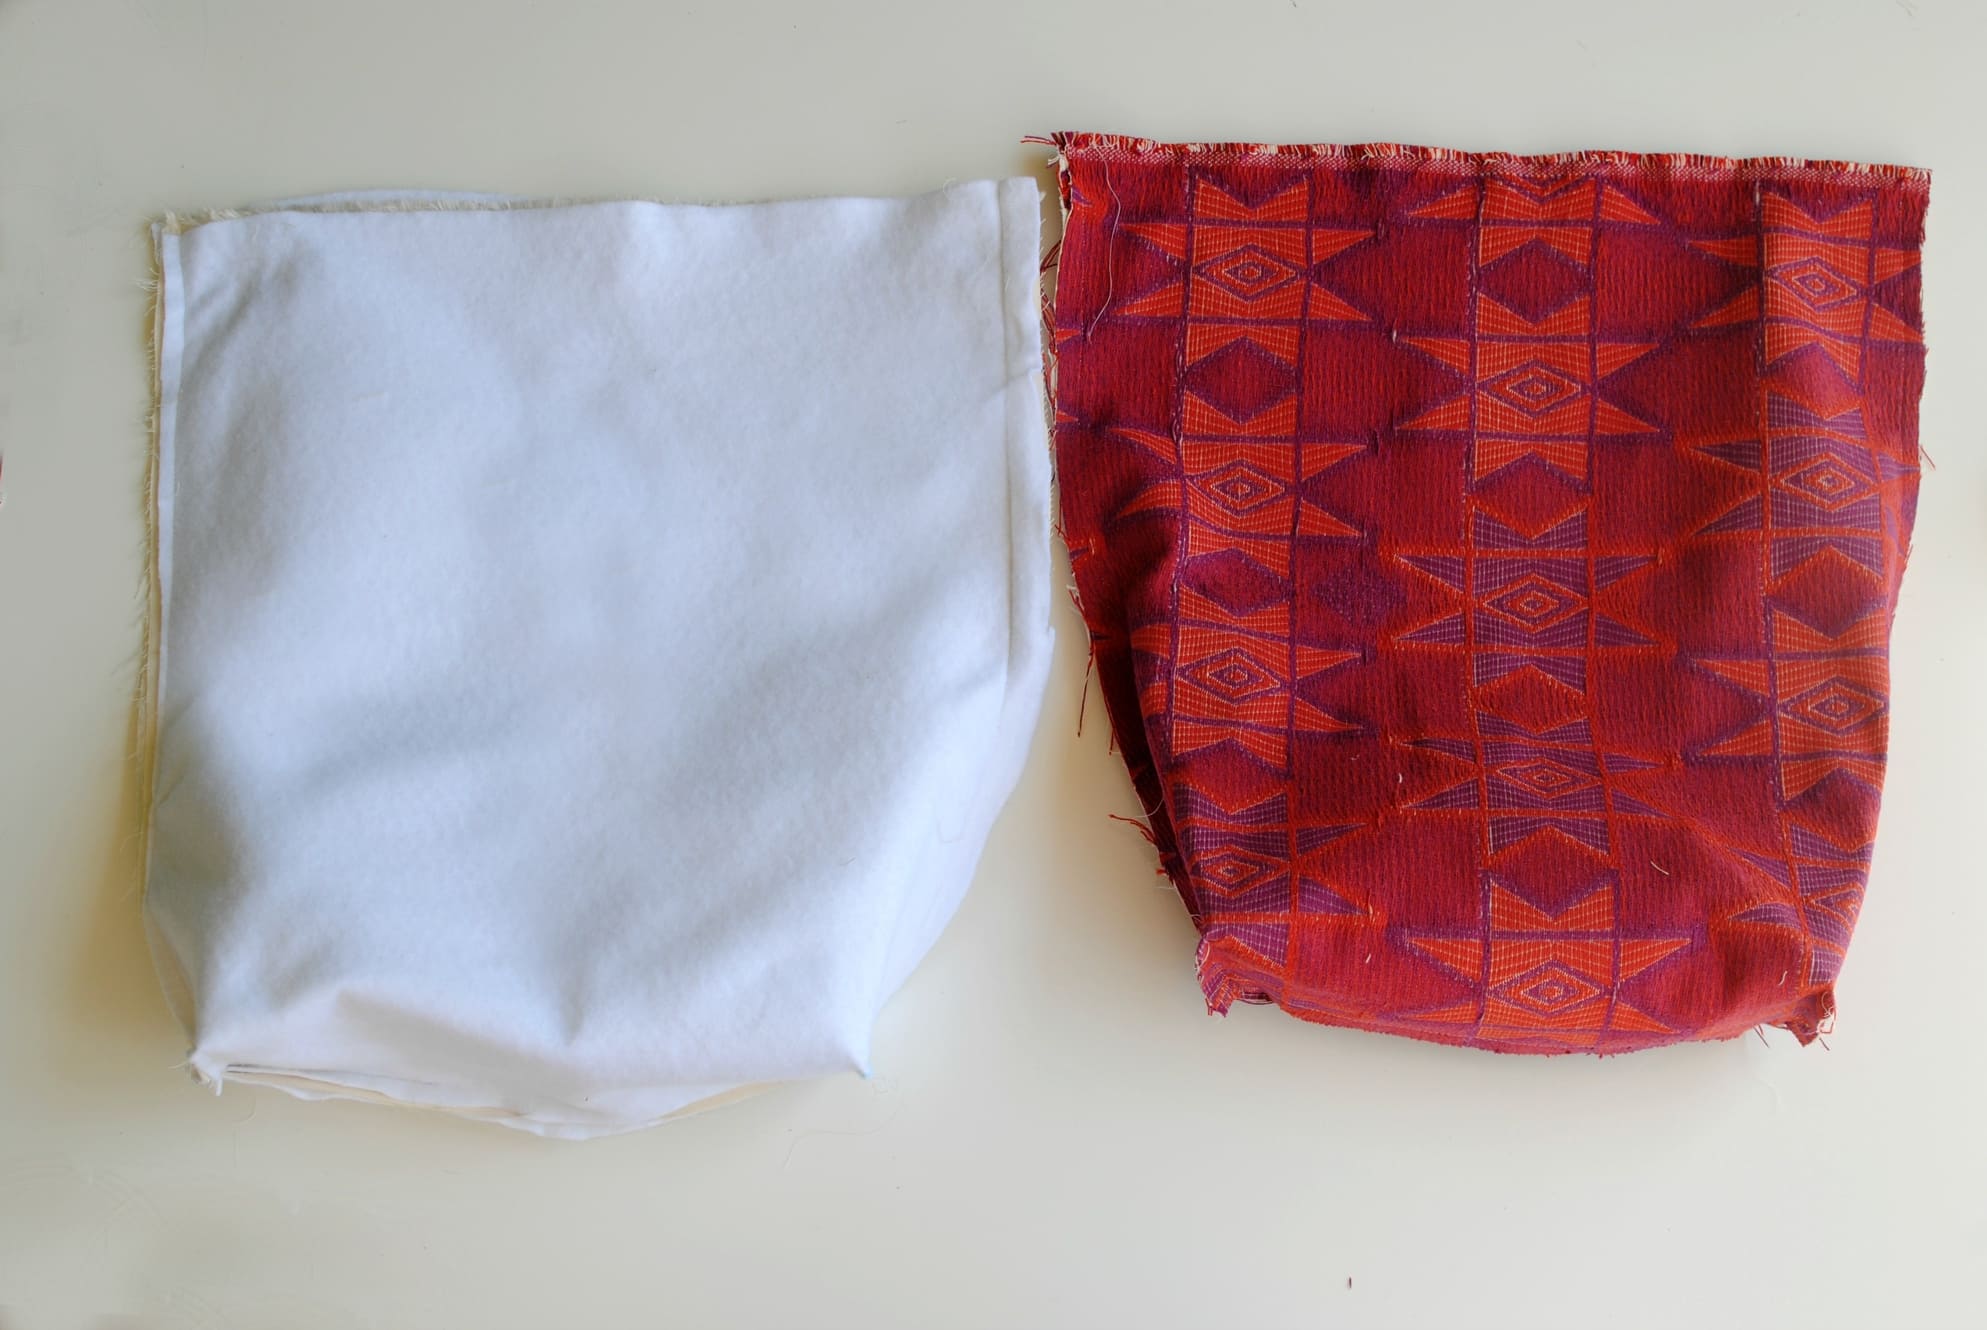
Take both your interior pieces and place right sides together. Sew both sides and bottom but leave a 4" opening at the bottom. For the exterior so both sides and bottom. Make sure to leave a top opening for both.

Mark and cut a 4" square on each corner of the interior and exterior and cut each of them out.

They will appear like this...

Fold the bottom seam up to meet the side seam of all 4 corners including the exterior and liner.

Pin into place and sew along the edge.

As you sew finger press the seams toward the same side.

They both should look like this...
Flip the exterior piece right side out.

Create your straps. I folded my strips in half, sewed right sides together using a 1/4" seam allowance. Then I used a loop turner to flip the right side out. You can press so the seam lies in the middle of the back.

Place your straps so the right sides are together against the exterior body. Position them so there is a 1" gap from the side seam. Then baste stitch them along the top edge to hold them in place.
This is optional but I LOVED the fringe selvage of the fabric so I folded it over 1/4" and top stitch it down. I did have to posting the straps over the folded trim. Again, totally optional but if you want to add this detail this is how I did it. You'll see it's like this in the final as well.

Place the exterior right side out into the liner so the right sides are together. Line them up and and pin so the side seams are matching. Sew all the way around make sure to sew the straps in as well. I'd do a 1/2" seam allowance if you didn't do the fringe edge. If you did the fringe border sew a 1/4" seam allowance.

Now use that opening you left at the bottom of the liner to flip everything out through this.


Sew the liner opening closed.


It will look like this. You will now want to sew down the top edge and create a bit more stability in the straps and overall structure. To do this just top stitch along the top edge exterior. Start at one of the side seams and make sure the straps are upright when sewing.


Now go make 10 in all different sizes and prints! You can change the width and length just by altering the above measurements.


0 comment:
Post a Comment