
This week’s clue for the Orca Bay Mystery Quilt is to make 350 half-square triangle (HSQ) units that measure 2″ square unfinished, 1.5″ finished (when sewn into a block or the quilt itself). After all the cutting I did for the quarter-square triangle units I wasn’t looking forward to this step.
I did some digging around to see other methods people use and I found a really fast and accurate method. I couldn’t believe how easy this was to do. Some notes to those doing Orca Bay – if you want lots of individual blocks without repeating fabrics, this method probably isn’t the one to use since each sheet of paper makes 18 half-square triangle units. I don’t have a lot of black and white fabrics that I’m working with so it works for me.
Firstly – download and print the PDF for the desired finished half-square triangle unit size. Remember that finished means once the unit is sewn to something else it will measure that size in your quilt so your unfinished unit will have 1/4″ seam allowance added
I.E.: 1.5″ finished half-square triangle unit is going to measure 2″ when you are done with this method before the unit is used in conjunction with another piece of fabric. You will notice I’m using the 1.5″ template and my HST unit measures 2″ square – that is exactly what you want! You’re going to lose 1/4″ seam from your unit once it is sewn to something else so it’ll end up being 1.5″ in your quilt. Use the template for the finished size HST unit that you want to end up with.
Measure the test square to make sure it printed out exactly 1″ square. If it did you are ready to print it out on the paper you are going to sew through. I used Carol Doke’s Foundation piecing paper which tears really well and sews nicely. I’ve heard construction paper from the dollar store works well too. You are welcome to use the paper of your preference.
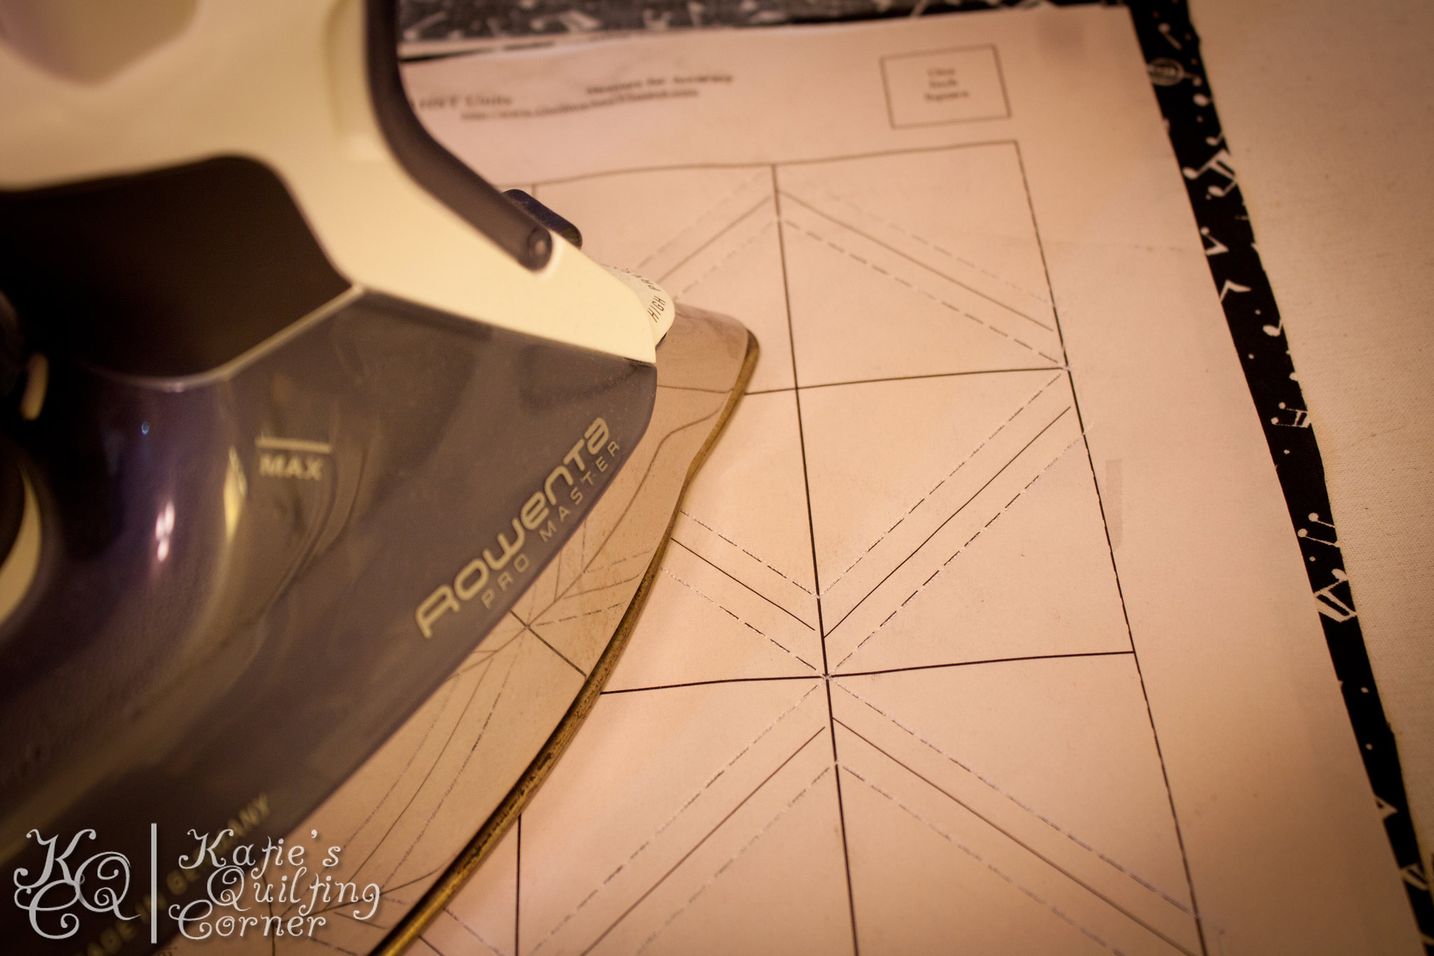
Press your fabric well. I recommend using spray sizing or starch to make sure it is really stiff. Layer your two fabrics right-sides together. Press.
I lay my paper on top and trim the fabric so I can make sure both layers are the correct size and then I press again.


On your sewing machine set the stitch length to 1.0 or equivalent so that the paper tears easily when you are finished.

Sew along the dotted lines on the paper and rotate when you come to an intersection. The needle/up down function comes in very handy here!


When finished sewing press again and take your sewn layers to your cutting table.
Cut along the solid lines. I like doing my vertical lines first!

Rotate and cut your horizontal lines.


You will end up with a small unit that can now be cut in half!

Remove the paper and take your little unit to your ironing station.

Press your seam. This test one I pressed open out of habit. For the Orca Bay Step 3 Bonnie recommends ironing to the darker fabric.

Measure and make sure your unit is the correct size.

Trim the dog ears

Enjoy!
Each 1.5″ paper template will make 18 units so it doesn’t take very long to get 350. I do believe I found my new favorite way to make HST units!


0 comment:
Post a Comment