
I love cute bags and I love them more if they're handmade! So, one afternoon, I kept my kids entertained with papers and watercolors beside me while I sat down with my sewing buddy - my sturdy Alfa 4550. We whipped this cute lined tote which I called the "Beautiful Day Tote Bag".

This tutorial would be great if you have pretty printed fabrics like the one I had for this bag and/or if you would like to use the entire width of your fabric without cutting. So, let's proceed to the tutorial!
You will need:
Face (exterior) fabric: 26.5" x 17" (For my face fabric, I cut a bit of the sides so the center print would be centered in my bag)
Liner (interior) fabric: 26.5" x 17" (I used a lilac gingham fabric)
2 pcs. straps: 4" x 31.5"
Interior pocket pieces: 2 pieces, 11" x 5.5" (ginghan fabric) and 2 pieces 7" x 3" (plain fabric)
Iron-on interfacing (medium or heavy) *optional*
Directions:
Iron on interfacing on all of the fabric pieces if you choose to stabilize your fabric.
Get one strap piece, fold in half lengthwise right sides facing together, and sew straight stitches 1/4" away from the edge. Do the same with the other strap piece.

Turn the strap pieces inside out.

Get the plain fabric pocket piece. I sewed on a pretty "handmade" printed linen ribbon on it.

Get the other pocket piece, right sides together, and sew straight stitches on all sides.

Leave 2"-3" unsewn.

Clip the tips.

Turn the pocket piece inside out. Carefully poke the tips with a blunt object. Edgestitch on the top side 1/8" away from the top edge.

Get one of the gingham pocket piece. Align the center of both pieces. Sew on the plain fabric pocket piece on the right side of the gingham pocket piece.

Sew straight stitches on both either side and bottom side of the plain fabric pocket.

Divide the pocket in compartments.

Sew your compartments according to your needs.

Get the remaining pocket piece. Pin both pocket pieces right sides facing together. Sew straight stitches on all sides. Leave 2"-3" unsewn.

Clip the tips. Turn inside out and edgestitch on the top side of the pocket piece.

Get the inner fabric of the tote, pin the pocket piece on it (align the center of both fabric pieces). Sew the pocket piece on the inner fabric piece.

I sewed on compartments on the bigger pocket by sewing on top of one of the compartments stitches of the smaller pocket.

Fold the inner fabric in half, right sides together. Sew straight stitches 1/4" away from the edge.

On the right side of this piece, sew straight stitches 1/4" away from the sewn edge.

Now, make sure the sewn edge of this piece is on the center. Pin as necessary.

Sew close the bottom side by sewing straight stitches 1/4" away from the edge. Make sure to leave 3"-4" unsewn. Sew zigzag stitches to prevent fabric from fraying.


Fold the tips of the bottom side of the liner.

Sew straight stitches 1.5" away from the tip. Cut the fabric 1/4" away from the stitches. Sew zigzag stitches to avoid fraying.
Repeat the exact procedures/steps with the face fabric but sew close the bottom side (no need to leave any part of the bottom side unsewn).

On the straps, mark 2".

To assemble the tote:
Get the plain fabric piece of the tote. Sew the straps on the fabric piece, right sides facing together. I sewed on the straps 3.25" away from either side of the fabric. Sew on both strap pieces.

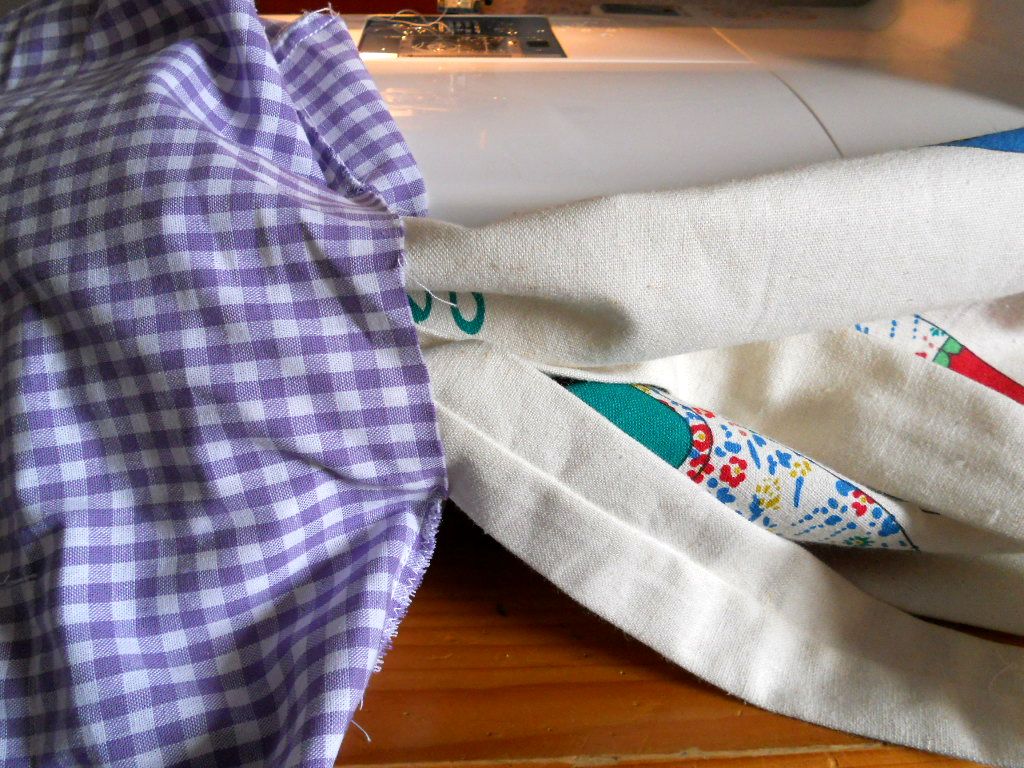
With the lining wrong side out and the exterior fabric right side out, place the face fabric inside the lining so they will be facing right sides together. Make sure the straps are secured inside. Pin both fabric pieces together. The sewn edges of both tote fabric pieces should be aligned. Sew straight stitches 3/4" away from the raw edge of the top side.

Turn the tote bag inside out.
Sew straight stitches 1/4" away from the folded edge of the tote. Also, sew close the unsewn part of the lining.

I have hand-sewn two of the pretty wooden buttons WholePort also sent me.

My cute Beautiful Day Tote Bag!

Now, you have your own pretty tote bag! Easy peasy, right?


I plan to make more of this lined tote bag when I have time! It's so easy and quick to make!


0 comment:
Post a Comment