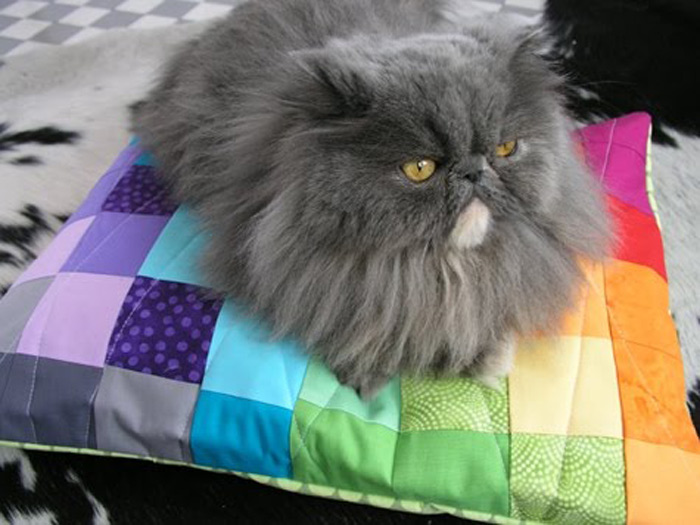
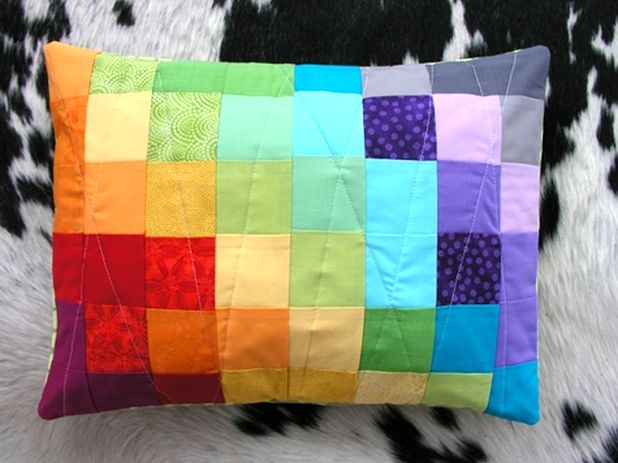
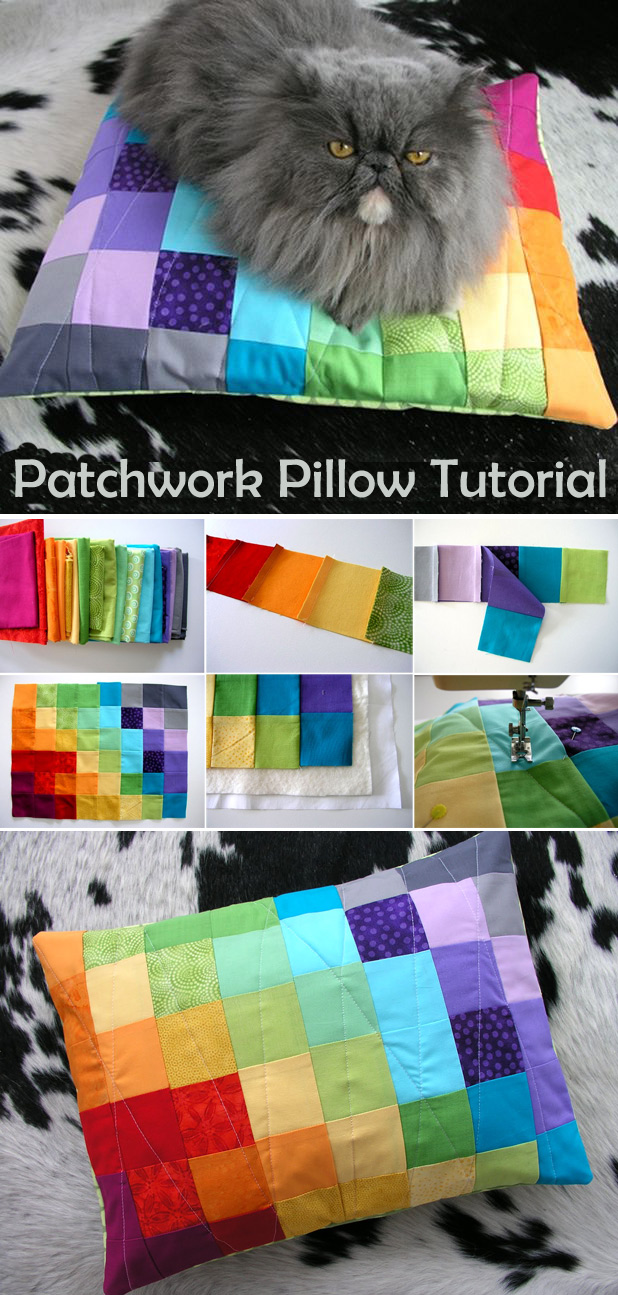
In this post, you’ll learn how to sew the simple patchwork top, quilt it and sew it all up into a removable cover for any bed. You can use this cover over a purchased bed, or make your own insert using stuffing or specialty materials like buckwheat hulls. You could even slip a heating pad into the cover for extra warmth.
Pets get chilly in the wintertime, too (I noticed that my kitty has been making herself little nests all over my apartment since the cold weather has really set in), so keep them extra cozy with a quilted pet bed stitched in a winter-blues-blasting color palette!
Materials
an array of colorful medium-weight cotton fabrics (you’ll only need a scrap amount of each)
1–2 yards medium-weight cotton fabric for the back of the bed
1–2 yards muslin
1–2 yards quilt batting
purchased pet bed or pillow form OR fiberfill or stuffing of your choice (such as buckwheat hulls)
scissors
pins
iron and ironing board
sewing machine
Instructions
1. Plan the size.
You can use this pattern to cover an existing pet bed, or you can make your own insert to fill the bed. Either way, determine what you’d like the finished size of your bed to be and divide the length and width measurements by 2.5. The result is the number of squares you’ll need to make your cover. For example, if you want a finished length of 30″, 30 divided by 2.5 = 12; you’ll need 12 squares to make your desired length.
Note that in the instructions below, we’re cutting 3″ squares; this is because after sewing 1/4″ seams, the finished size of the squares will be 2.5″.
2. Cut the squares.
Begin by cutting your fabric into 3″ squares and arranging them as you like, according to color. It’s a good idea to snap a picture of your color arrangement so you can refer back to it in case your pieces get moved out of order once you start sewing.
3. Sew the strips.
Next, begin to join the squares into strips by sewing the pieces together using a 1/4″ seam allowance.
To make this go more quickly, you can keep sewing the pieces together in a continuous string without stopping and cutting the thread after each seam. (In the photo above, two squares are being sewn together in each segment — it’s hard to see that the fabric is doubled.) After sewing the pairs together, open them up, arrange them in the correct color order, then move on to sew them into strips.
Iron each strip on the wrong side, pressing the seams on all strips so that the seam allowances face the same direction.
4. Join the strips.
Once all the strips are sewn, it’s time to join them.
Place two strips together with the right sides facing, and sew with a 1/4″ seam allowance.
Continue until all the strips are joined. Iron the piece well on the front and back.
5. Quilt the patchwork.
Cut a piece of quilt batting about 1″ larger than the patchwork on all sides, and cut a piece of muslin a little larger than the batting. Layer the pieces with the muslin on the bottom, the batting in the middle, and the patchwork (right side up) on top. Smooth everything out so there are no wrinkles in any of the layers.
Pin all three layers together, then begin quilting. Set your machine to a slightly longer-than-normal stitch length, and sew through all three layers in any pattern you like. If you’re new to quilting, practice this first on scrap fabric layered with batting and muslin just like your actual piece.
After the quilting is complete, trim all four sides so that the batting and muslin are even with the edges of the patchwork.
6. Make the back.
To make the envelope closure on the back, cut two pieces of fabric that are as wide as the patchwork and long enough to be folded completely in half (with the fabric doubled, wrong sides together) and that overlap each other by about 3″.
Pin the two folded pieces to the RIGHT SIDE of the patchwork piece, and sew through all layers around all four sides. Trim the corners, turn the piece right side out, and press the side seams.
If you aren’t using a pre-purchased inset, make a pillow form by sewing together two pieces of muslin that are the same dimensions as the patchwork, and stuffing it with fiberfill or the material of your choice.
Simply slip the pillow form inside the finished cover . . .
. . . and your cozy pet bed is ready to be enjoyed.


What a fun project! I’m new to sewing, and I think this would be great practice. I have two kitties who I know would love it :) The last image of the sleeping furry baby has me swooning!
ReplyDeleteThanks. I like the idea and appreciate the detailed instructions. The only thing that doesn’t work for me is the pattern of the quilting, which mars th effect.
ReplyDelete