There are lots of great tutorials out there for fabric bins, but most of them involved interfacing and/or a great deal of measuring and cutting.
This was a quick gratifying project to use up some of my fabric stash and I only had to do one bit of difficult math, and even then google did it for me. The best thing about this project is that the storage bin is freestanding thanks to a nifty everyday household item.
Starting with a rectangular bit of fabric you will need to measure the long edge; this is going to be the circumference of your circle.
Using a calculator of your choice, mine being Google, I figured out the radius of my circle by entering in the length of my rectangle of fabric as the circumference.
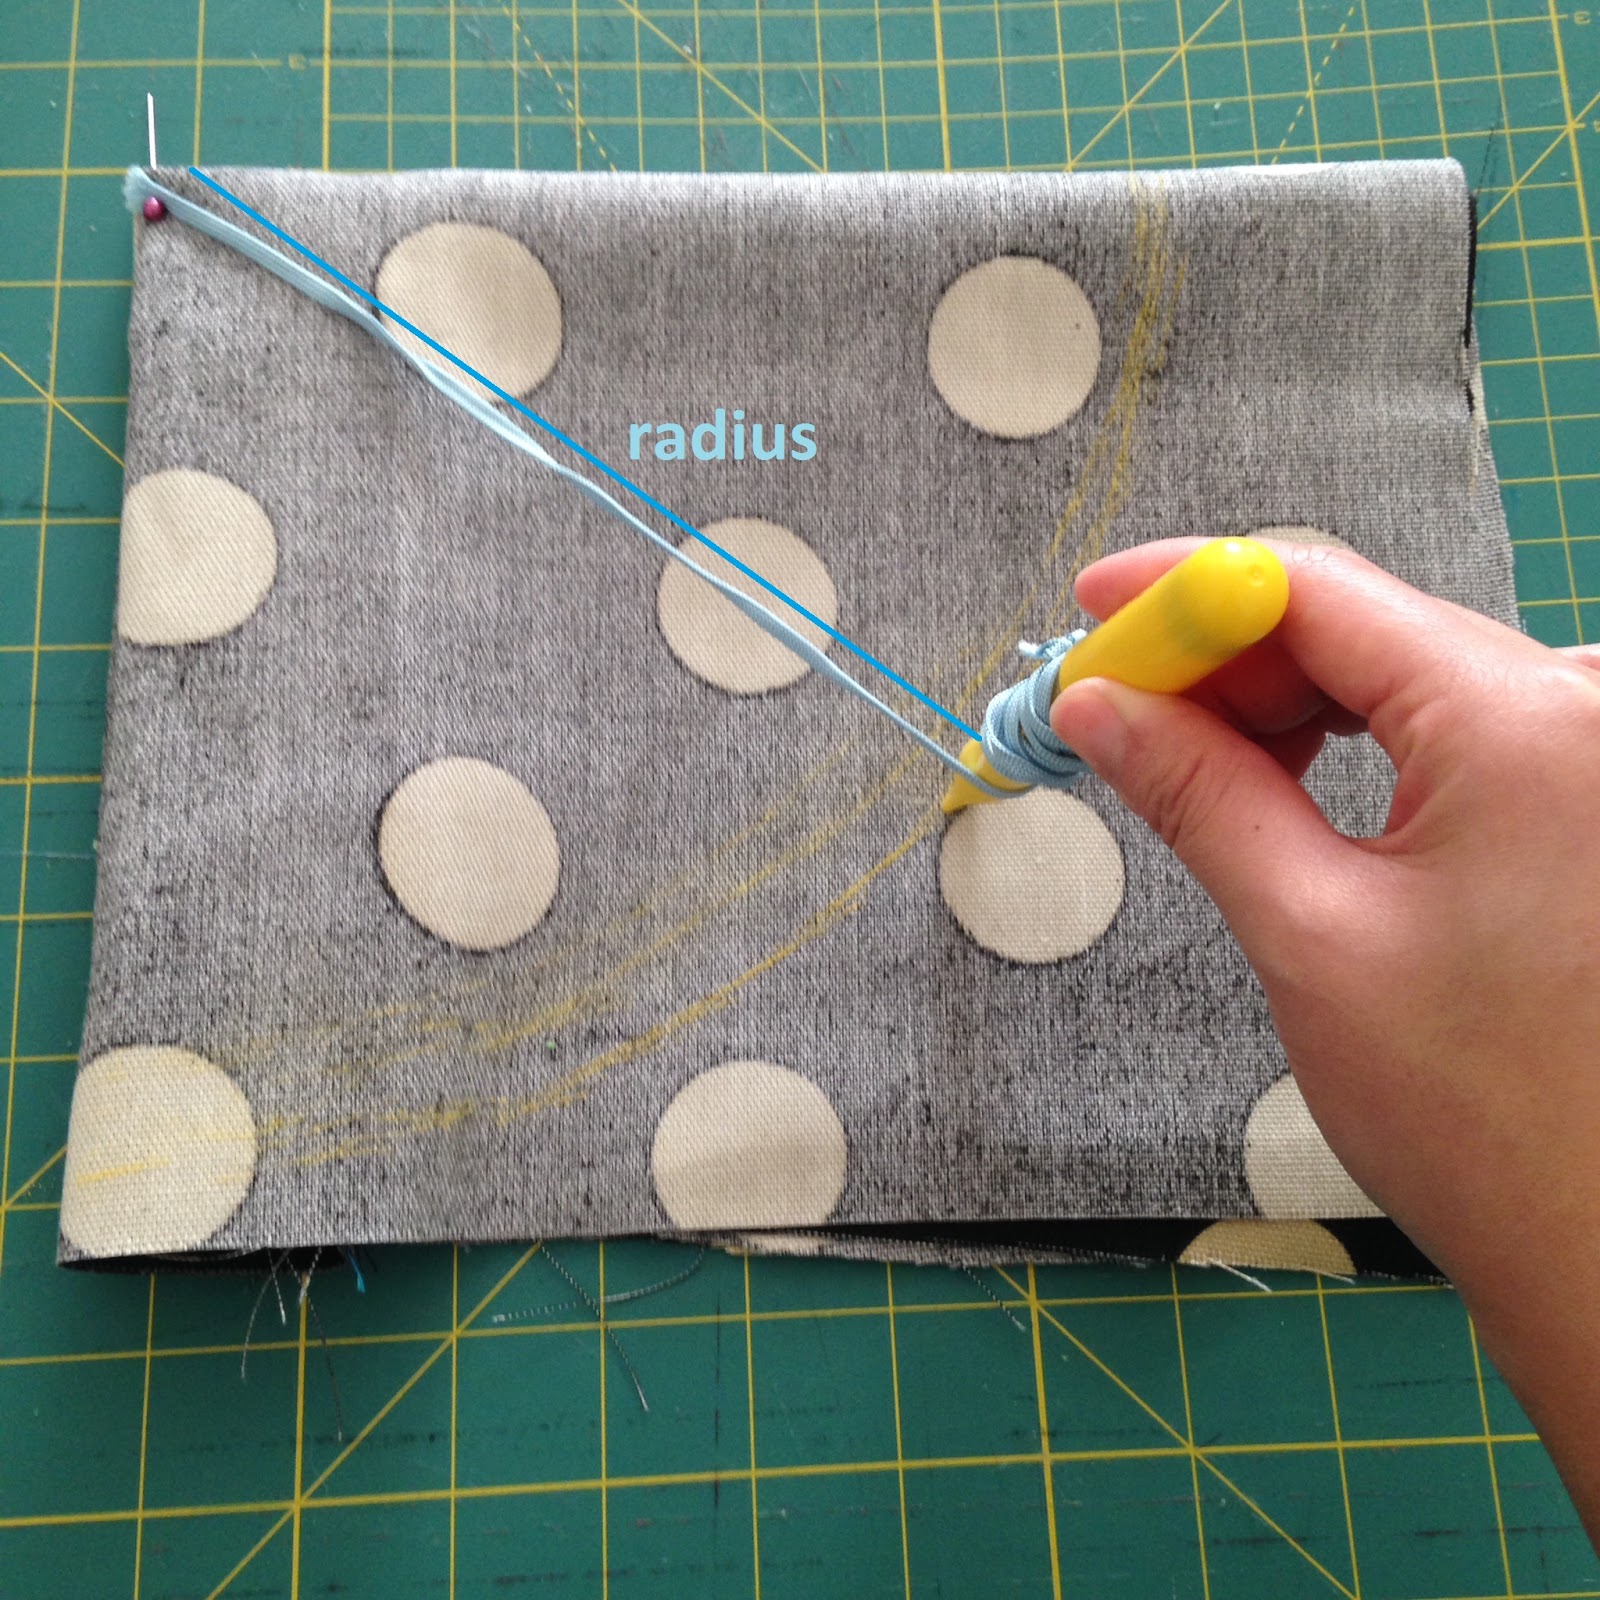
As with a circle skirt, the usual way I trace a circle onto fabric is to tie a piece of string onto my chalk pencil and then to measure and cut the string to the size of my radius. I fold the fabric into quarters, use my finger to anchor down the end of the string at the centre fold (where the pin is), and trace my 1/4 of a circle around the fabric. Cutting along this line will yield a circle the size of the rectangle length.
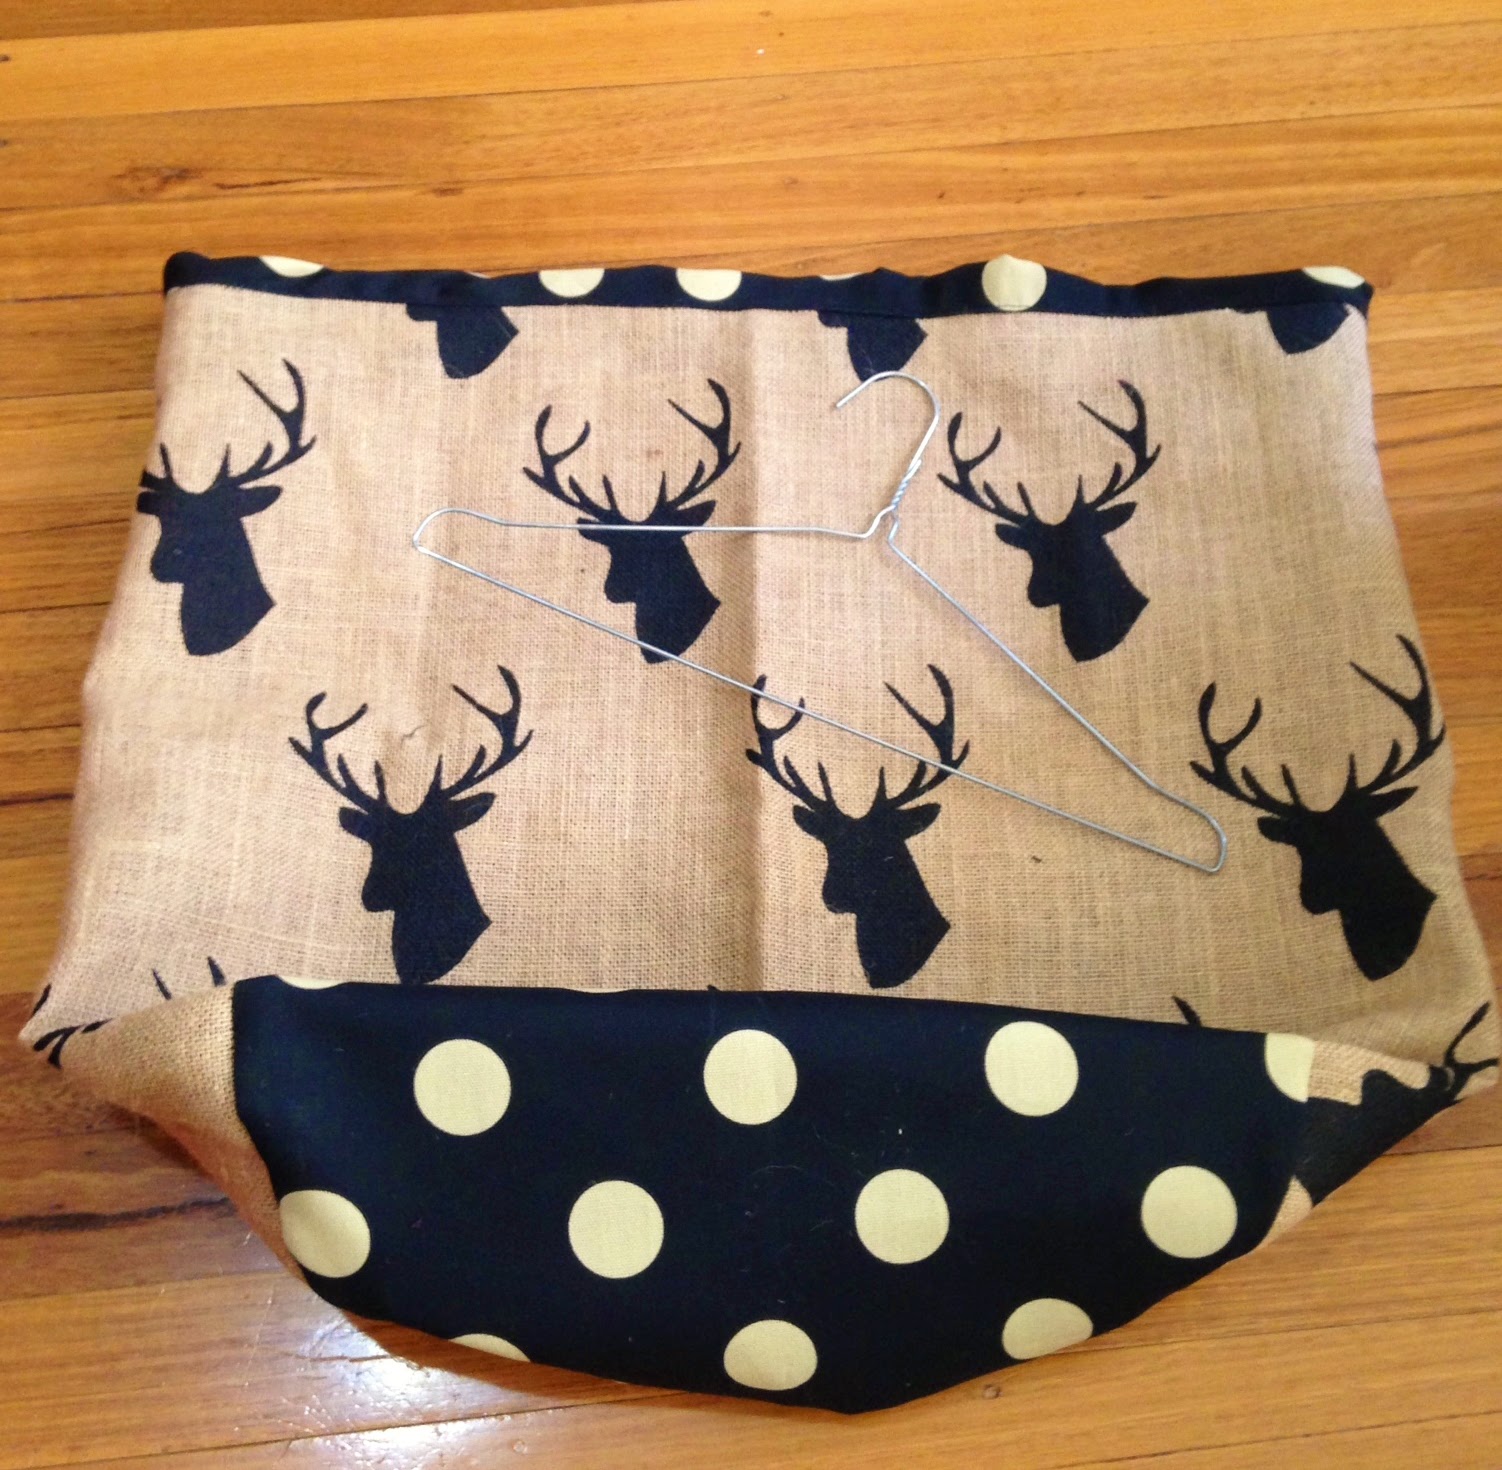
The first bit of sewing that needs to be done is attaching a strip of contrasting fabric to the top of the rectangle and sewing, then fold it over to create a band and sewing. You can skip this step by just folding down the top of the rectangle. The trick is to leave a gap to feed the wire through.
Back to the main fabric. I used hemp fabric, and given the loose weave, I used two rows of zigzag stitches and a single line of straight stitches for security. You need to sew the short edge of the rectangle, good sides together.
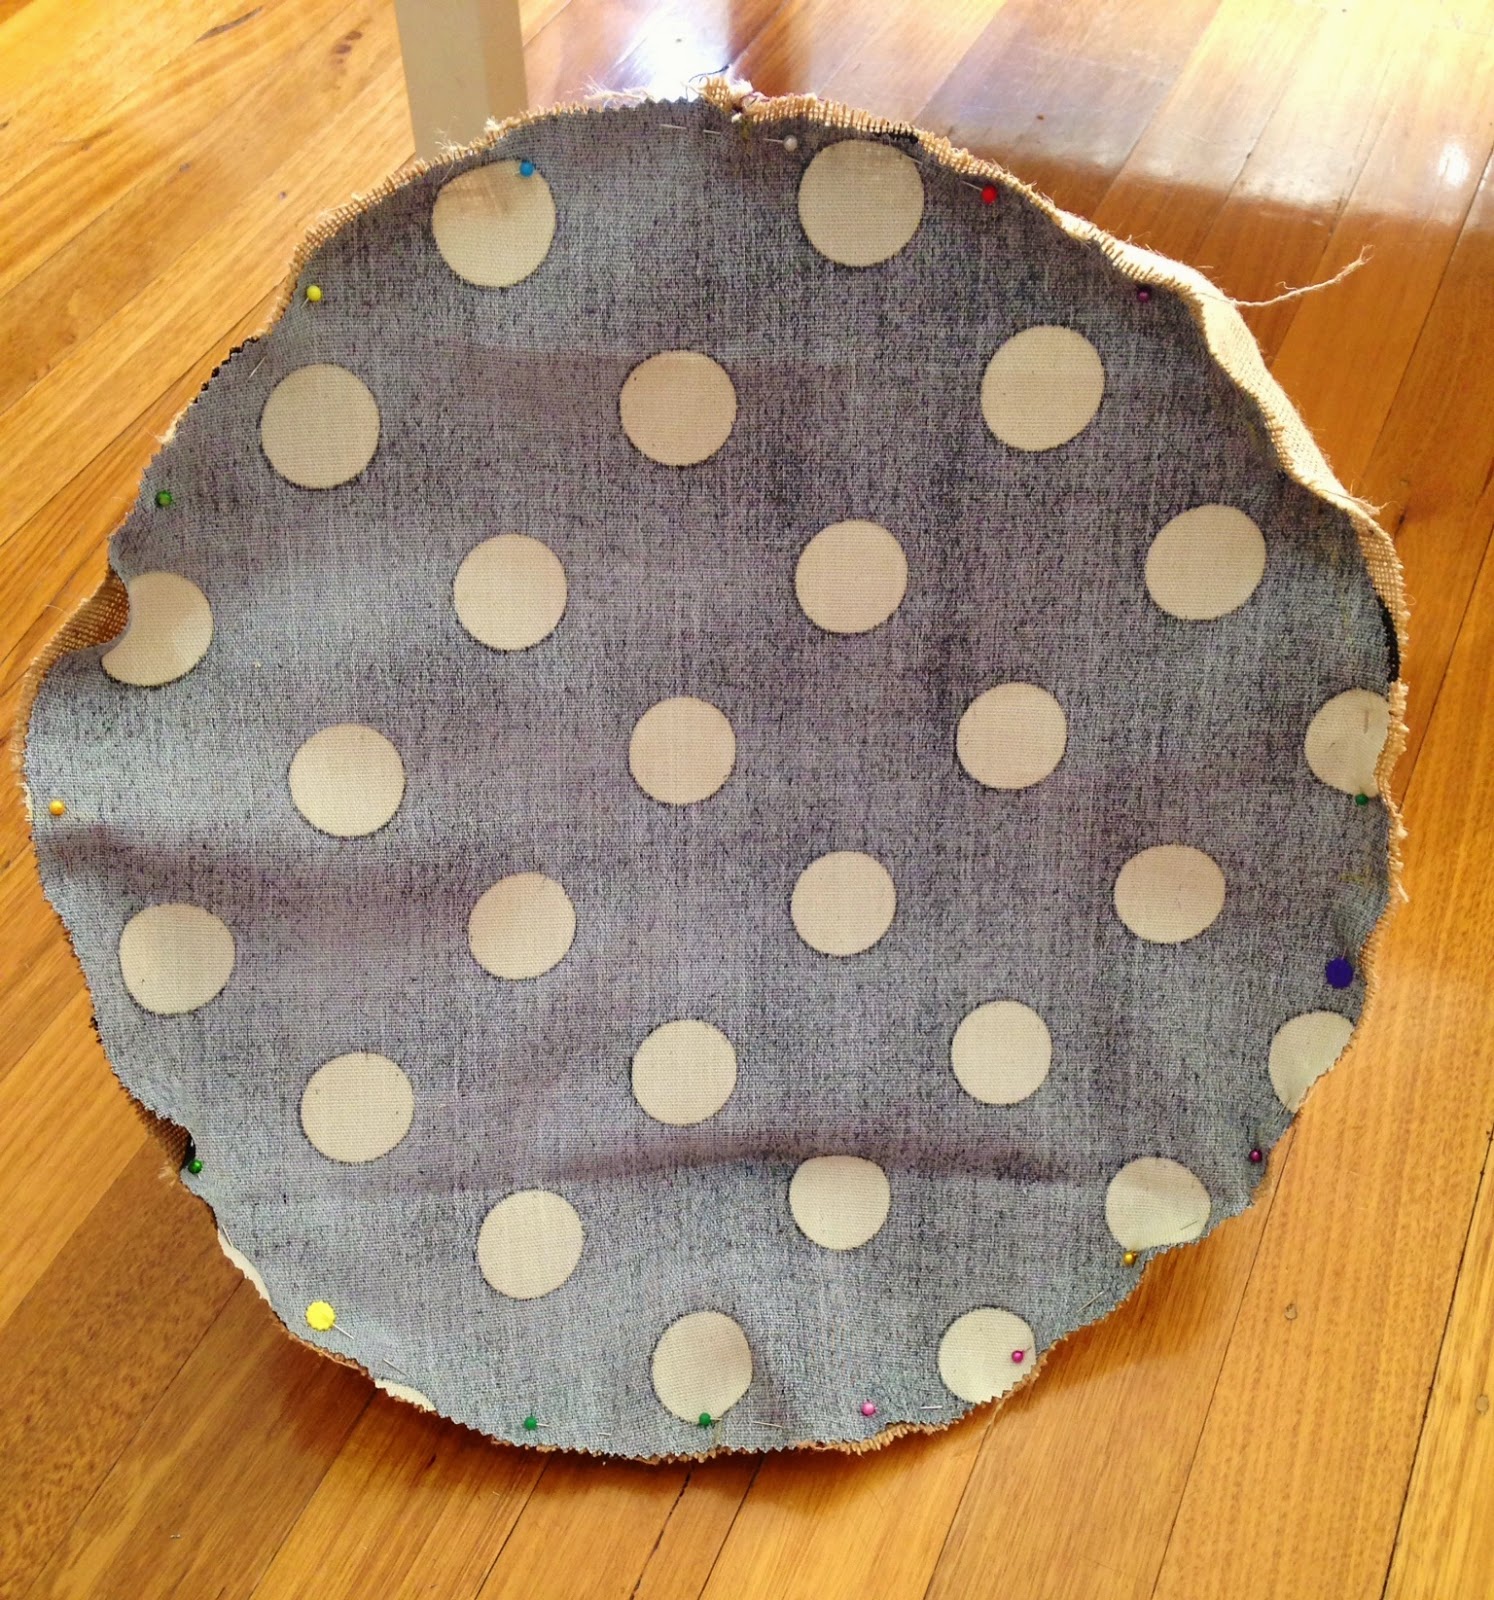
Using lots of pins, you now need to attach the circle to the rectangular tube. The best way to do this is to mark the circle into quarters, and the same on the rectangle edge so you can match these points and pin the rest in between.
Sew up the edges with a zigzag stitch.
This next step is what is going to make your storage bin free standing. A wire coat hanger.
Using a pair of pliers to straighten the coat hanger.
Using the gap left from sewing the band, feed the coat hanger through. Using pliers to secure the ends in a twist.
I was to lazy to sew the band shut as I left a small gap, and I didn't fancy wrangling my sewing machine around a coat hanger.
Now I have a place to put all my blankets and pillows. Now to keep the rest of the house tidy.
Happy Crafting!


0 comment:
Post a Comment