
You may have seen the beautiful Puff Quilts all over the internet and felt a bit intimidated. But I assure you, if you can sew a straight line, you can sew this version of a Puff Quilt!

* If you're making a baby sized quilt, you'll need 100 5x5 squares and 100 4x4 squares.
(10 rows and 10 columns)
* I bought 1 yard of 5 different fabrics. I was able to get 42 5x5 squares from each fabric resulting in 210 squares total.
(15 rows and 14 columns)
* If you want a larger sized quilt, you'll need 400 5x5 squares and 400 4x4 squares.
(20 rows and 20 columns)


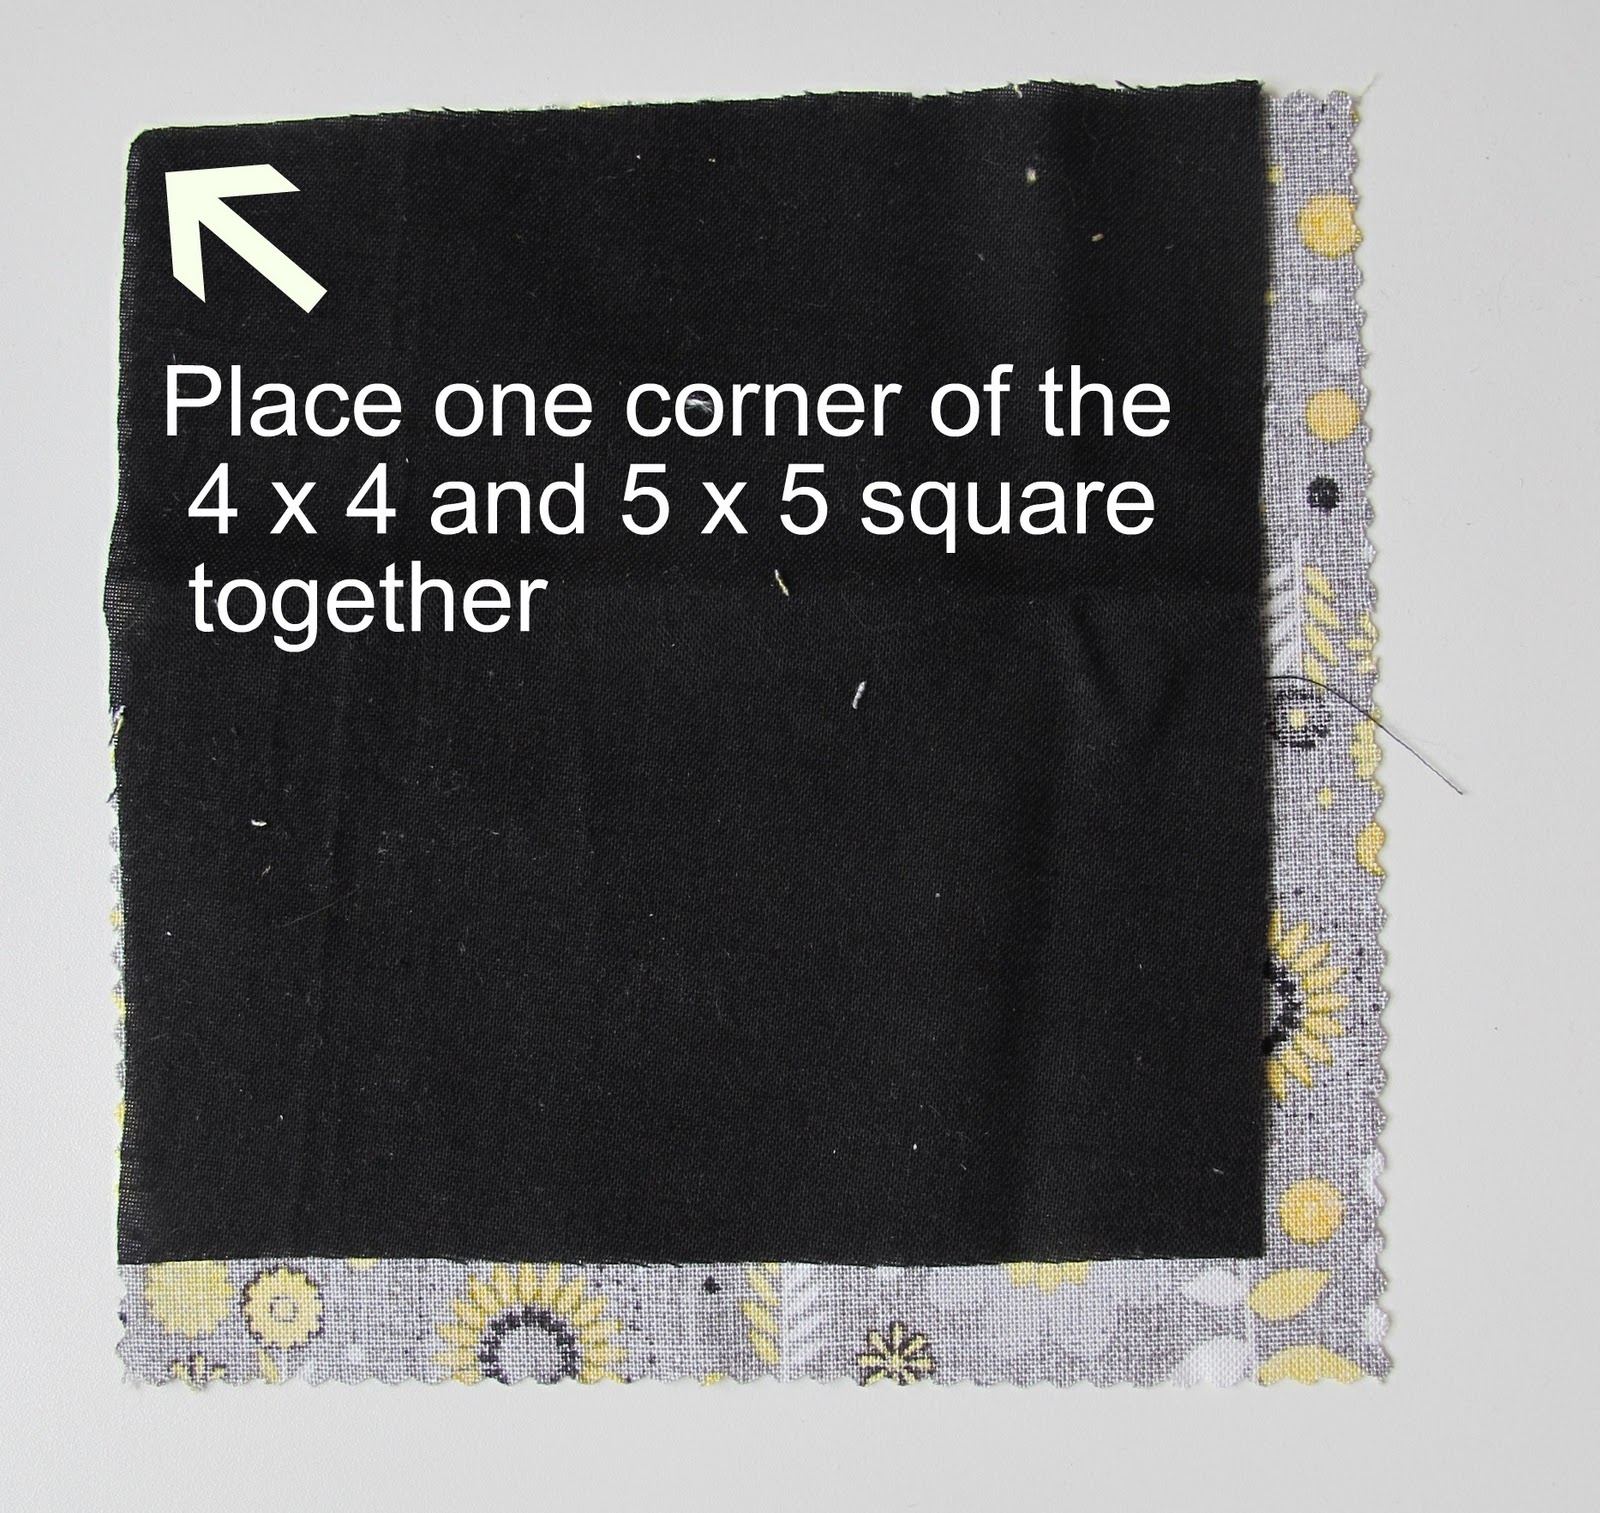
Step 1: Match one corner of the 5x5 and 4x4 square together.

Step 2: Fold the 5x5 square in the middle to fit the 4x4 square

Sew on three sides of the square, stuff with PolyFil and then sew the fourth side.
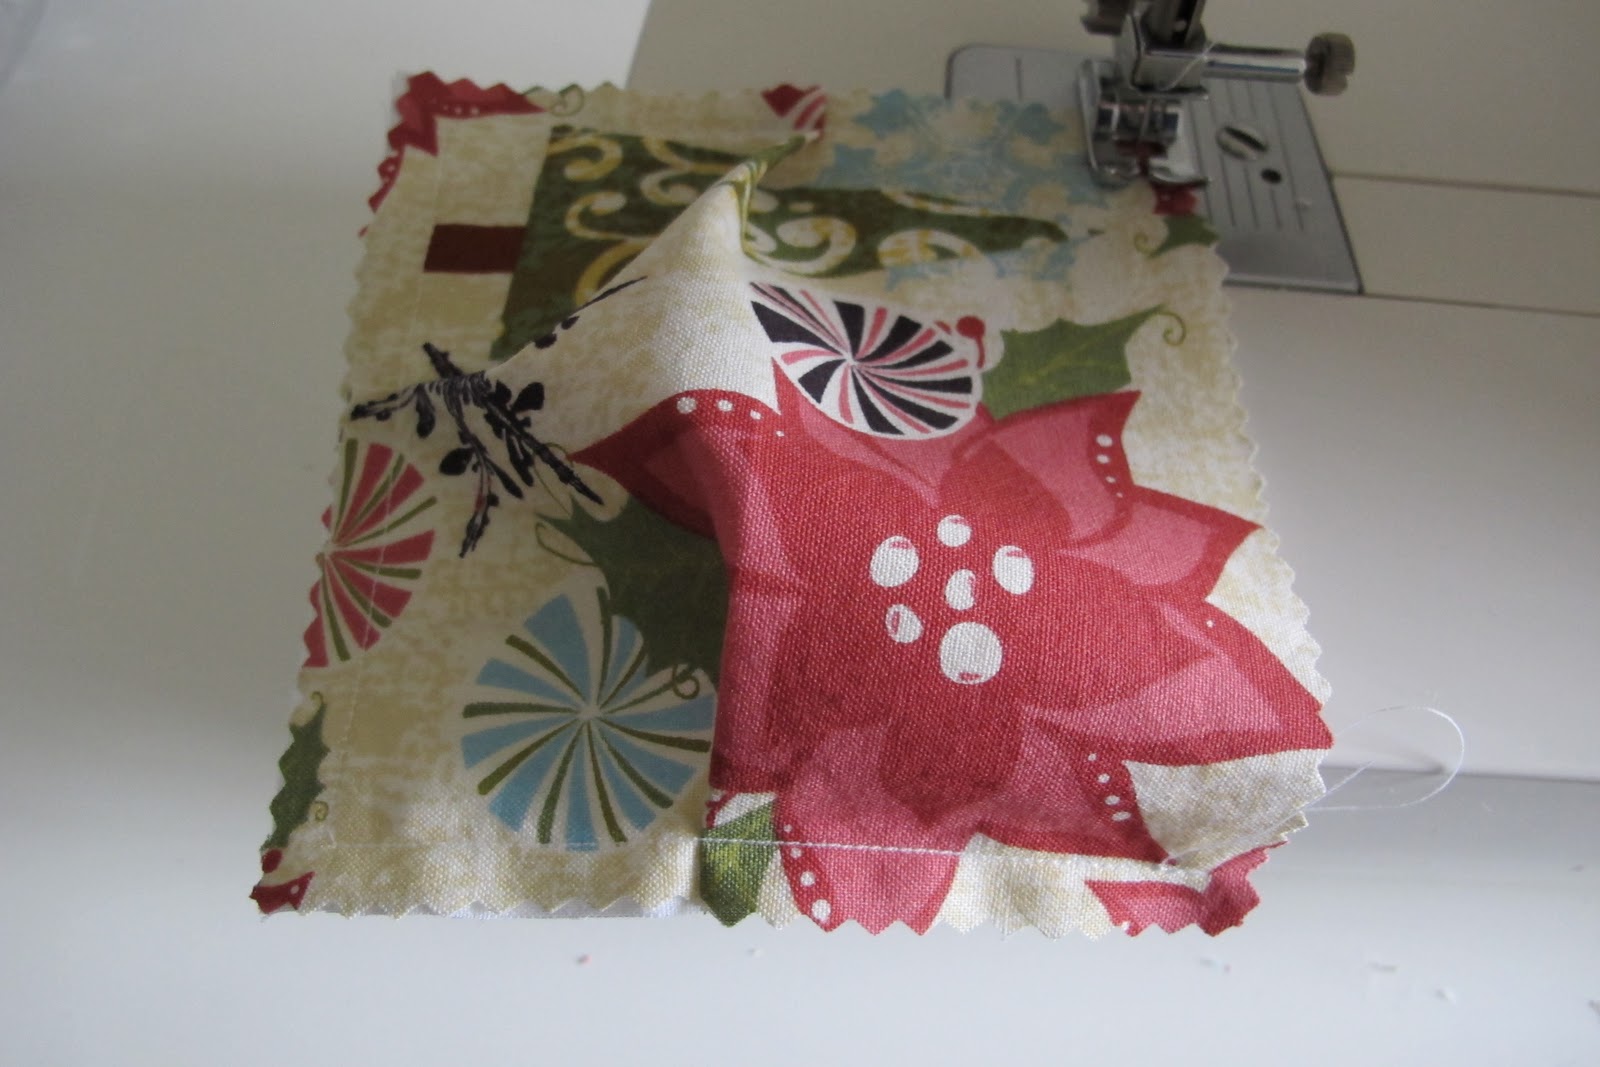
Step 3: Sew 3 of the sides with a fold in the middle of each.


Step 4: While the puff is still on your machine, stuff and sew the 4th side.

Ta da! Now you have your first puff!
Now that we've seen all our puffs, the next step will go a lot faster! Time to make our rows!


Now it's time to sew all our rows together to finish the quilt top. For this step, PINNING IS YOUR FRIEND! Grab your rows, a box of pins and put on a good movie because this part will take a bit of patience.


Ta da! Now keep going until all your rows are sewn together.


front (Yep, that's 252 puffs friends!)

back
If you choose, you can add a border like this:


or skip that step and your quilt will look like this:


Turn the quilt right side out and slip stitch closed.


Look how comfy and cozy it looks! This quilt is totally worth the time it takes to make!

TA DA! Super cozy!


Thank you for this I have made one that is king size for my bed and everyone is amazed at how beautiful it is. I couldnt have done it without you and the inspiration you gave me.
ReplyDeleteThanks so much for this! I almost bought the 12 dollar tutorial, just because I couldn´t get puff quilts out of my head. :-) My mother is getting me a Dr. Seuss fat quarter bundle, I can´t wait to get started. Will let you know how it turned out, it could take a while though, my little girl is 4 months old and quite a handful...Thanks again!!!
ReplyDeleteA zipper foot might work better with all that "puff". Unless you are using the foot to "smash" down the fiber fill.
ReplyDeleteIn the directions you list the squares as 4x4 and 5x5. If thats the case, the squares would be one inch bigger on each side. Therefore when you line up the edges in the corner, it would actually be 2 inches in the edge. However in looking at the pictures, it’s clearly 1/2-1 inch at most. So is one of them really 4.5x4.5?
ReplyDeleteI haven't made one of these if I understand correctly the 5 in is made to fit the 4 inch one
DeleteI see the edge of your presser foot is along the fabric edge but can't tell if the needle is in the middle. What is the width of your seam allowance?
ReplyDelete