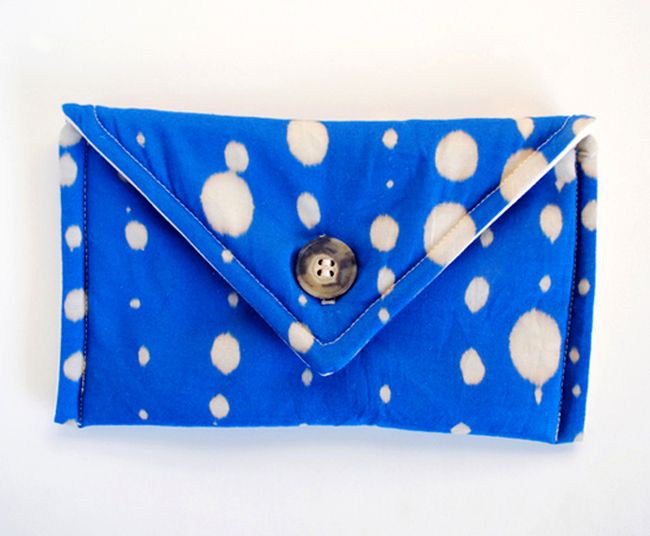
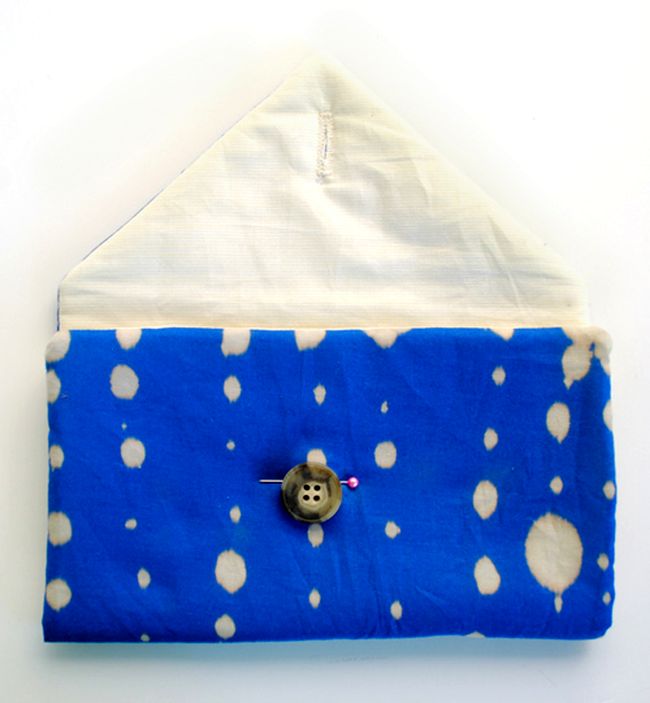
I’m a big fan of making gifts for the holidays, and if they are simple to make, well, then I’m even more on board. This bleach-dotted clutch is just that. I’ve always enjoyed the different things you can do with bleach and have wanted to try out this technique for some time. It has just the right “wow factor” while being simple enough to make for everyone on your gift list!
Materials
dark cotton fabric for exterior
corresponding fabric for interior
thin batting
dropper for applying bleach
button
bleach
sewing machine
corresponding thread
scissors
pattern template
Instructions
1. Using the clutch pattern, cut out dark exterior and interior fabric, as well as the batting.
2. Using the dropper and test strip of fabric, suction a small amount of bleach onto the fabric. Different fabrics respond differently to the bleach, so this is an important step. Play around until you are comfortable with the dropper and how your fabric responds to the bleach. Let this test strip sit for at least 10 minutes to see how the end result turns out.
3. Now that you have experimented using a test strip, go ahead and place droplets in a grid pattern onto the dark cotton fabric. Have fun with it! The serendipity of this process is what makes the end result so appealing. Set it aside to dry.
4. Pin and stitch together the interior lining fabric to the batting.
5. Trim the lining and batting.
6. Place the bleach-dotted fabric on top of the lining, fabric side up. Pin together.
7. Pin together and stitch, leaving a small opening on the side to turn the fabric inside out. Trim the seam allowance and corners.
8. Turn the clutch fabric inside out and press. You can hand stitch the opening closed or just press it, as it will be stitched closed at a later time.
9. Fold over clutch and decide where you want the button and button hole to be.
10. Using your machine’s button hole settings, create a button hole in the top of the clutch flap.
11. Now stitch your button onto the inside flap.
12. Pin the sides of the clutch and stitch together. Carry the stitch all the way up and over the top portion of the clutch and back down. Backstitch at the beginning and end of the stitch to reinforce seams.
13. Fold over the top of the clutch, faster and you are finished! Fill your clutch with goodies for the perfect gift to give a dear friend. But don’t forget to make one for yourself :)


0 comment:
Post a Comment