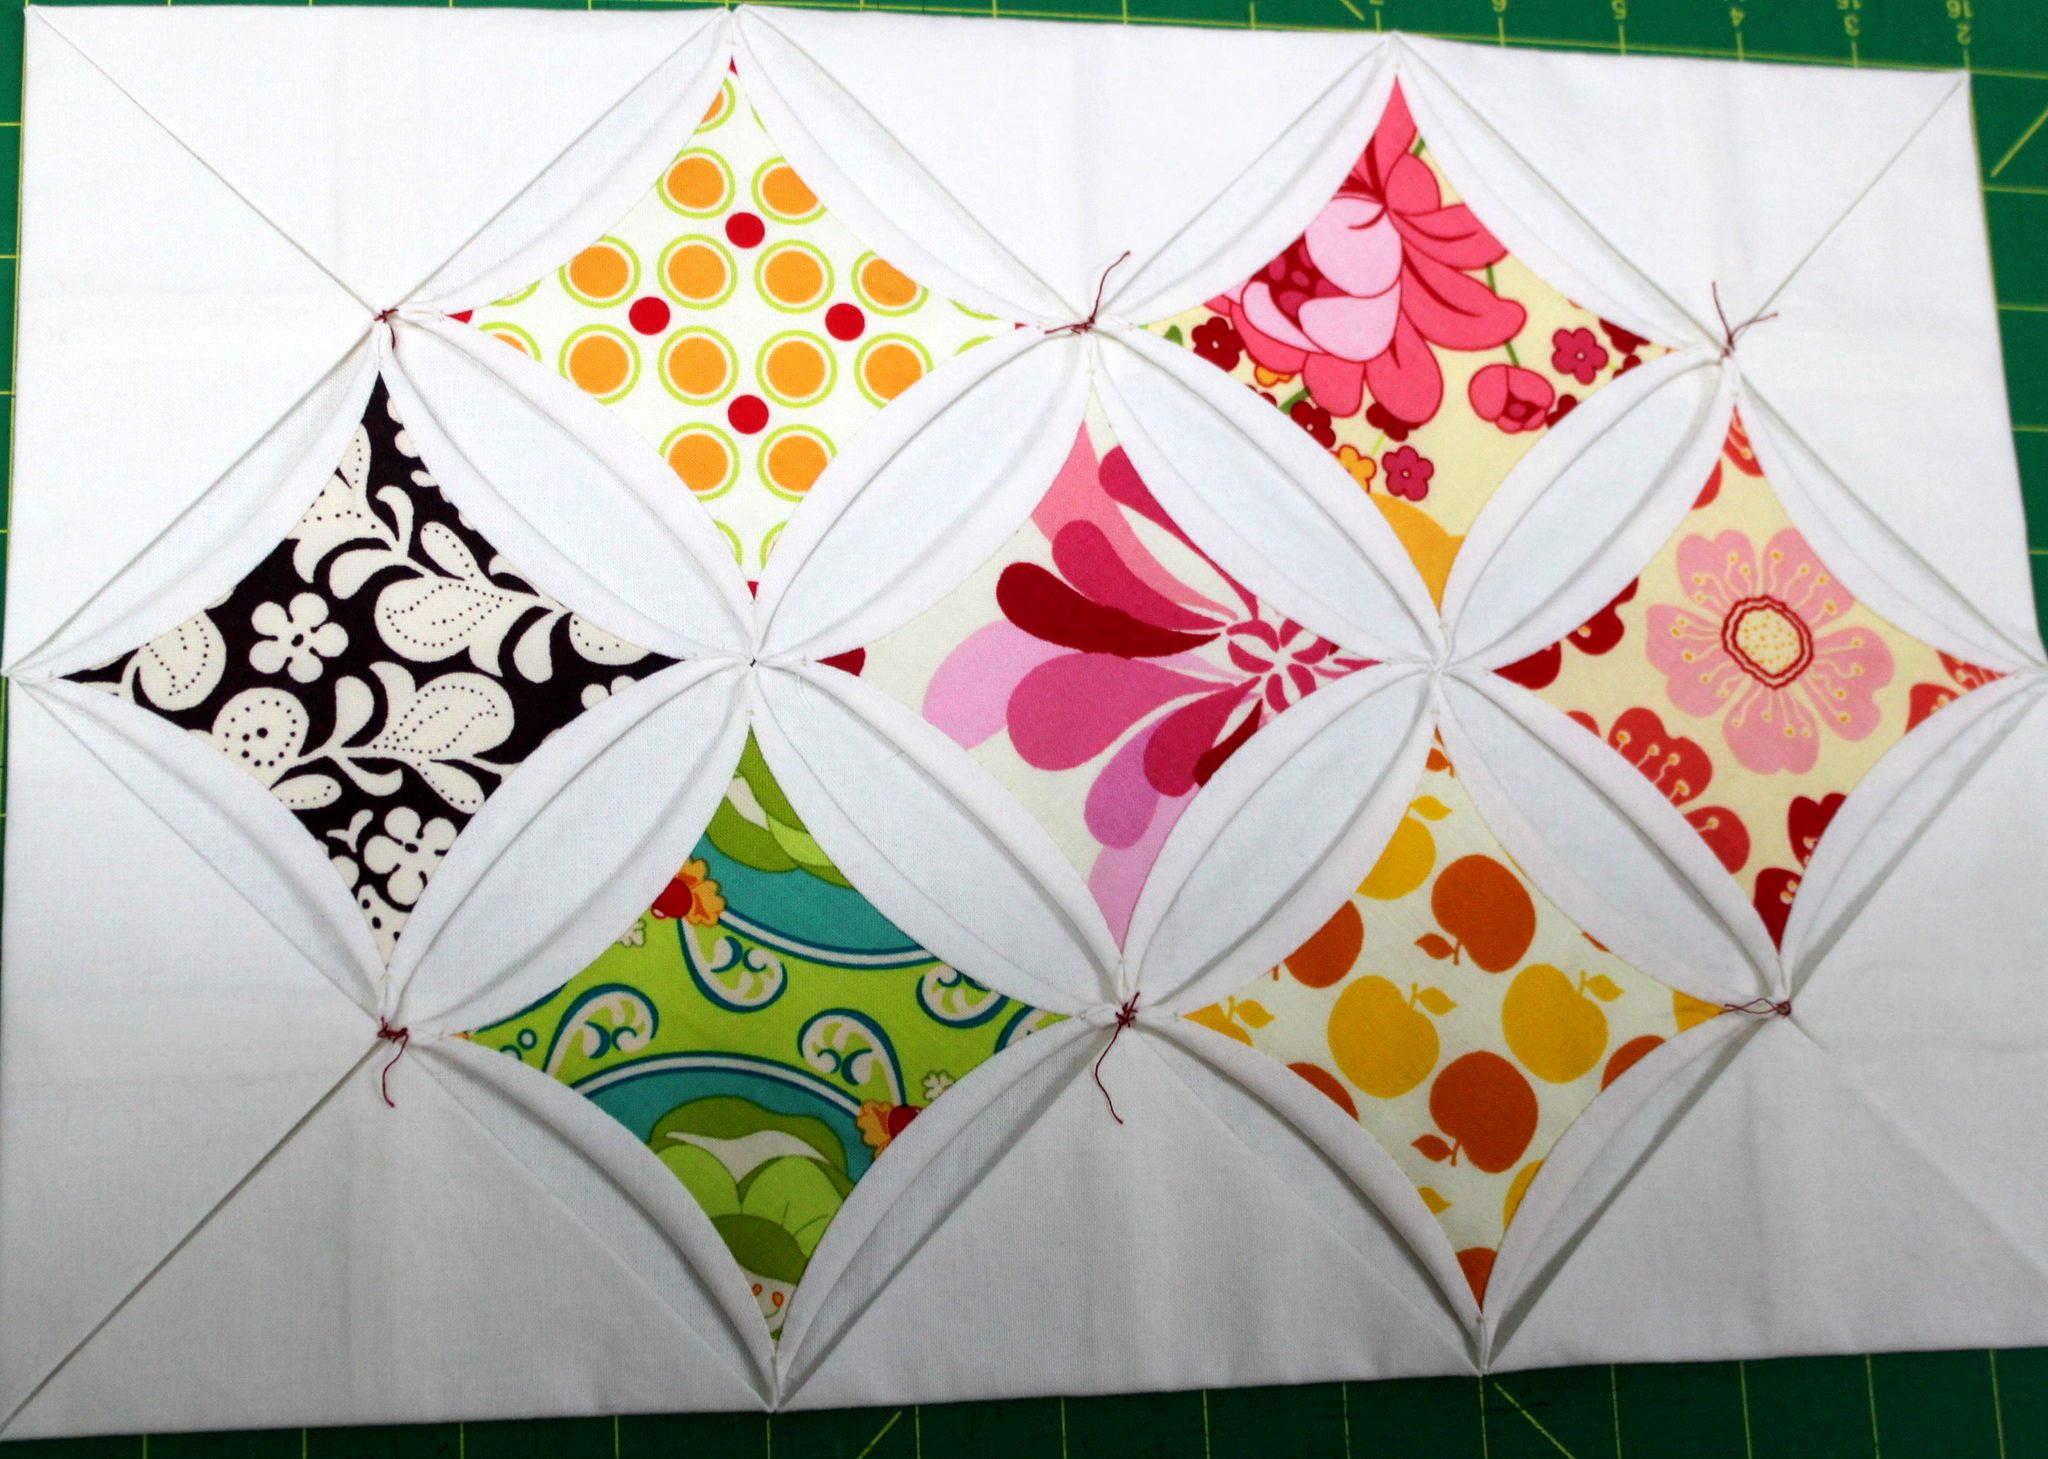
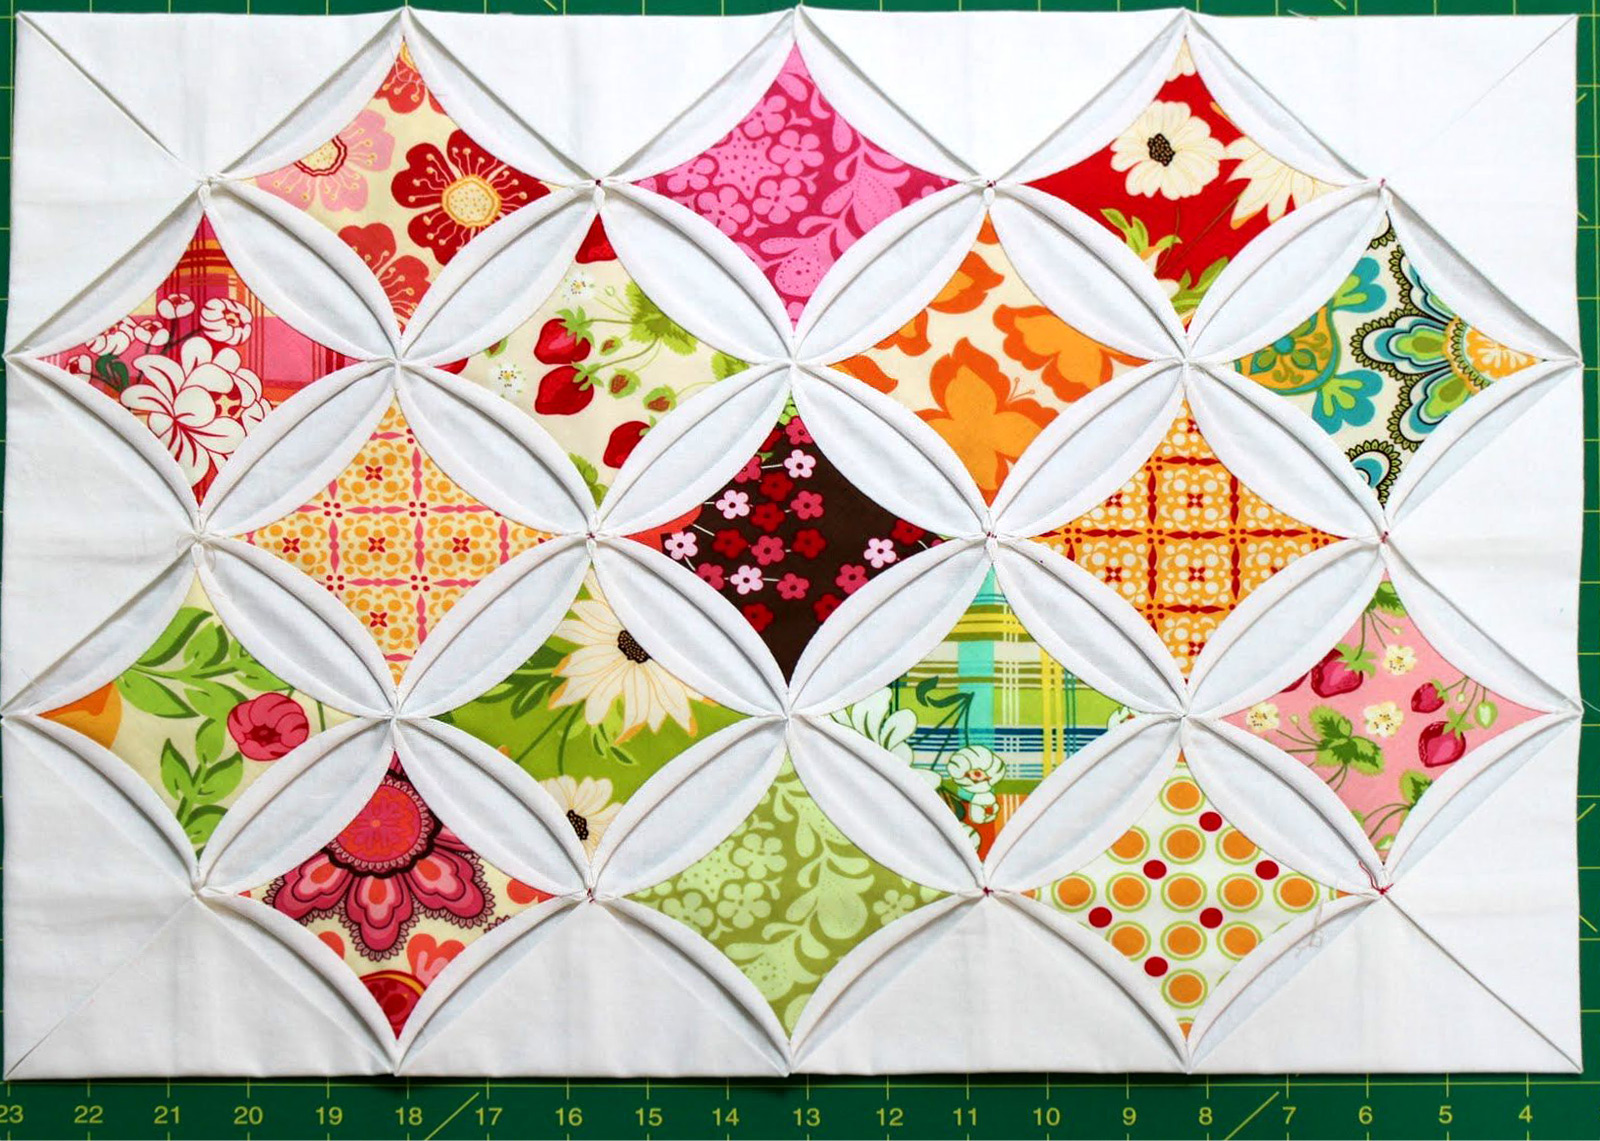
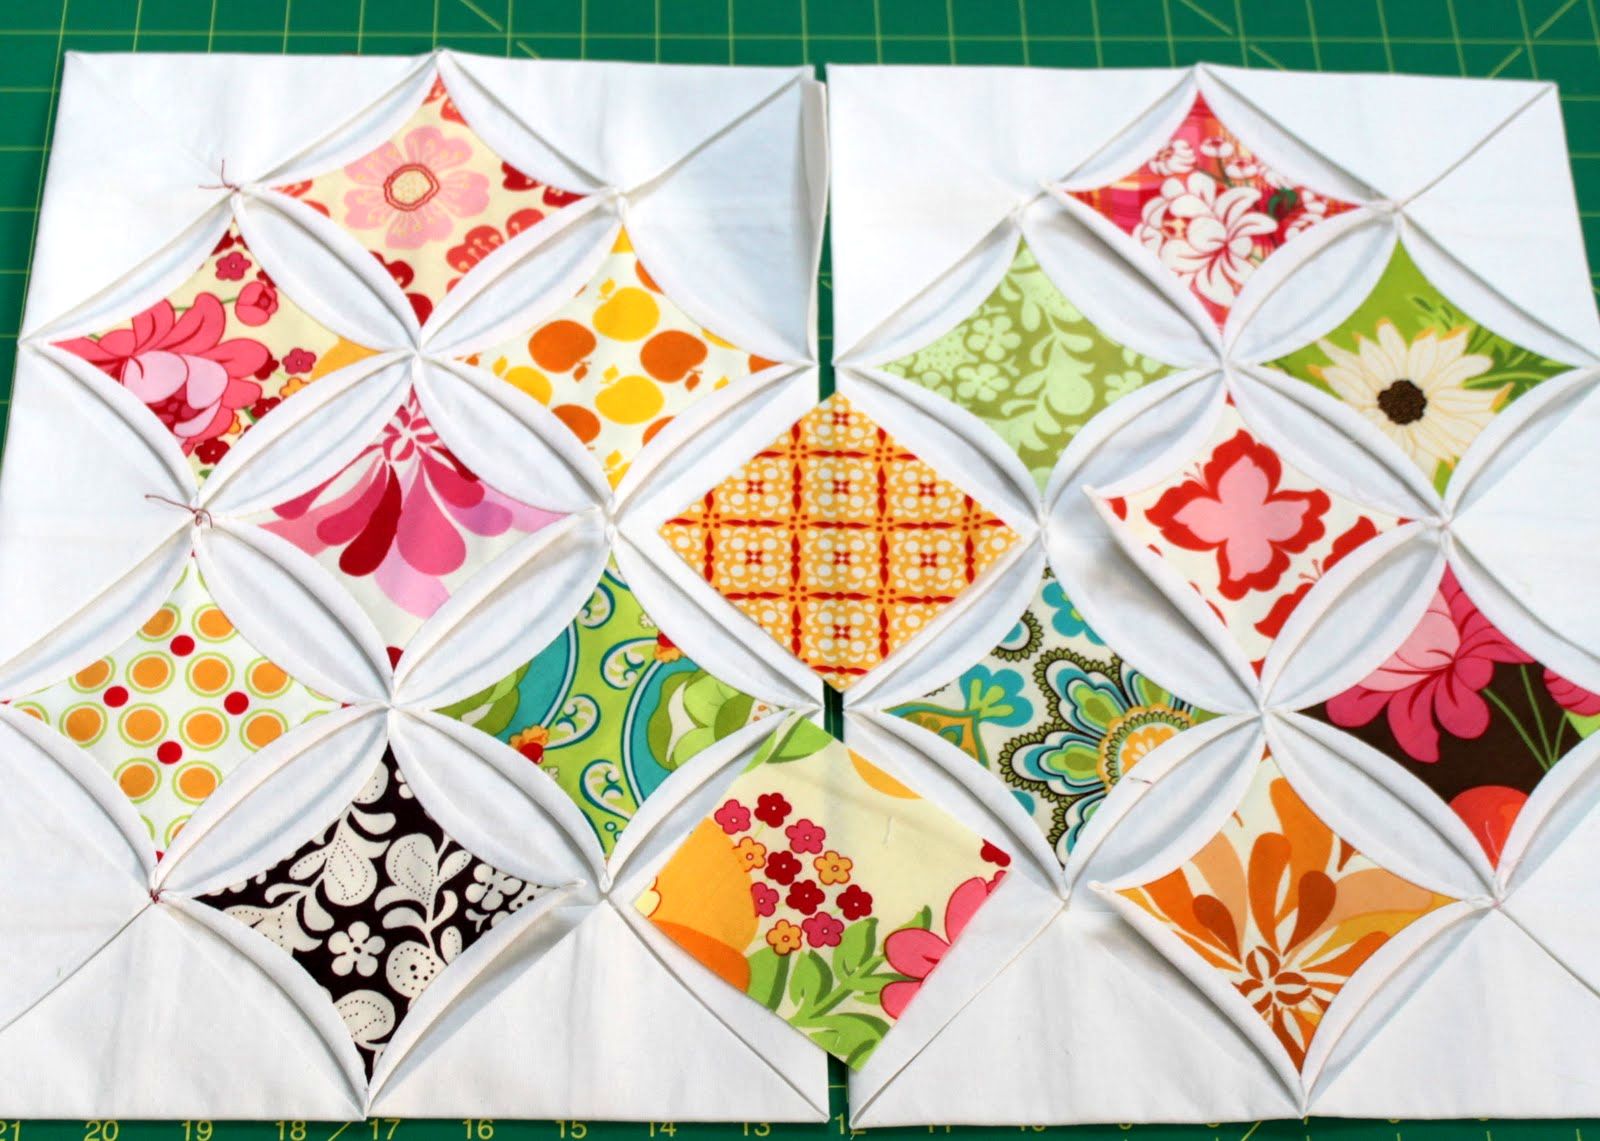
To make the background for my cathedral window quilt, I machine sew each one of the units. I am terrible at folding, allergic to irons, and despise pins. In this method of Cathedral Window Quilt making, I try to avoid them all.
I start by prewashing my Kona cotton. I have made a wall hanging before and I didn't want to deal with uneven stretching and shrinking- not that I have had a problem with Kona! I like to play it safe. You can start with a 10.5 inch square. I did this to minimize the fabric waste of my Kona cotton. Four of these squares uses all the fabric up to the selvage edge. You can start with whatever fabric square size you want.
Starting Fabric Square ----Resulting Unit Made (inches)
10.5-----5
9.5------4.5
8.5------4
7.5------3.5
6.5------3
I prefer the bigger since I can finish quicker. I am making an 80 by 80 inch quilt for our full bed and that will take 256 units, 16 by 16 units. I believe with the overlapping units, 225, it will take 481 window of fabric. (?) I am looking at my fabric in different piles of production and don't know how much Kona Snow I bought. (I think it may be anywhere from 12 to 15 yards.) [Oops By working backwards, it was 12 yards and, unless I buy more background fabric, my quilt will be at most 65 inches square.] The good part is I can always increase the size to whatever I want by adding more blocks at anytime. You can easily make a twenty inch pillow with 16 of these. You will need about 1 and 1/4 yards of solid and some favorite fabric scraps. No batting is used in this type of quilt.
Cut out 10.5 inch squares. Precision is important, as inaccuracies will increase and snowball at each step.
Fold in half, sew with a 1/4 inch seam from the cut edge to the folded edge. Backstitch at least three stitches at the folded edge.
Chain-stitch these to save thread, cut apart, and repeat with the other side.
Now open seams on either side and pin matching the seams together.
Sew a quarter inch seam along this unfinished edge and leave an opening. Backstitch at the beginning, end and at the opening. This opening will never be closed so I backstitch it too and it doesn't unravel when turning it inside out.
With a pile of these made, prepare them to be turned inside out. Trim each corner of your new square, without cutting your stitches, to about a 45 degree angle. I sometimes take more like I did here and it doesn't seem to matter that much.
Turn inside out, using a tool to turn the corners out neatly with nice points. I use the Little Turning Tool. The backstitching will help you not poke a hole in the corner. Finger press all the seams open. (Work the seams with your fingers and crease the edges.) Kona is wonderful since it holds this temporary pressing. This is the most time consuming part of the process, but it is a mindless activity that I do watching my favorite whatever on the TV.
Take the pile and press them flat. I use a lot of steam. The sides are bias edges so you have to be careful to not distort them.
Now fold these corners to the center and press them down. Use steam with the pressing if you would like.
I measure the finished unit to make sure it measures 5 inches square and has good right angles like this:
You're done with one unit! Make sure these finish as squares. When you sew them together you won't have those pesky holes at the corners.
Now we need to sew the units together and add fabric. This is where most recent tutorials become the same. for machine sewing or by hand. I'll show you my no pin method!
Now that you have your units... How do you piece a Cathedral Window Quilt???
Take six and line up the edges that are the same length. There may be some that are too long so decide which units match best with each other.
Why six? It fits in my hand comfortably and if you like more- go for it.
By folding and ironing them, there is a crease to sew on. Lay wrong sides together to sew.
Lightly mark creases with a marking pencil. Match each fold and pin the end if needed. (I don't use pins or marks. I use my seam ripper as a stiletto to feed the fabric into the machine.)
Backstitch at each end for about 5 stitches, taking care to go over the same stitches. Trim the thread. There is no need for any knots.
Some corners will not match and so you will have to pin them. Ease the longer to match the shorter edge.
You might have a corner like this:
As long as there is no hole, the corner is fine and will roll. Ideally, the corner should lay flat and match.
Here is a prepped "block" without any "window" or insert fabric added. Press with steam. This will be the last time an iron will touch the fabric. Woohoo!!
Temporarily sew the corners of all flaps together. Do this with some extra "ugly" bobbin thread. This will be temporary and will be removed, once the windows are filled in this block, and replaced with matching thread.
Now that the units are secured, lay your fabric in each square pictured here.
Sew the fabric squares down. Baste through the fabric at least four times. This works better for me than one pin. I also don't need to lose pins on the floor with kids or a pet to find them.
To sew the window, pop the knot through the underside of the fabric that will be rolled.
With the Kona Snow, I am using Aurifil 50/2 in the color 2000. It matches very well and is very thin. This hides applique stitches. (The red is so you can see it here in the pictures.) The window does not need pins.
Use the left thumb and index finger to hold and constantly adjust the fabric to get a nice curve. ( Lefty will hold with right hand and applique with left hand.) The genius of the window is all the edges are bias edges and will fold and give nicely.
From here, applique to the corner. If you have hand stitched binding before, it is the same idea.
The corner is difficult since the fabric can shred or slip. (Edited: I have had no problems at all with Robert Kaufman Kona cotton in Snow. Use this over muslin with confidence!) Make the size of the insert fabric bigger if you have this problem. I add an eighth inch more.
Remember this?
Starting Fabric Square ---- Resulting Unit Made ---- Fabric insert needed
10.5-----5-----3 1/8
9.5------4.5
8.5------4
7.5------3.5
6.5------3
Pick the size of insert fabric that works for you. Here's a formula: Divide the length of the unit by the square root of 2 and then subtract a half inch to get an idea of what size fabric insert to start with. (Mine: 5/sqrt(2) - .5 = 3.03 or 3 1/8 in)
At the corner, stitch through the two white folded edges three or four times depending on the thickness of the thread.
It will show and that's OK. Continue around the window and repeat for the other corners. (Counterclockwise for righties, clockwise for lefties? Pick a way that works.)
When two blocks are completed, remove the temporary basting thread. Open the unit flaps that do not have fabric added to them.
Sew blocks together, using the same sewing method at the top of this page.
To permanently hold down the window corners sew across stitch through the corners to the backing. I go through the first layer, but not to the back of the quilt. I am at a loss at what is traditionally done so let me know it there is a better way.
When I get to the edges, I will show you a great way to finish your quilting with some hand quilting.
Anybody up for making cathedral windows?


Thank you! Your tutorial is great and a visual treat as well! You have made the Cathedral quilt look so easy to do when for years I thought it was best left to the experts!
ReplyDeleteThank you for your clear tutorial pictures and instructions.
ReplyDelete