Let’s take a lesson in leather hand sewing that we can use for a passport cover or just about any small case-like thing you can think of. Hand sewing leather is easy, but a few key steps will make it even easier.
Sadly, it doesn’t make it much faster — get ready to earn this case with a couple hours of work. You’ll need a small amount of leather and a few inexpensive tools.
Materials
leather
waxed thread
contact cement
beeswax
Tools
knife
cutting mat
metal ruler
stitch spacer (overstitch wheel)
leather awl
two leather needles
Instructions
1. You’ll need enough leather for the main cover and two interior flaps. Cut your cover to 7 5/8″ wide and 5 1/2″ tall. Each interior flap is 5 1/2″ tall and 2 1/2″ wide. Position your pieces together, mark where the flaps will reside and then lay pieces separately and apply contact cement to the outer edges. Leave cement to dry completely then press the pieces together to adhere. Having your pieces properly secured will make stitching so much easier.
2. Take the entire assembly and place flaps down on the table. Place your ruler 1/8″ from each edge and run your stitch-spacing tool along the edge. This will mark the leather in a uniform pattern, indicating where each stitch will be placed. Apply plenty of pressure to get a good mark.
3. After all edges are marked, press through each with the awl. I usually punch into another piece of heavy leather, so the awl makes a deep mark for passing the needles though.
4. Once your case has all the holes pressed, you can thread your needles and begin sewing. To thread a needle, put thread though the eye as normal, then bring it to the point and poke through the thick of the thread. Pull the end down the needle, over the eye completely, then slightly tug the long end of the thread to secure.
With normal sewing, this should be secure. For more security, you can wax the threads together with some more beeswax. After both ends of a long piece have been threaded with needles, you can begin hand sewing by pulling the thread to its half-way point in the cover.
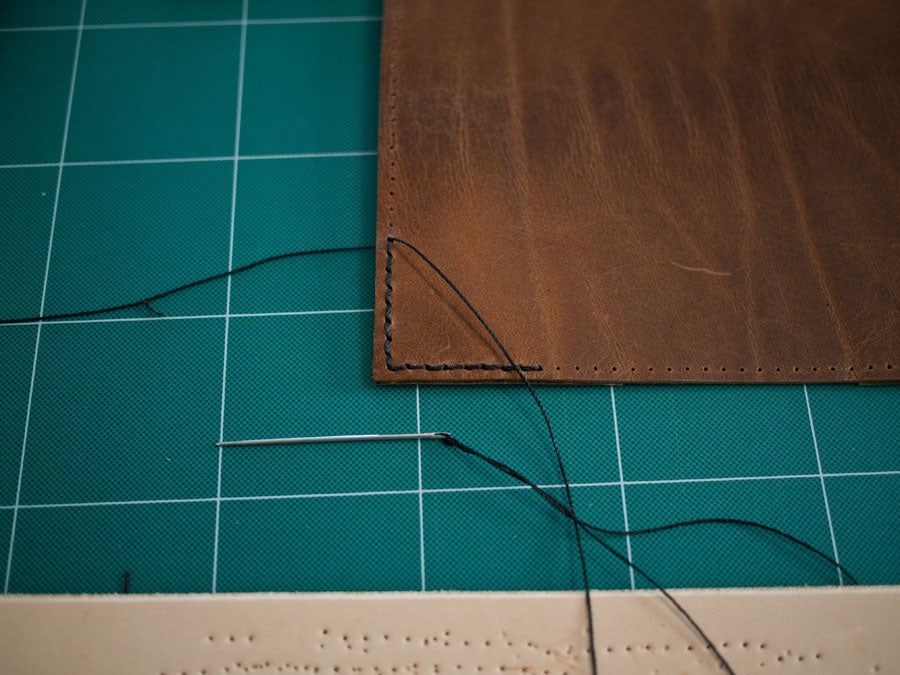
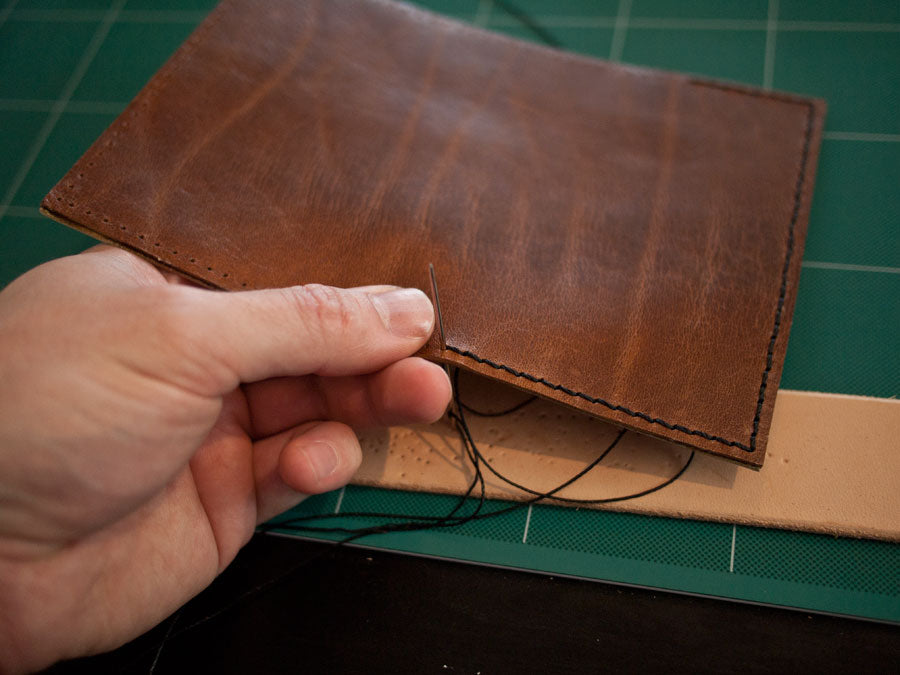
5. Stitching should be completed in a crossing motion through the leather — each needle passing through the same hole, being careful not to stitch through the thread. As you work your way around the piece, pull the stitches tight to keep a clean appearance.
Stitching on a lacing pony or a vice is the best way, but buying one might be more of a commitment for just one project. If you’re going to be hand sewing more leather projects, a lacing pony is a must.
6. Hand sewing is a long process, but take your time as you do it. Relax and make sure your stitches are clean and tight — the finished product is definitely worth it. Once you’ve made it through all edges, you should back-stitch 3 holes to secure your thread, then carefully cut the ends free.
After the sewing is done, you can flatten the stitches with the overstitch wheel. This will press your thread into the leather and clean up the appearance of your stitches.
7. Finally, you can round the edges with a knife or some scissors, wax the edges and burnish with your finger. Then grab that passport and book your trip.


0 comment:
Post a Comment